new_logo

Knowledge Base

Getting Started 

Learn how to setup your chatbot and configure the basic settings required to use the bot. 
Welcome to UMENBot, Your HUMANBOT!

Watch the video

Overview

UMENBot is an advanced AI-powered tool designed to enhance the capabilities of chatbots. UMENBot integrates seamlessly into various platforms to provide intelligent, context-aware interactions. Its primary goal is to streamline user experiences by enabling bots to handle a wide range of tasks with greater accuracy and efficiency.

Where to start?

New to UMENBot and looking for a starting point? You’re in the perfect spot to get going!

  1. To signup, enter your Email ID. sign_up
  2. Enter email id, password and confirm password.
  3. Click “Get started”register
  4. Check your mailbox, to verify the Email id. If not received, click on resend email. conformation
  5. Click on “Verify Email”. Verify
  1. Enter your registered Email Id. sign_up
  2. Enter Password and click on “Sign in”. login

Create your Bot

Learn how to create your own chatbot and configure the basic settings required to use the bot. 

Welcome to UMENBot! We’re excited to help you create your own bot. Getting started is easy, and there are multiple ways to create your bot.

Here’s a step-by-step guide to help you through the process:

Option 1: Create a Bot from the Dashboard
  1. Click on the dashboard
  2. Click on “Create Bot” create_bot
  3. Enter Bot name and click on “Create Bot” label
Option 2: Create a Bot from the Dashboard’s locate ‘Create New Bot’ Section
  1. Click on Dashboard
  2. Scroll down to Create new bot section
  3. Click on “Create Bot” create_bot
  4. Enter Bot name and click on “Create Bot” label
Option 3: Create a Bot from the ‘Your Bot’ Section
  1. Go to “Your Bot section”
  2. Click on “Create Bot” create_bot
  3. Enter Bot name label

Customize bot appearance 

Learn how to setup your chatbot and configure the basic settings required to use the bot. 
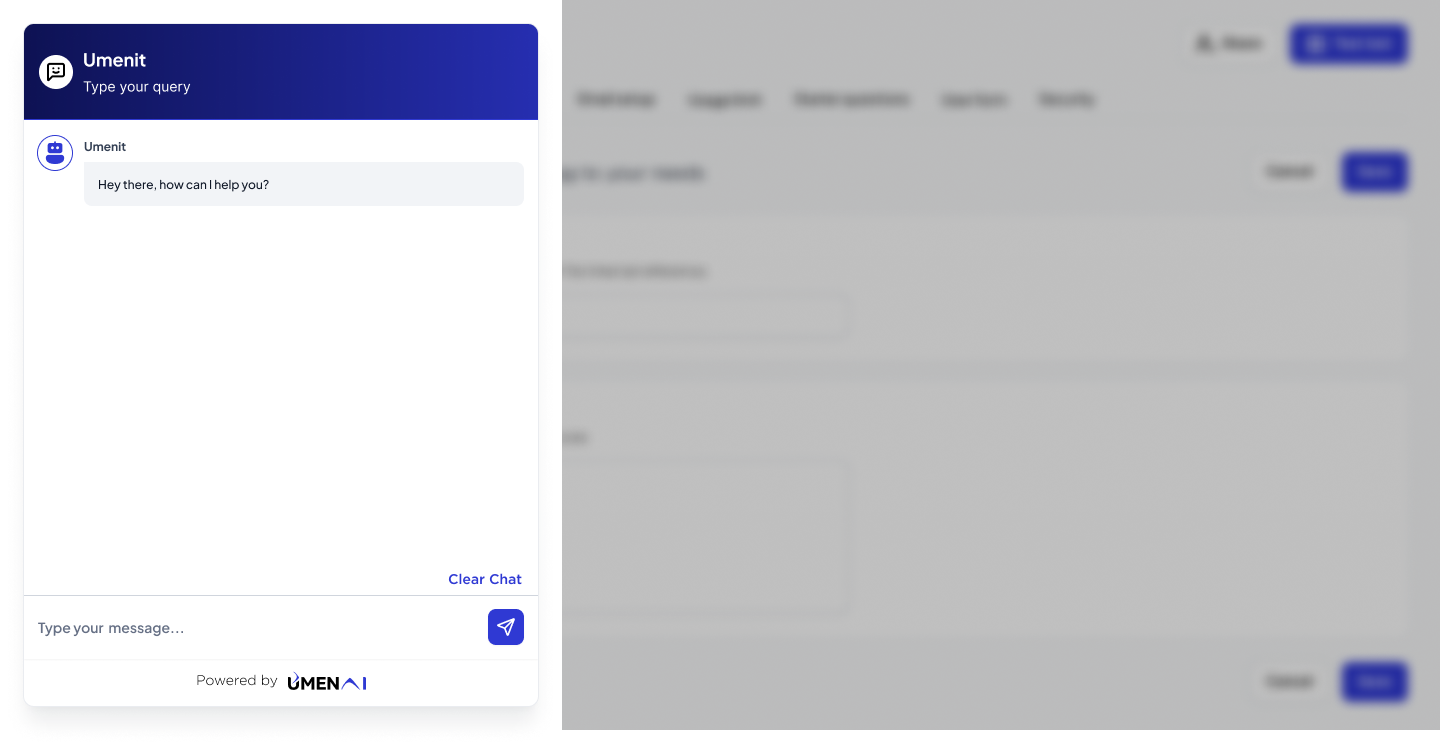
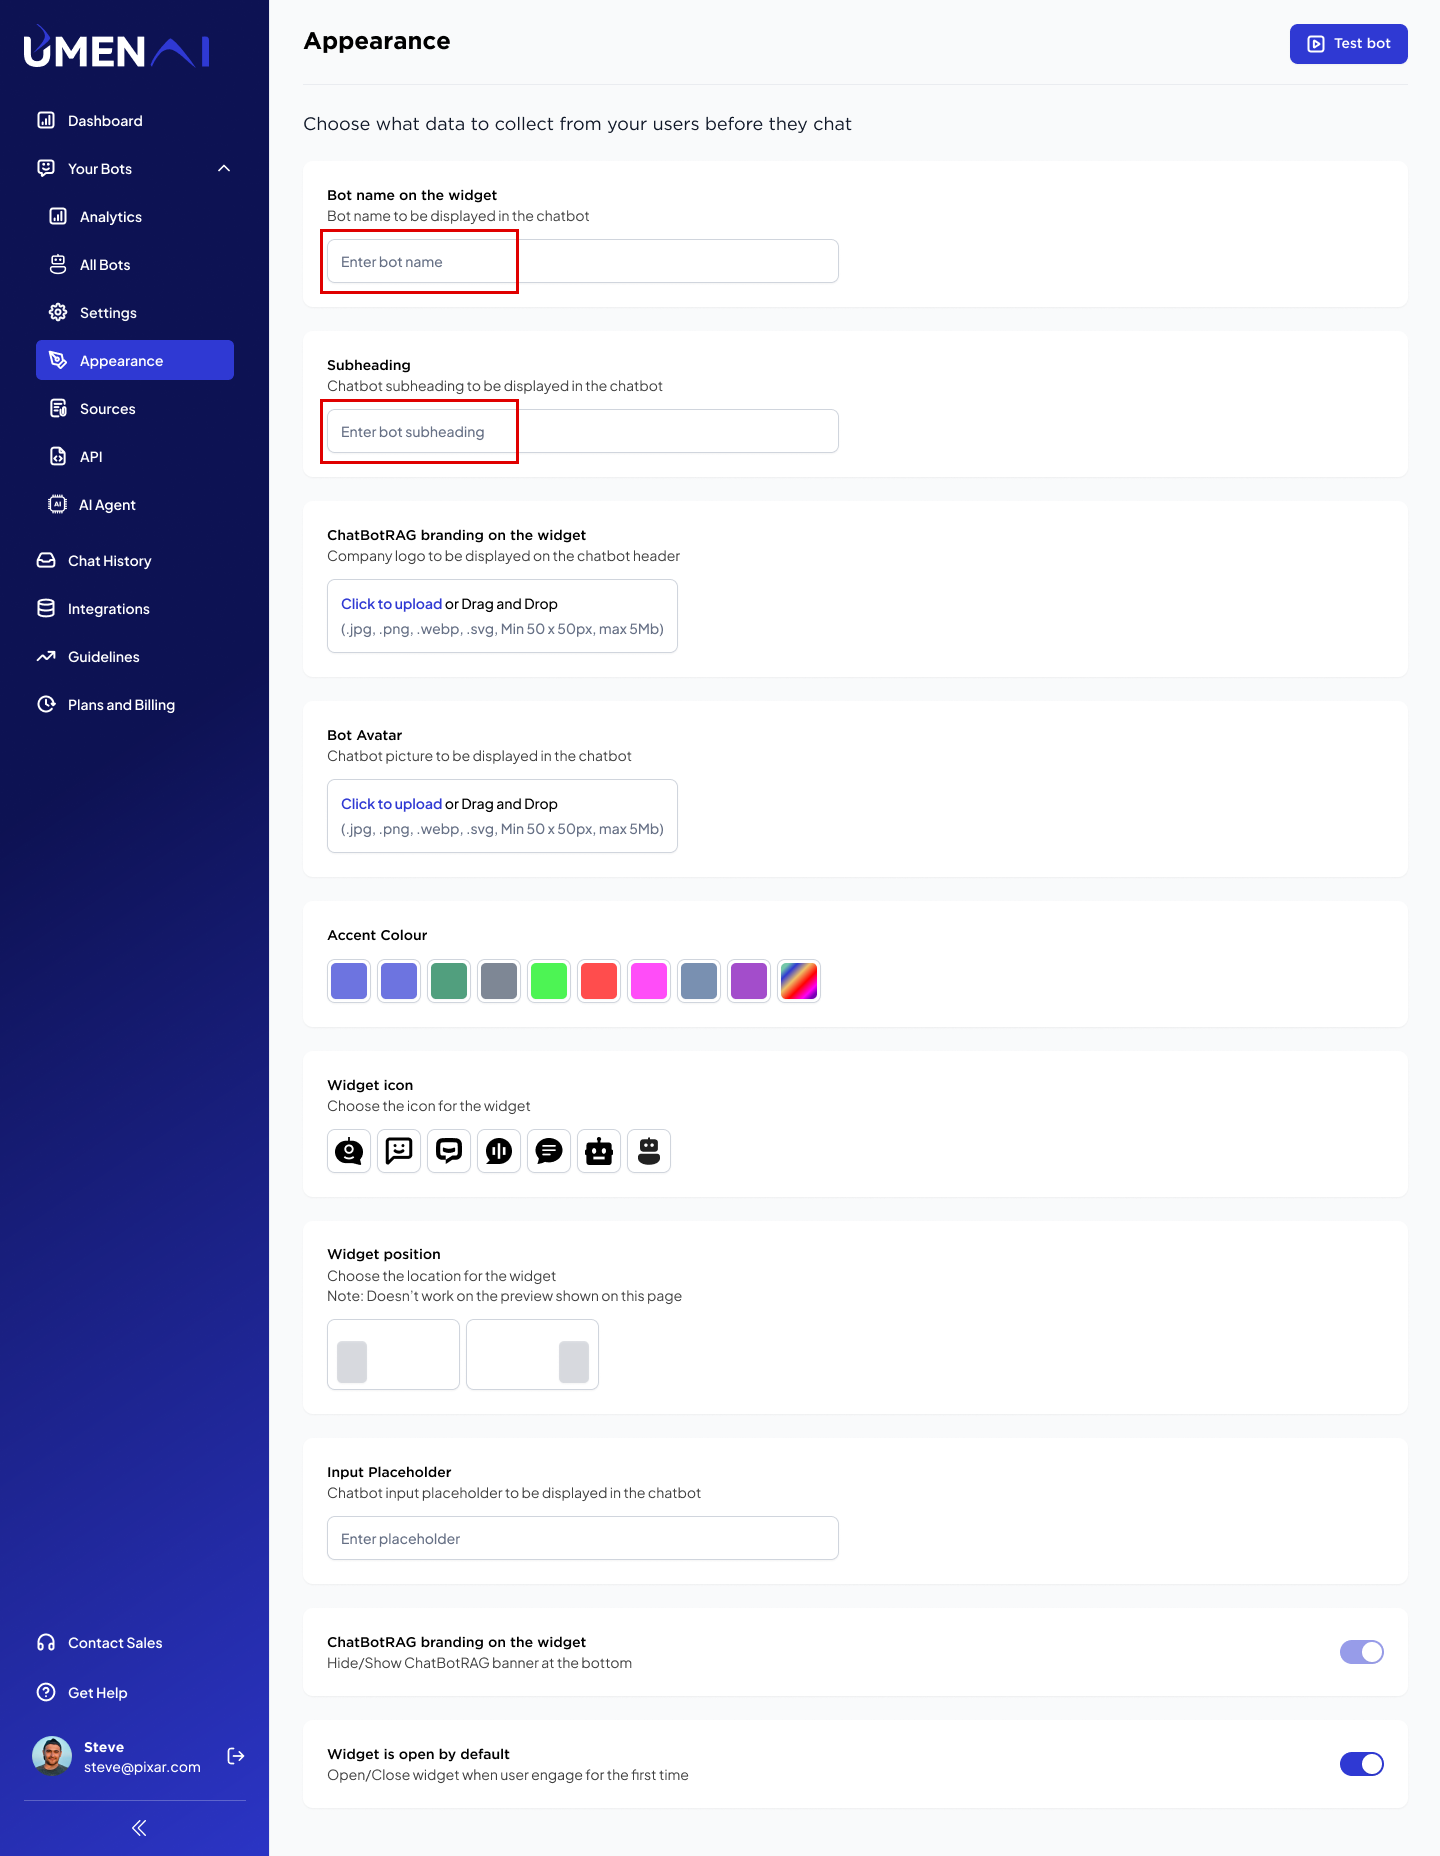
  1. To customize your bot’s appearance, click on your bot and then click on appearance. appearance
  2. Bot Name on the Widget: Enter your company’s name or the name you wish to assign to your bot.
  3. Subheading: Enter a customized subheading for your bot. fill_customize chatbot
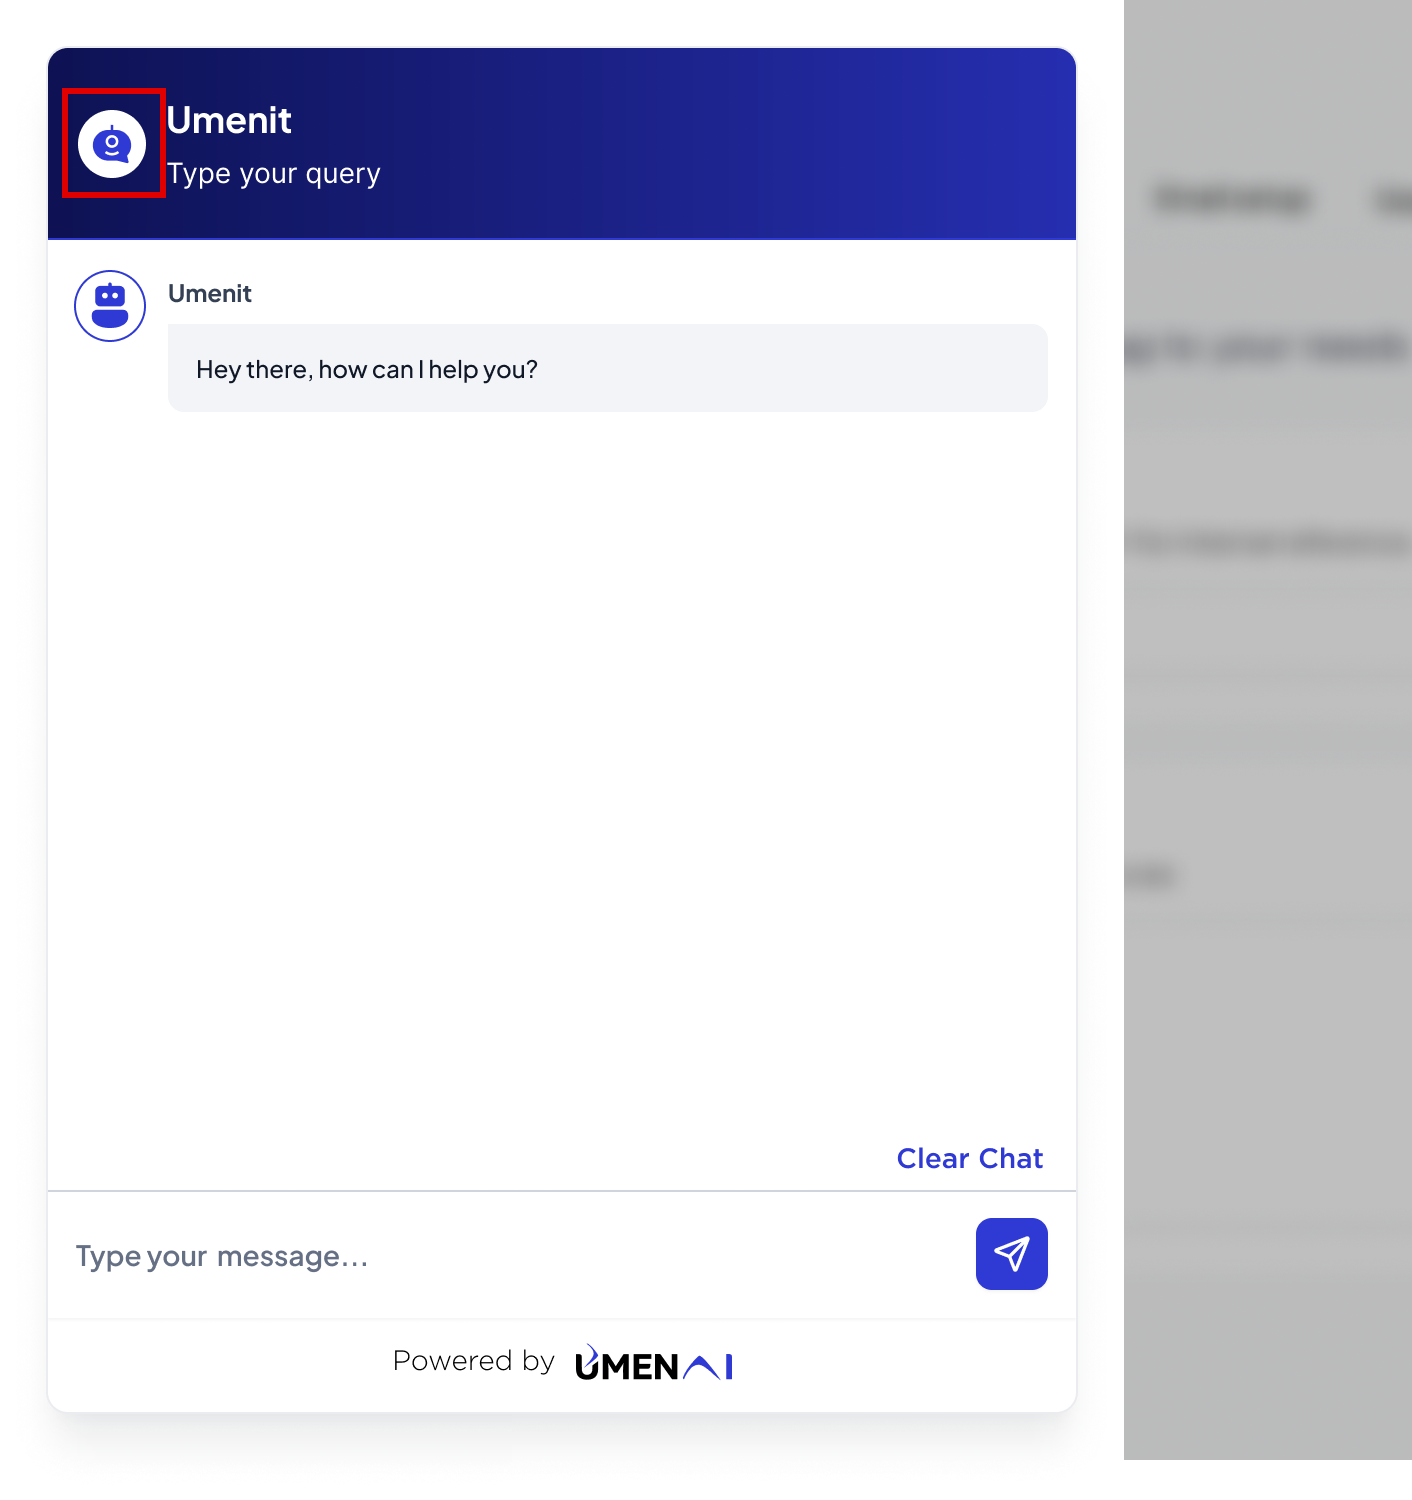
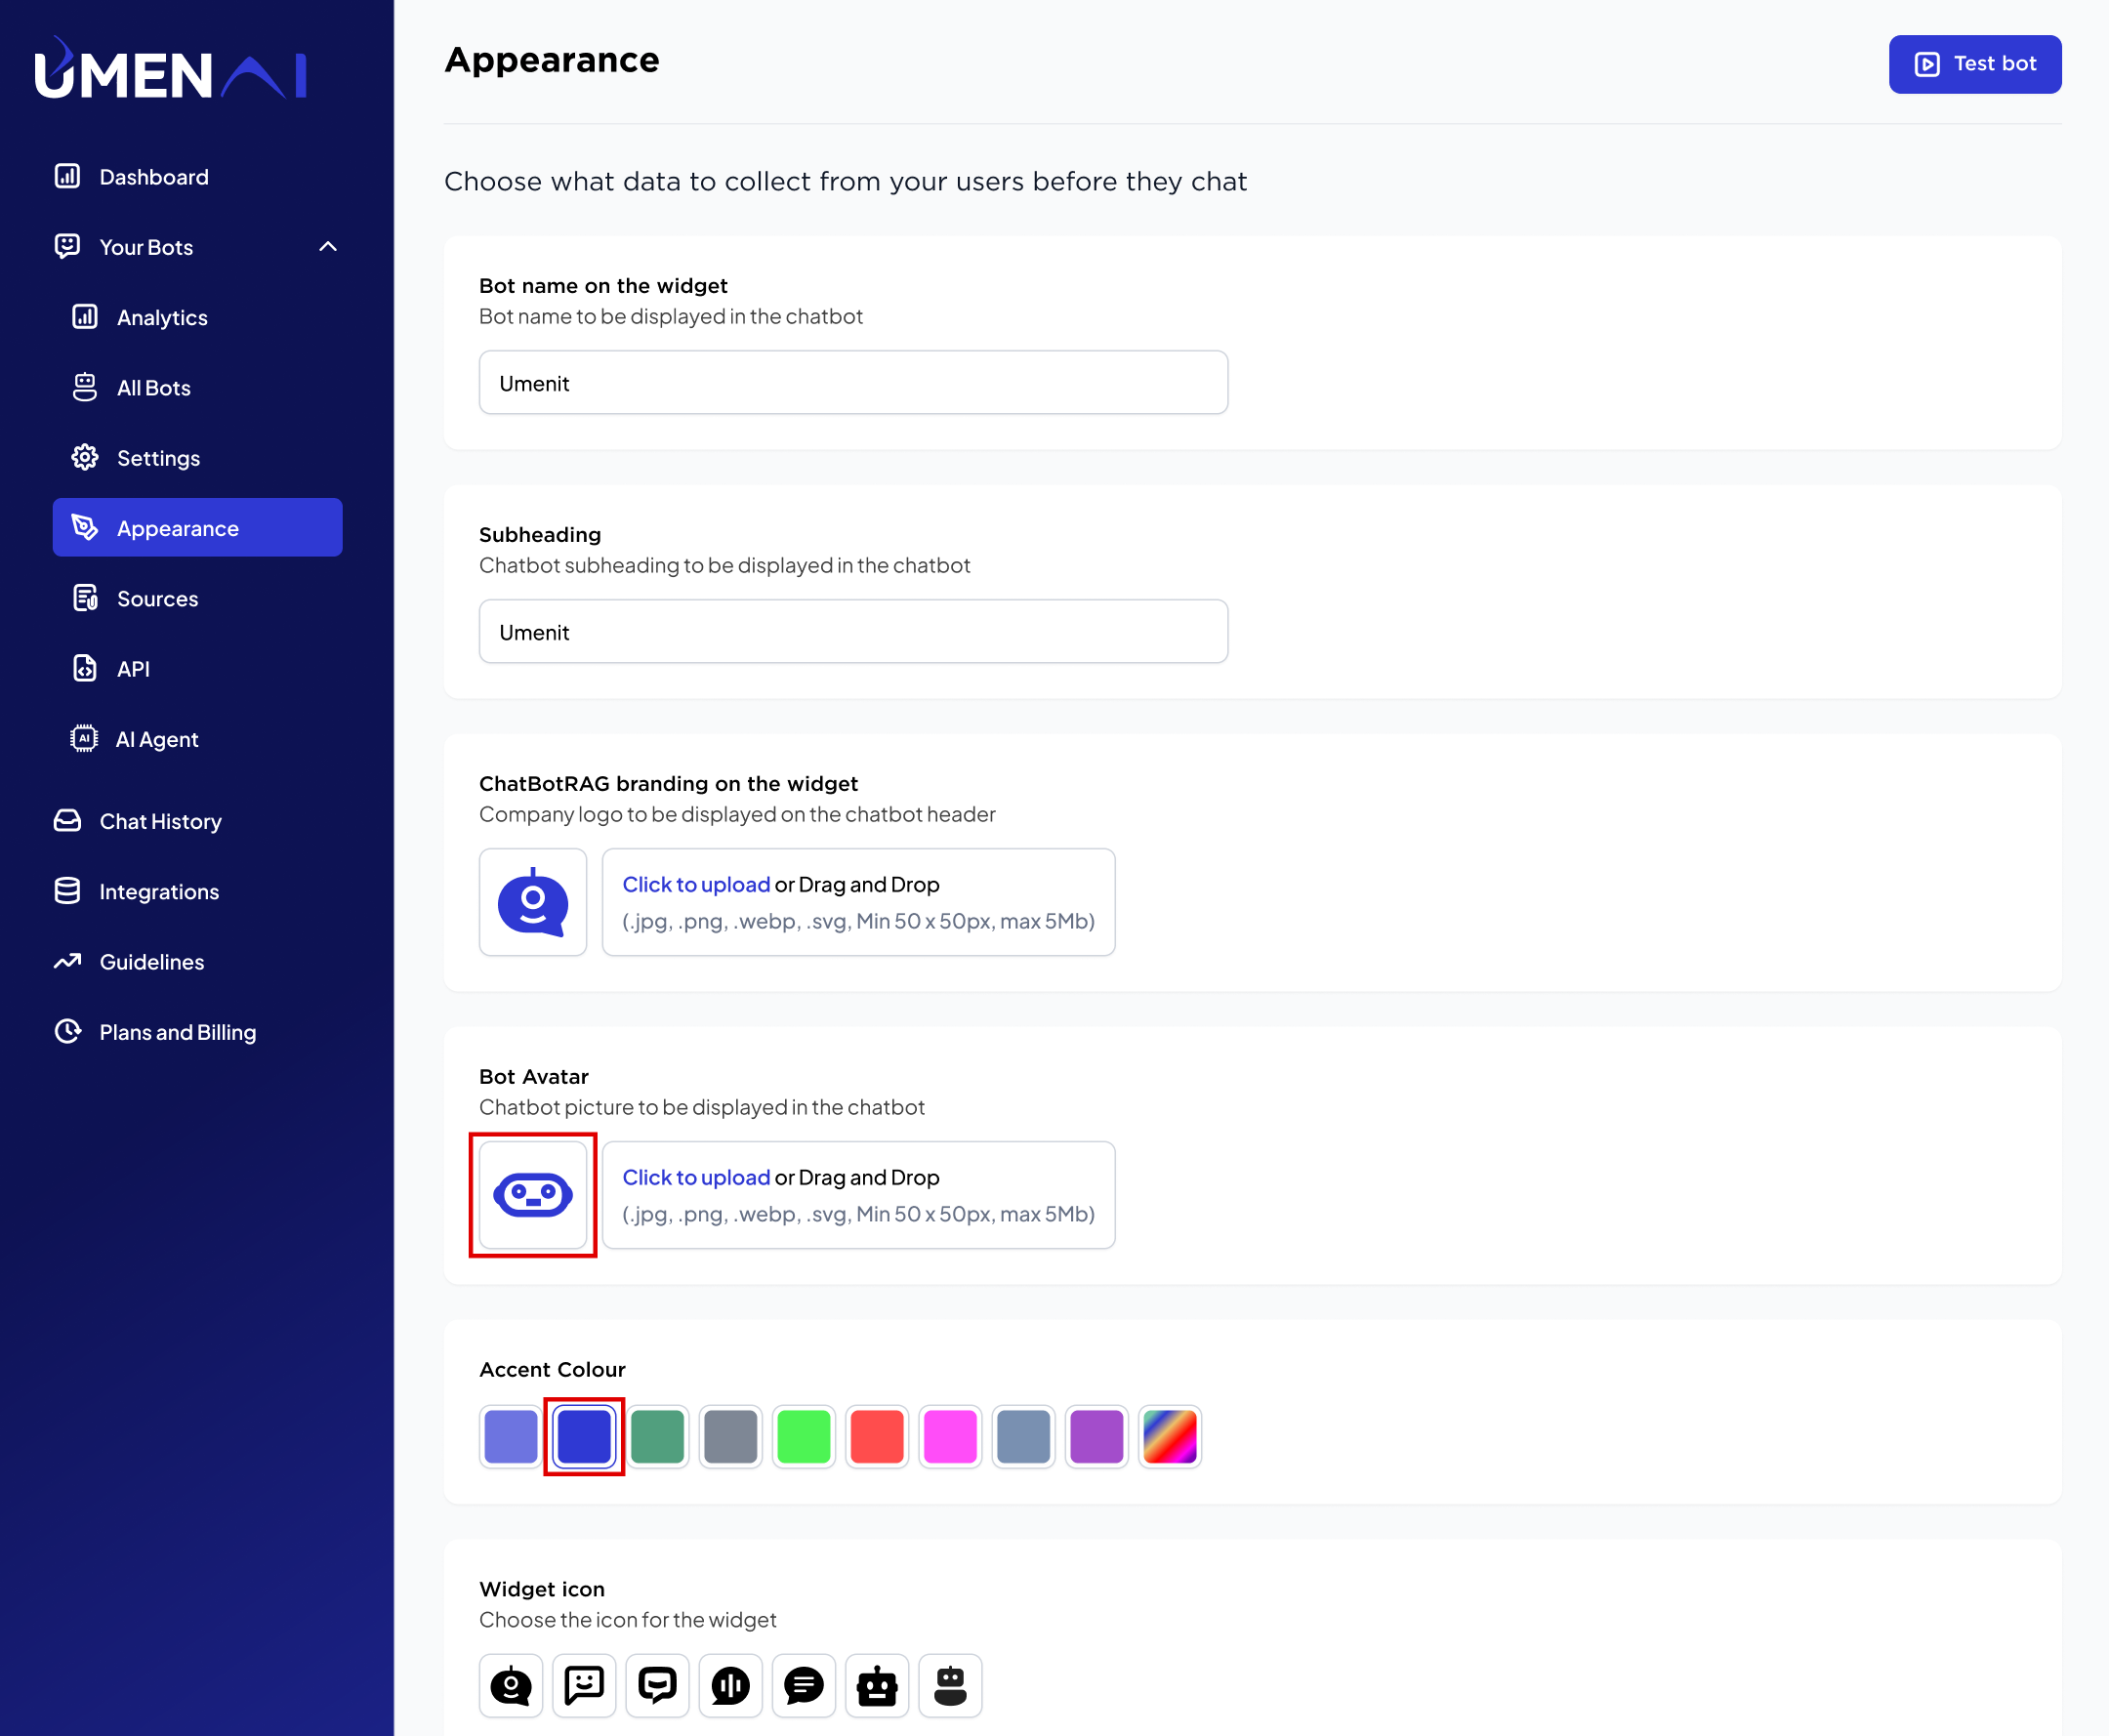
  4. UMENBot branding on the widget: Upload your company’s logo or any icon you’d like to feature in the chat header. upload_image show_image
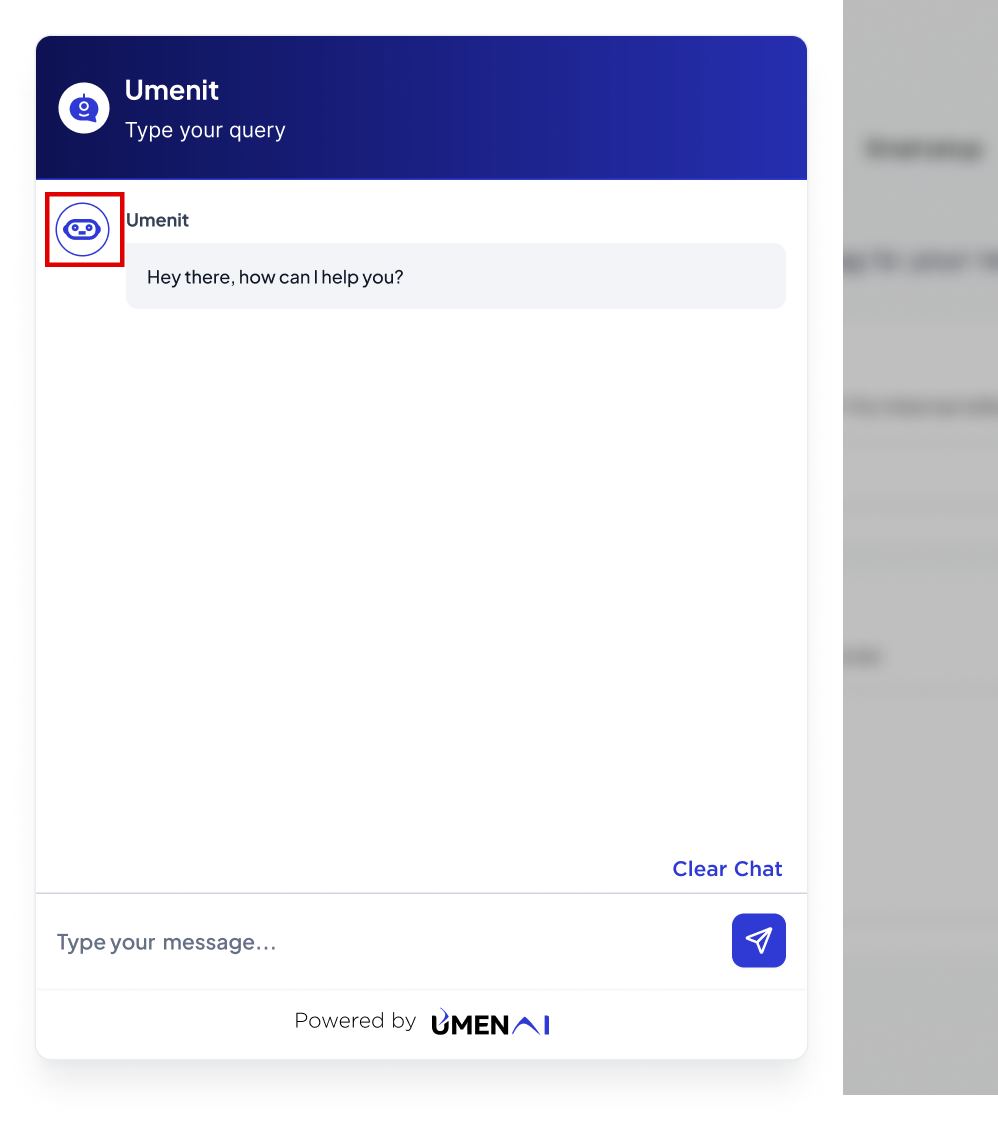
  5. You can change the bot avatar and choose theme color choose_color show_iamge
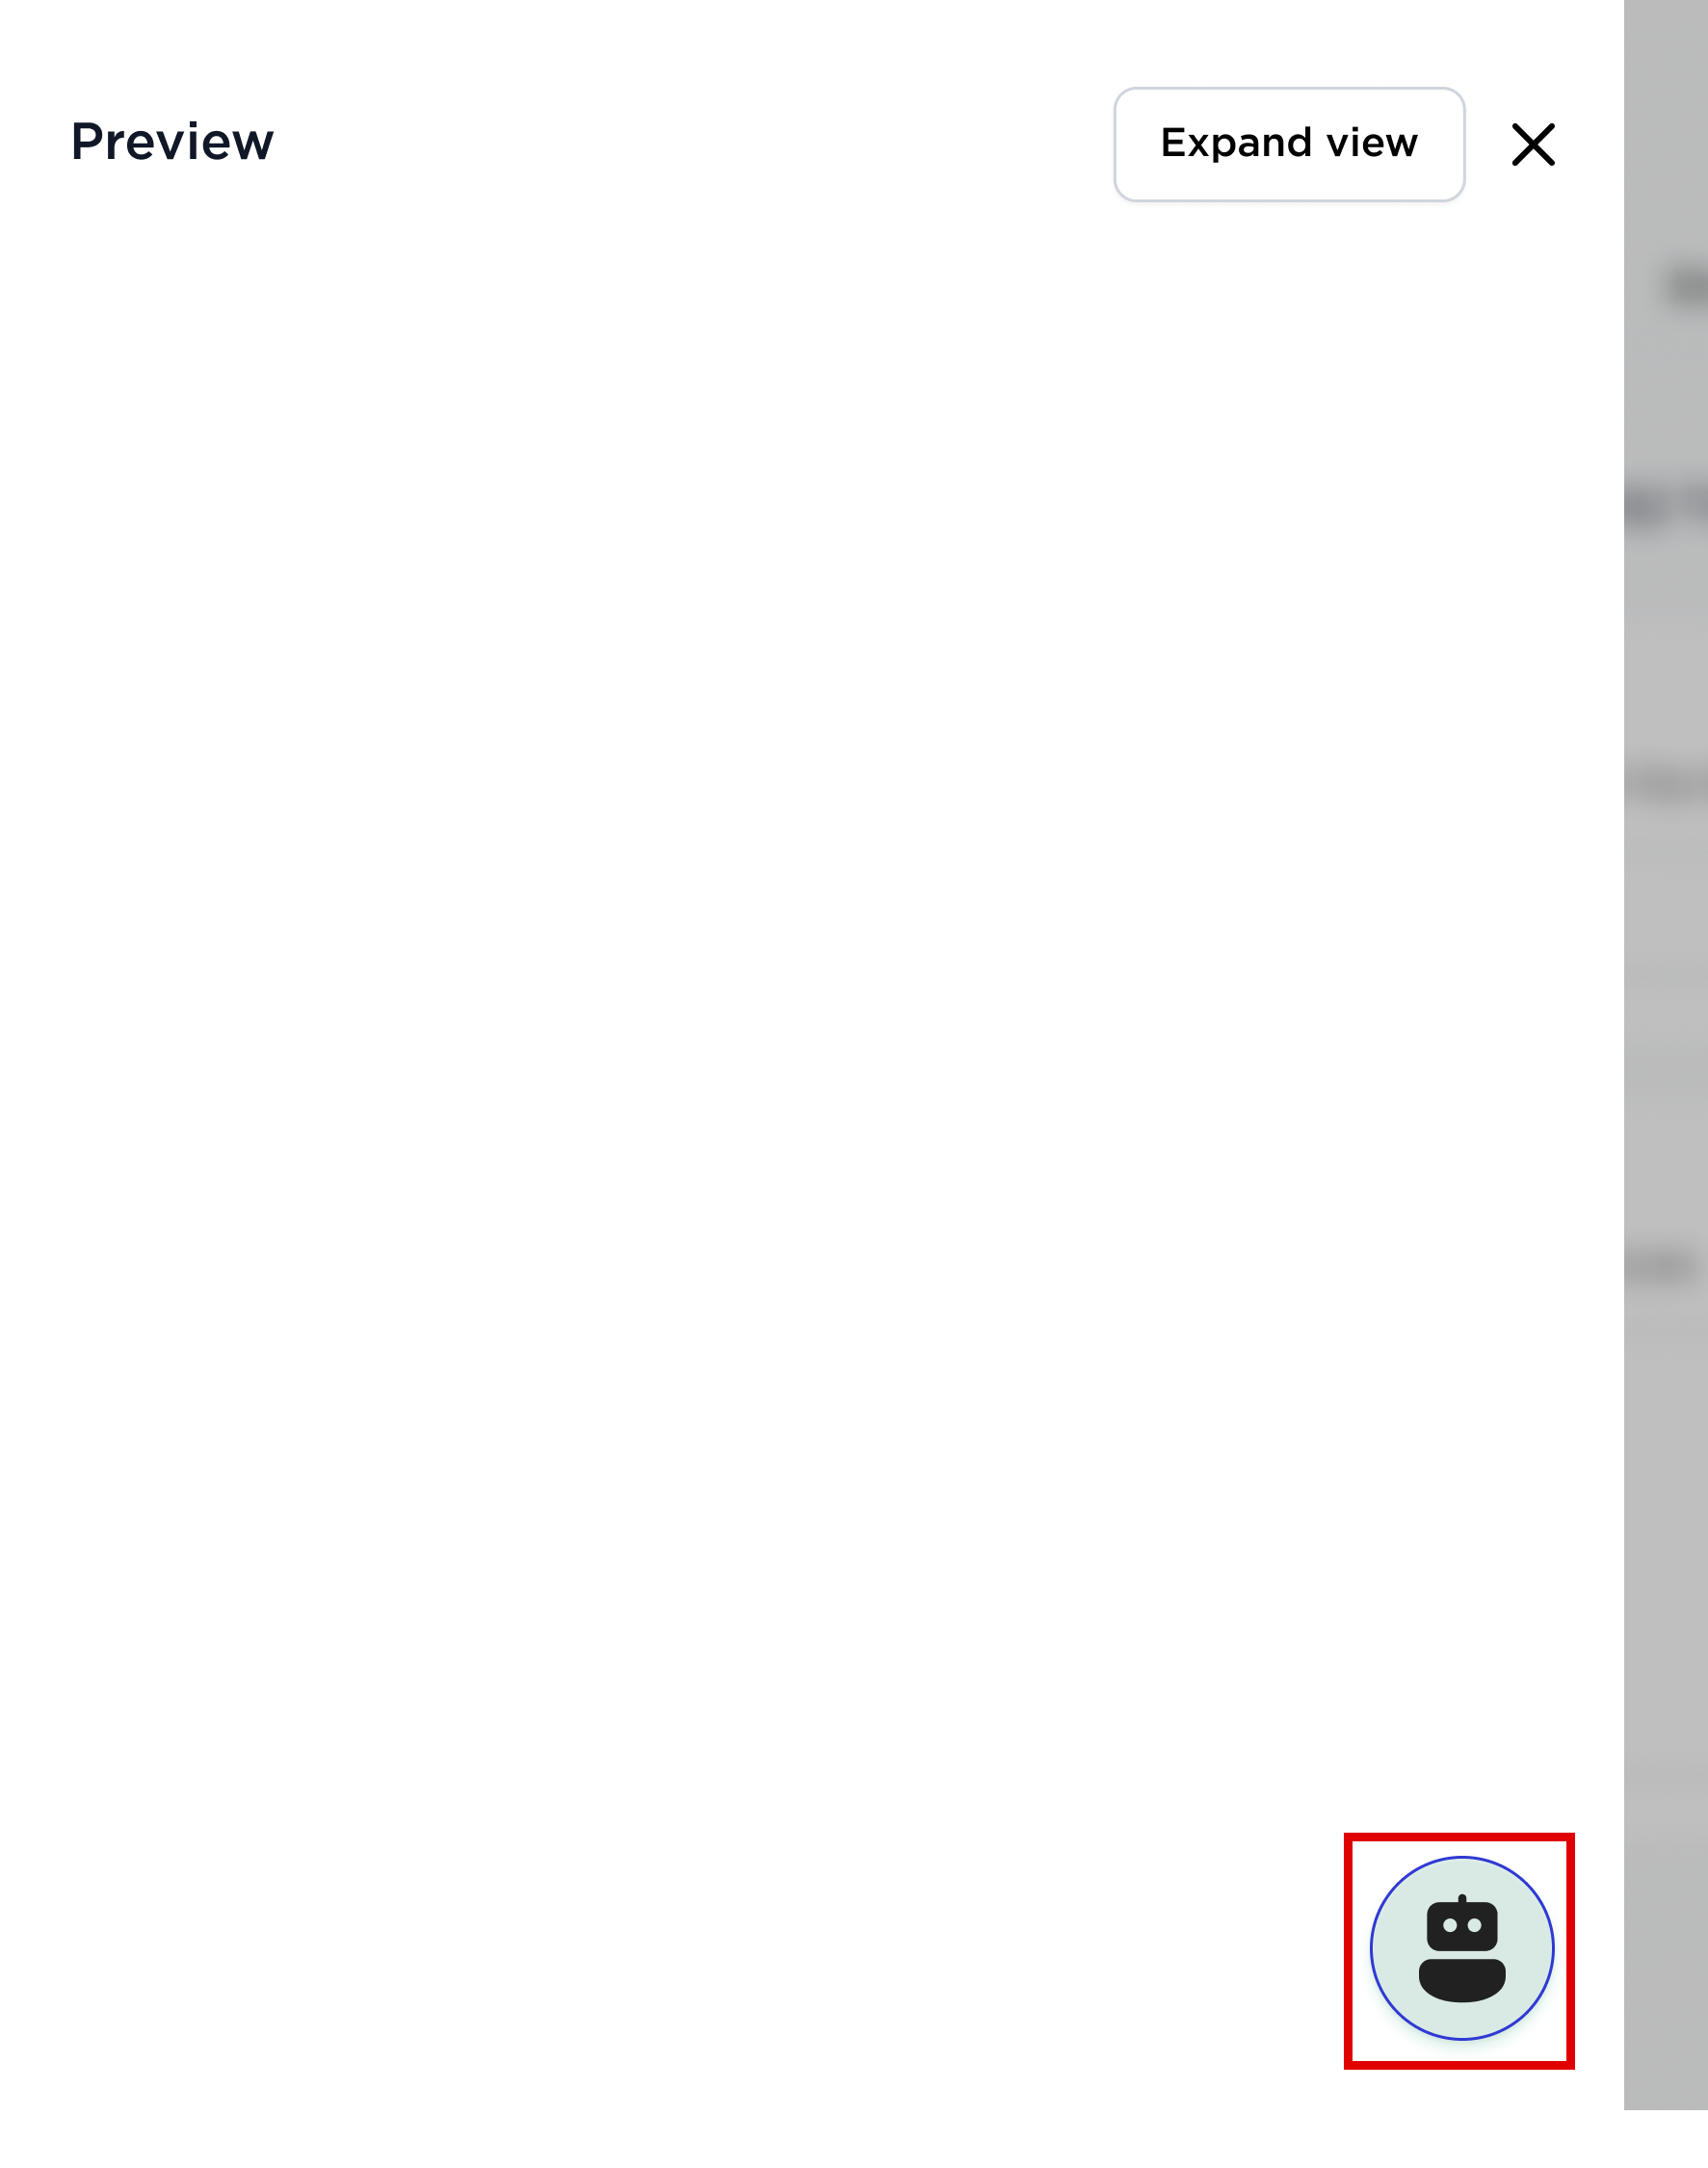
  6. Widget icon: Select an icon for the chat widget widget_icon show_icon
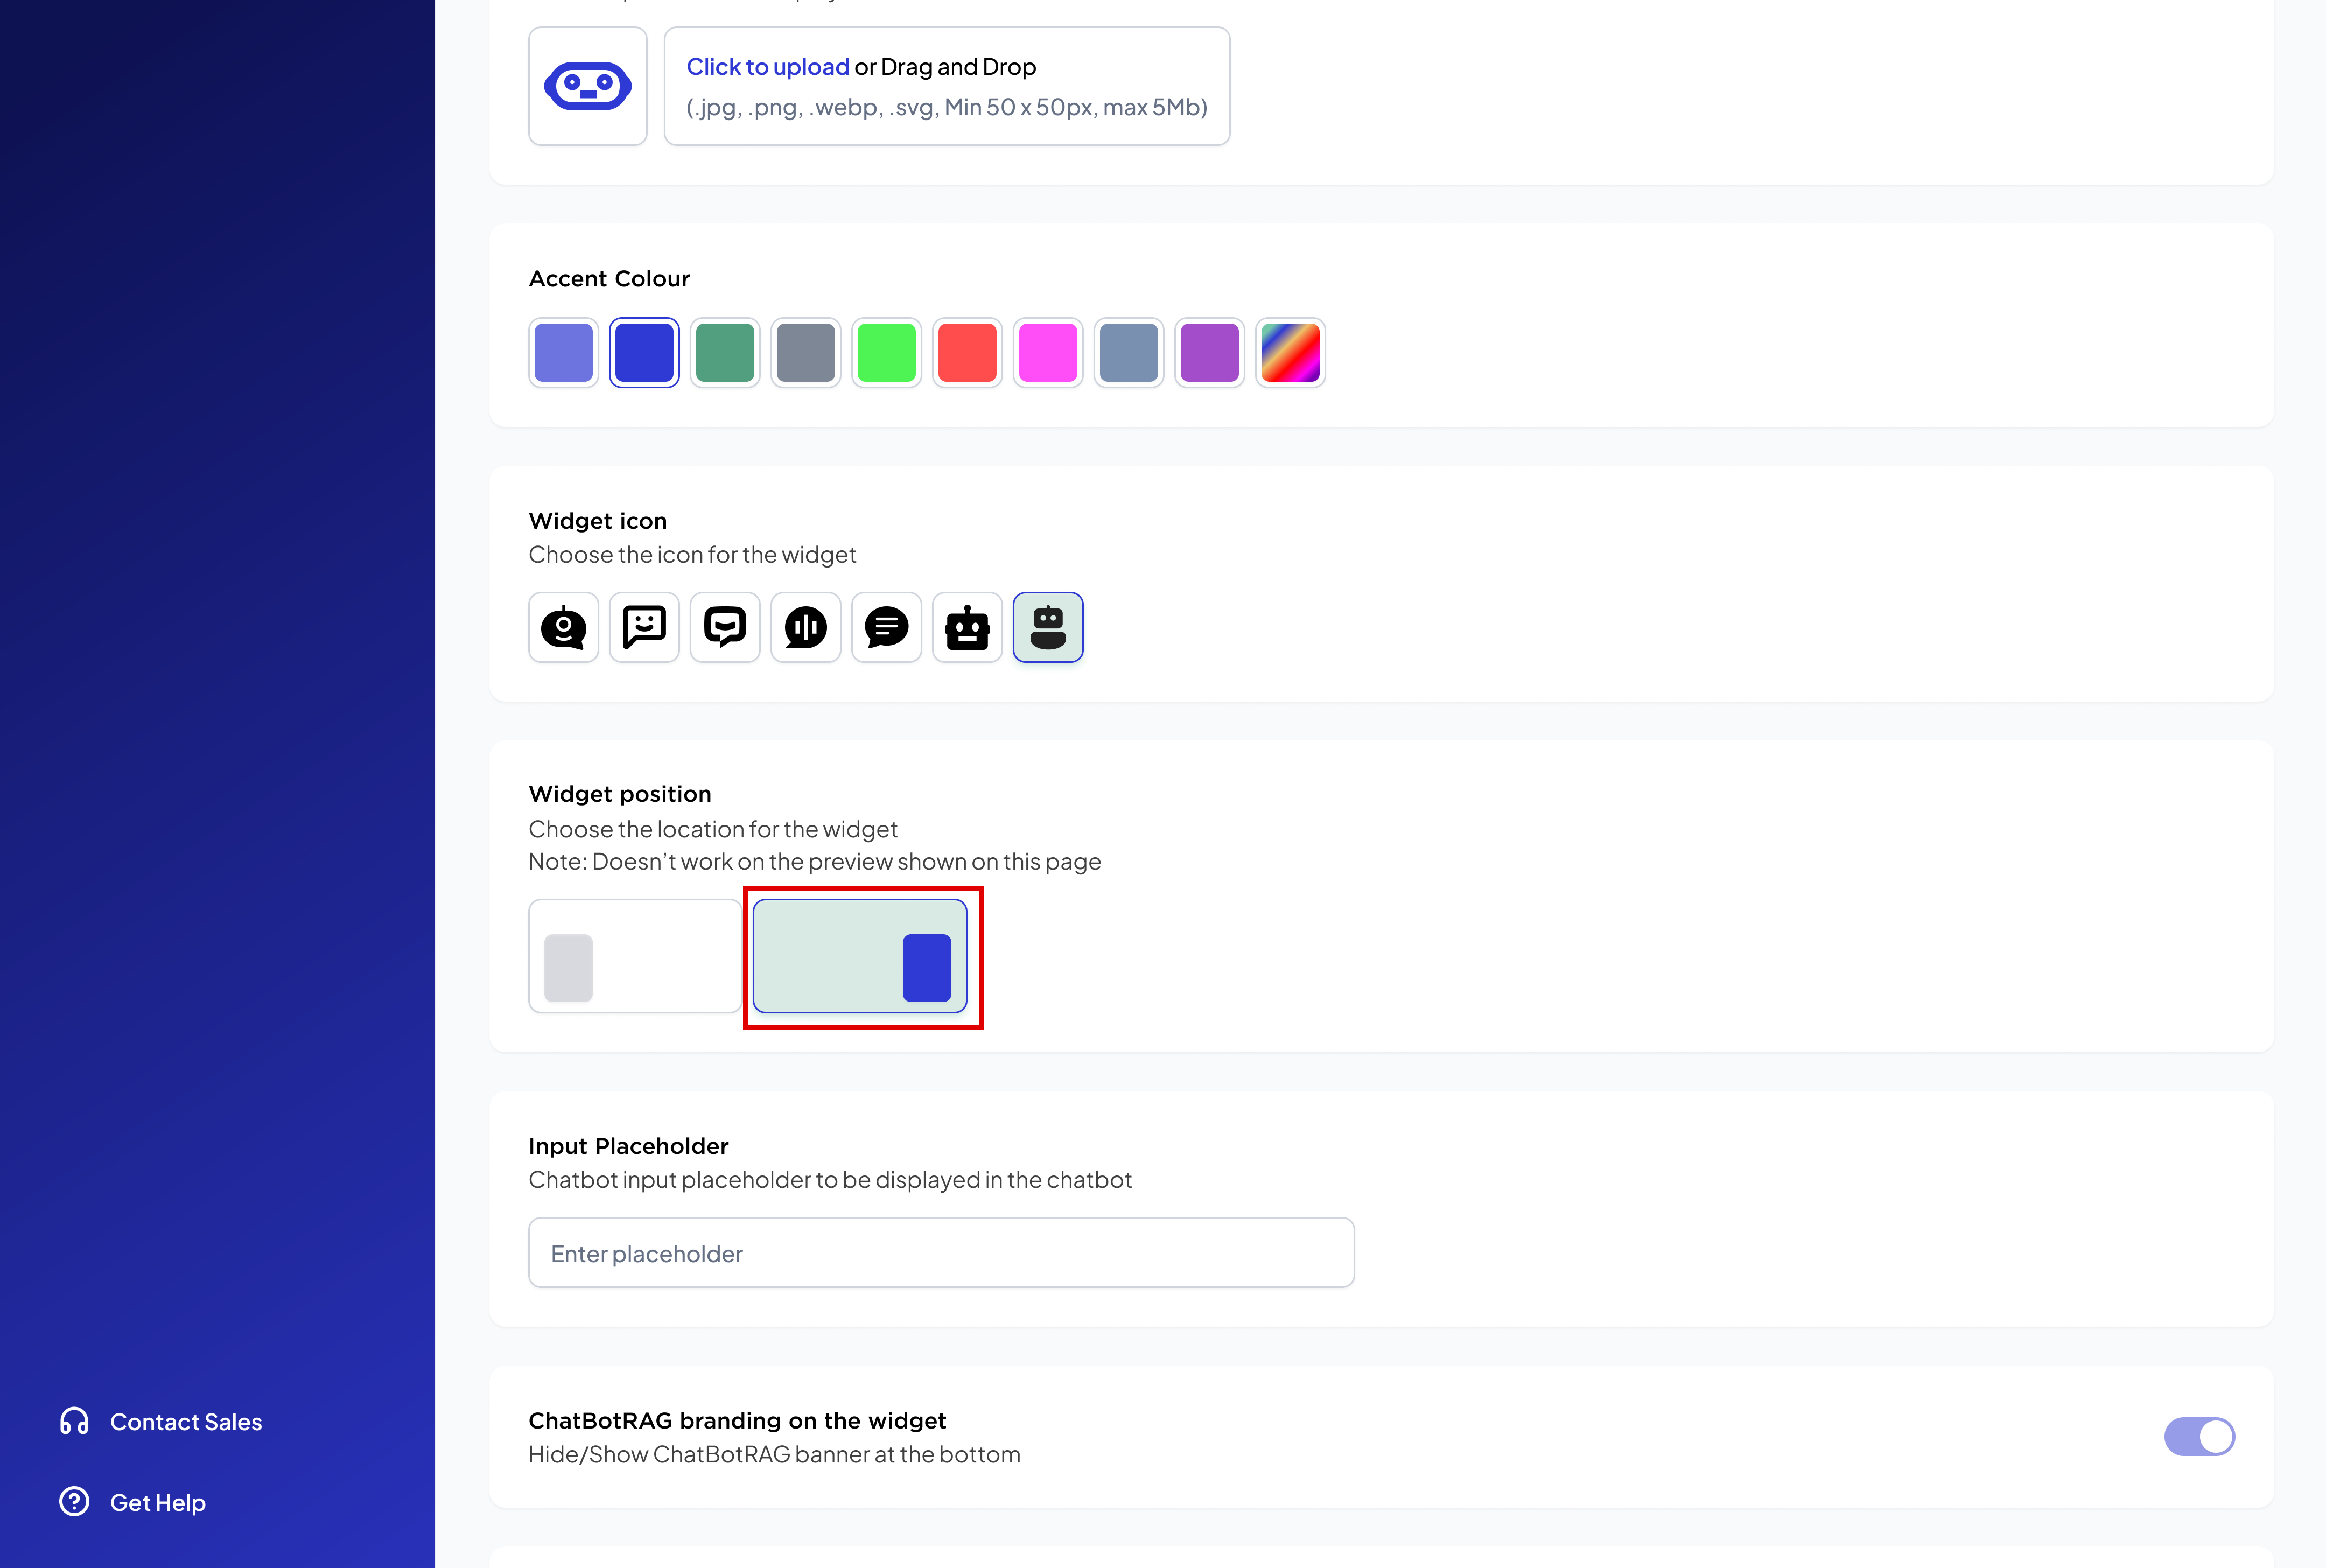
  7. Widget Position: Select bot position left or right widget_position widget_preview
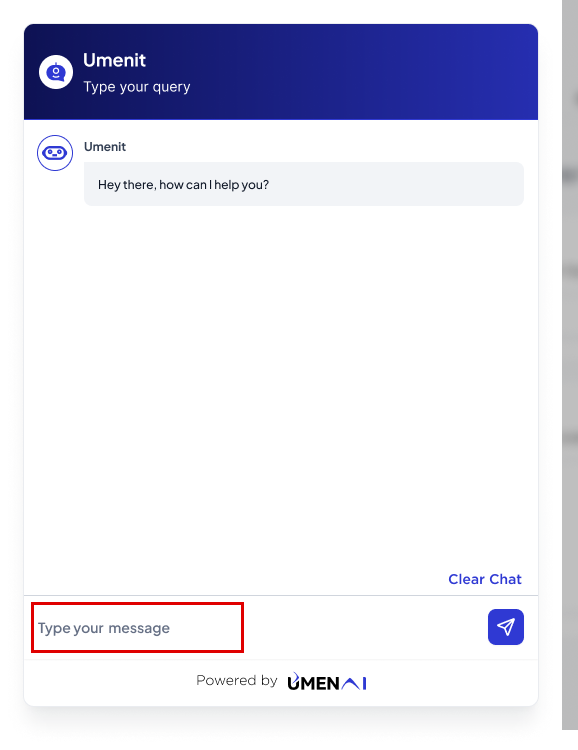
  8. Input placeholder: Enter a message to appear as a placeholder in the chatbot input field. placeholder_filed show_placeholder
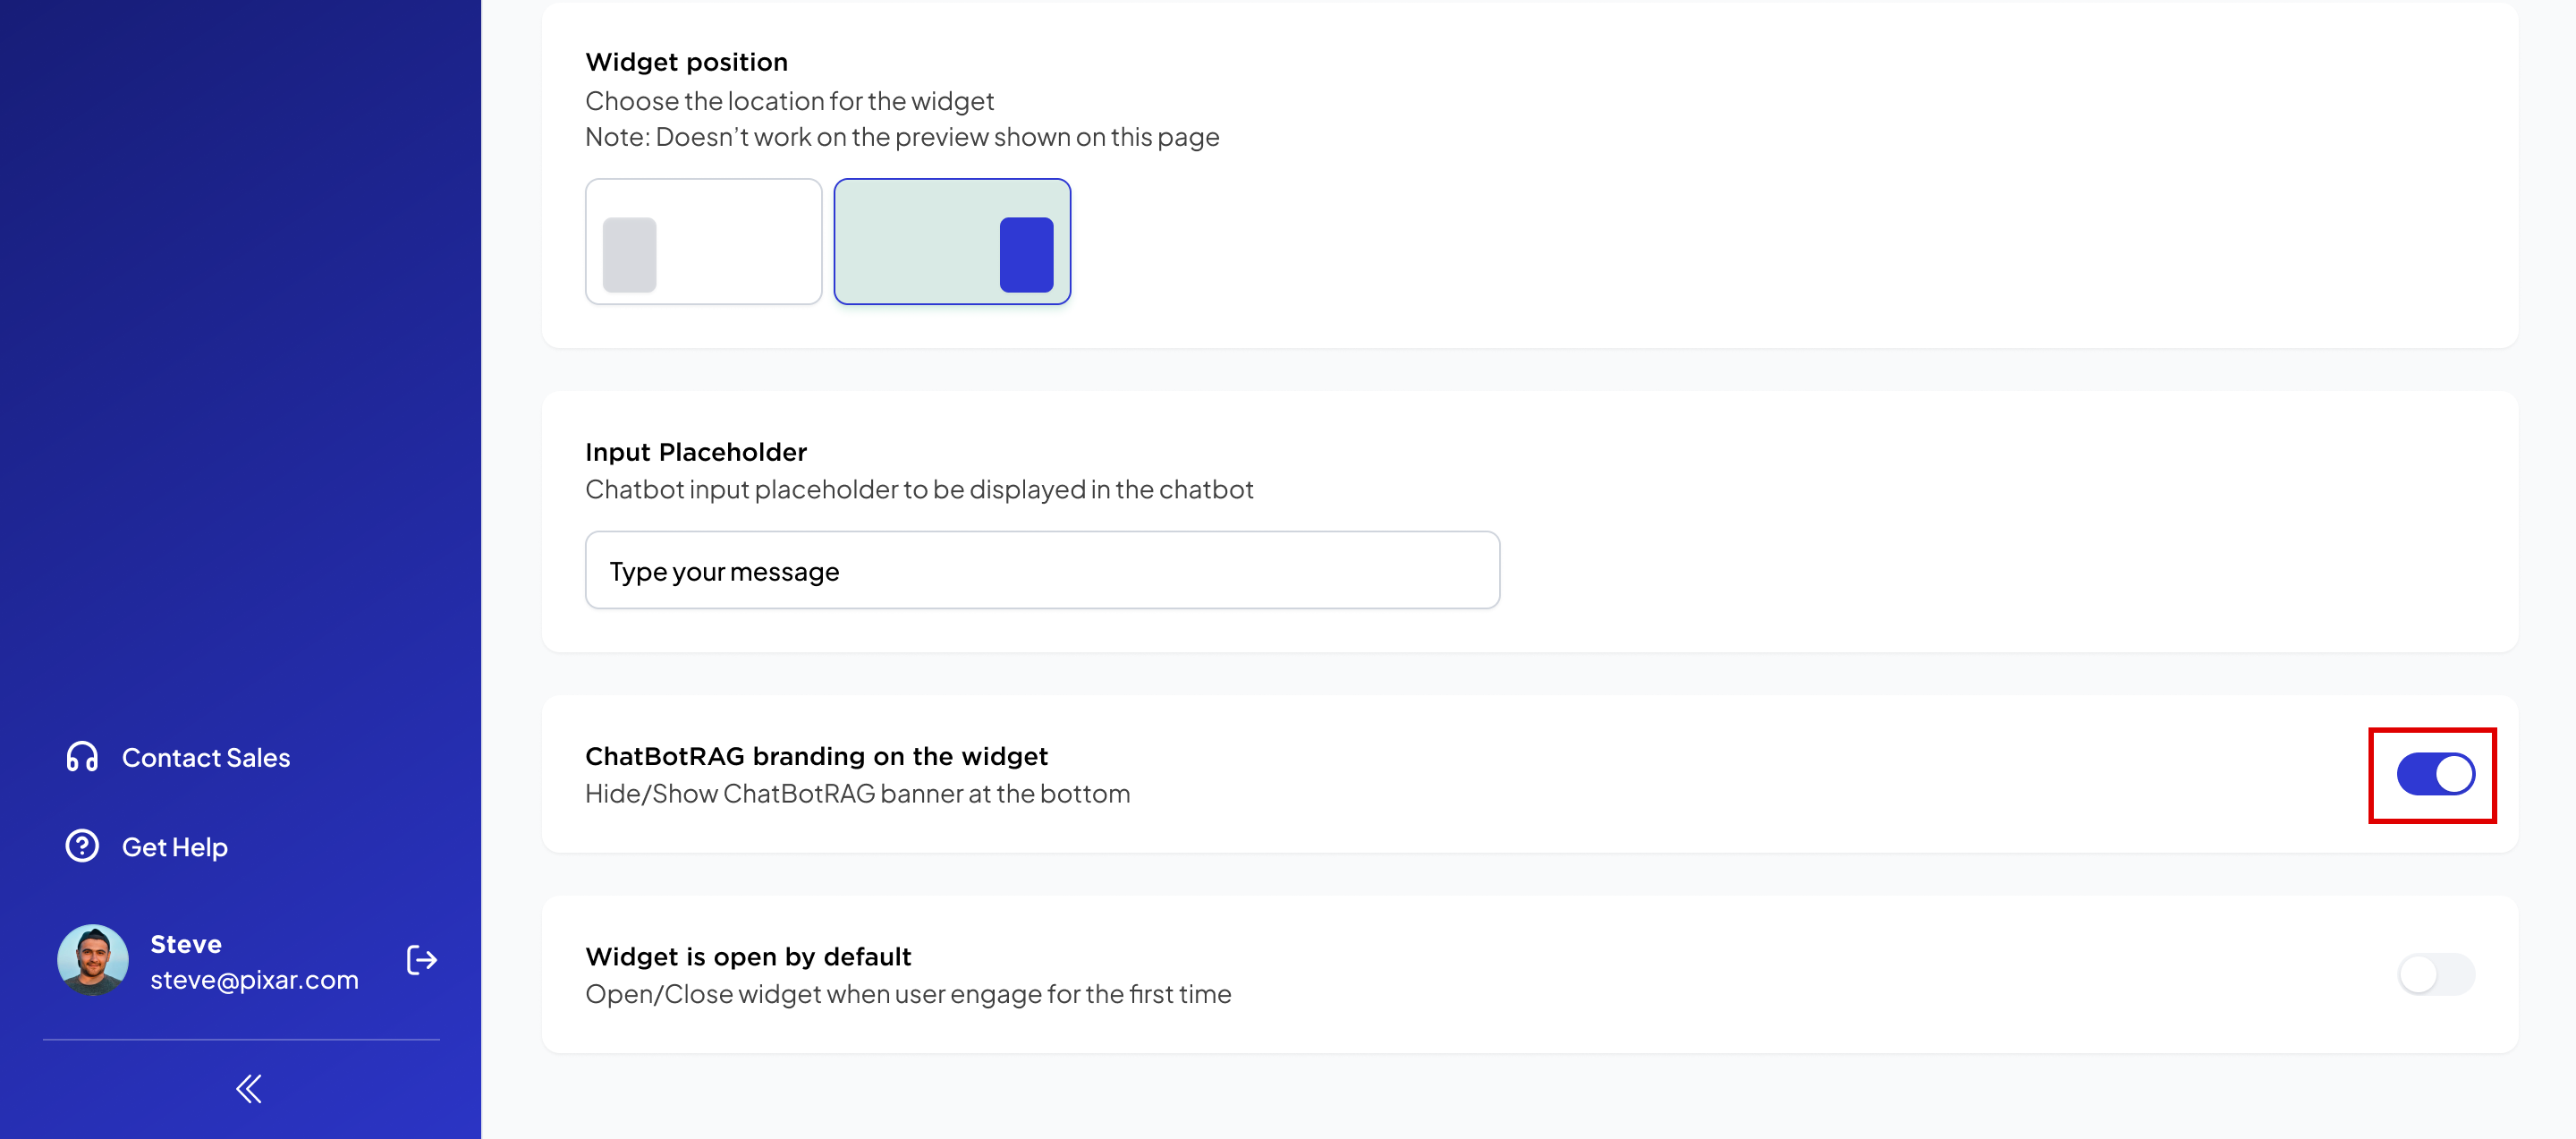
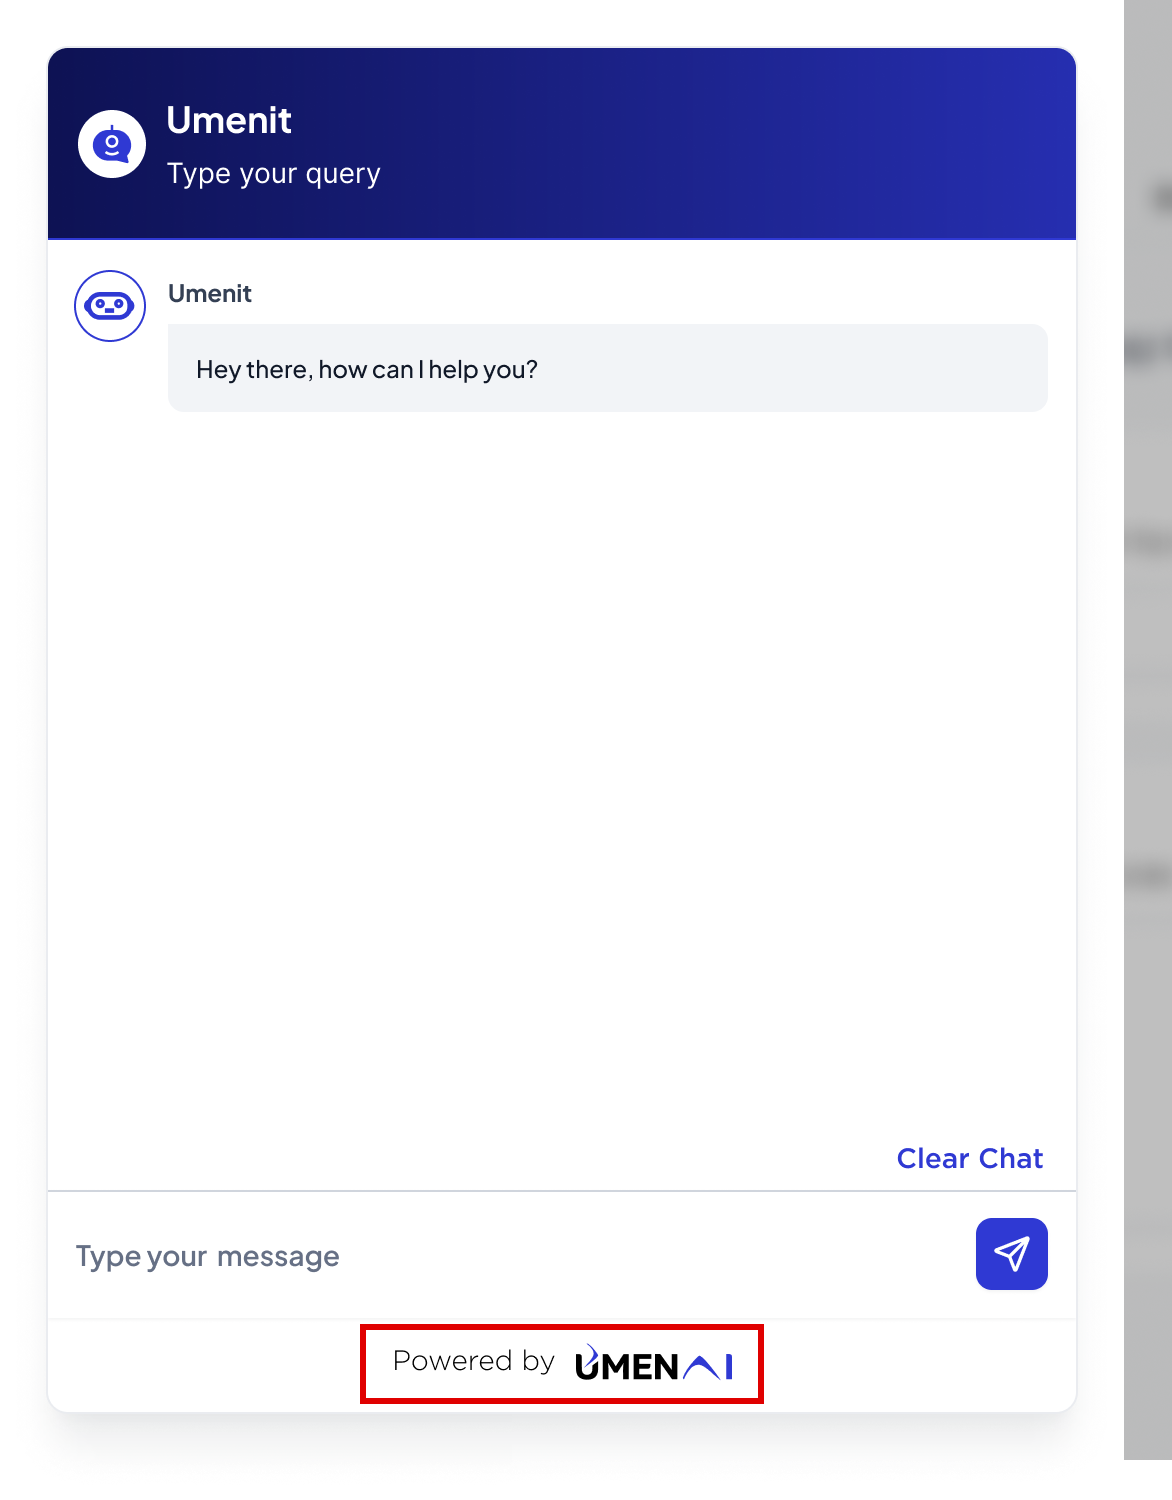
  9. Hide/Show UMENBot banner at the bottom: You can’t remove umenbot branding for free and popular plan. widget_show power_by
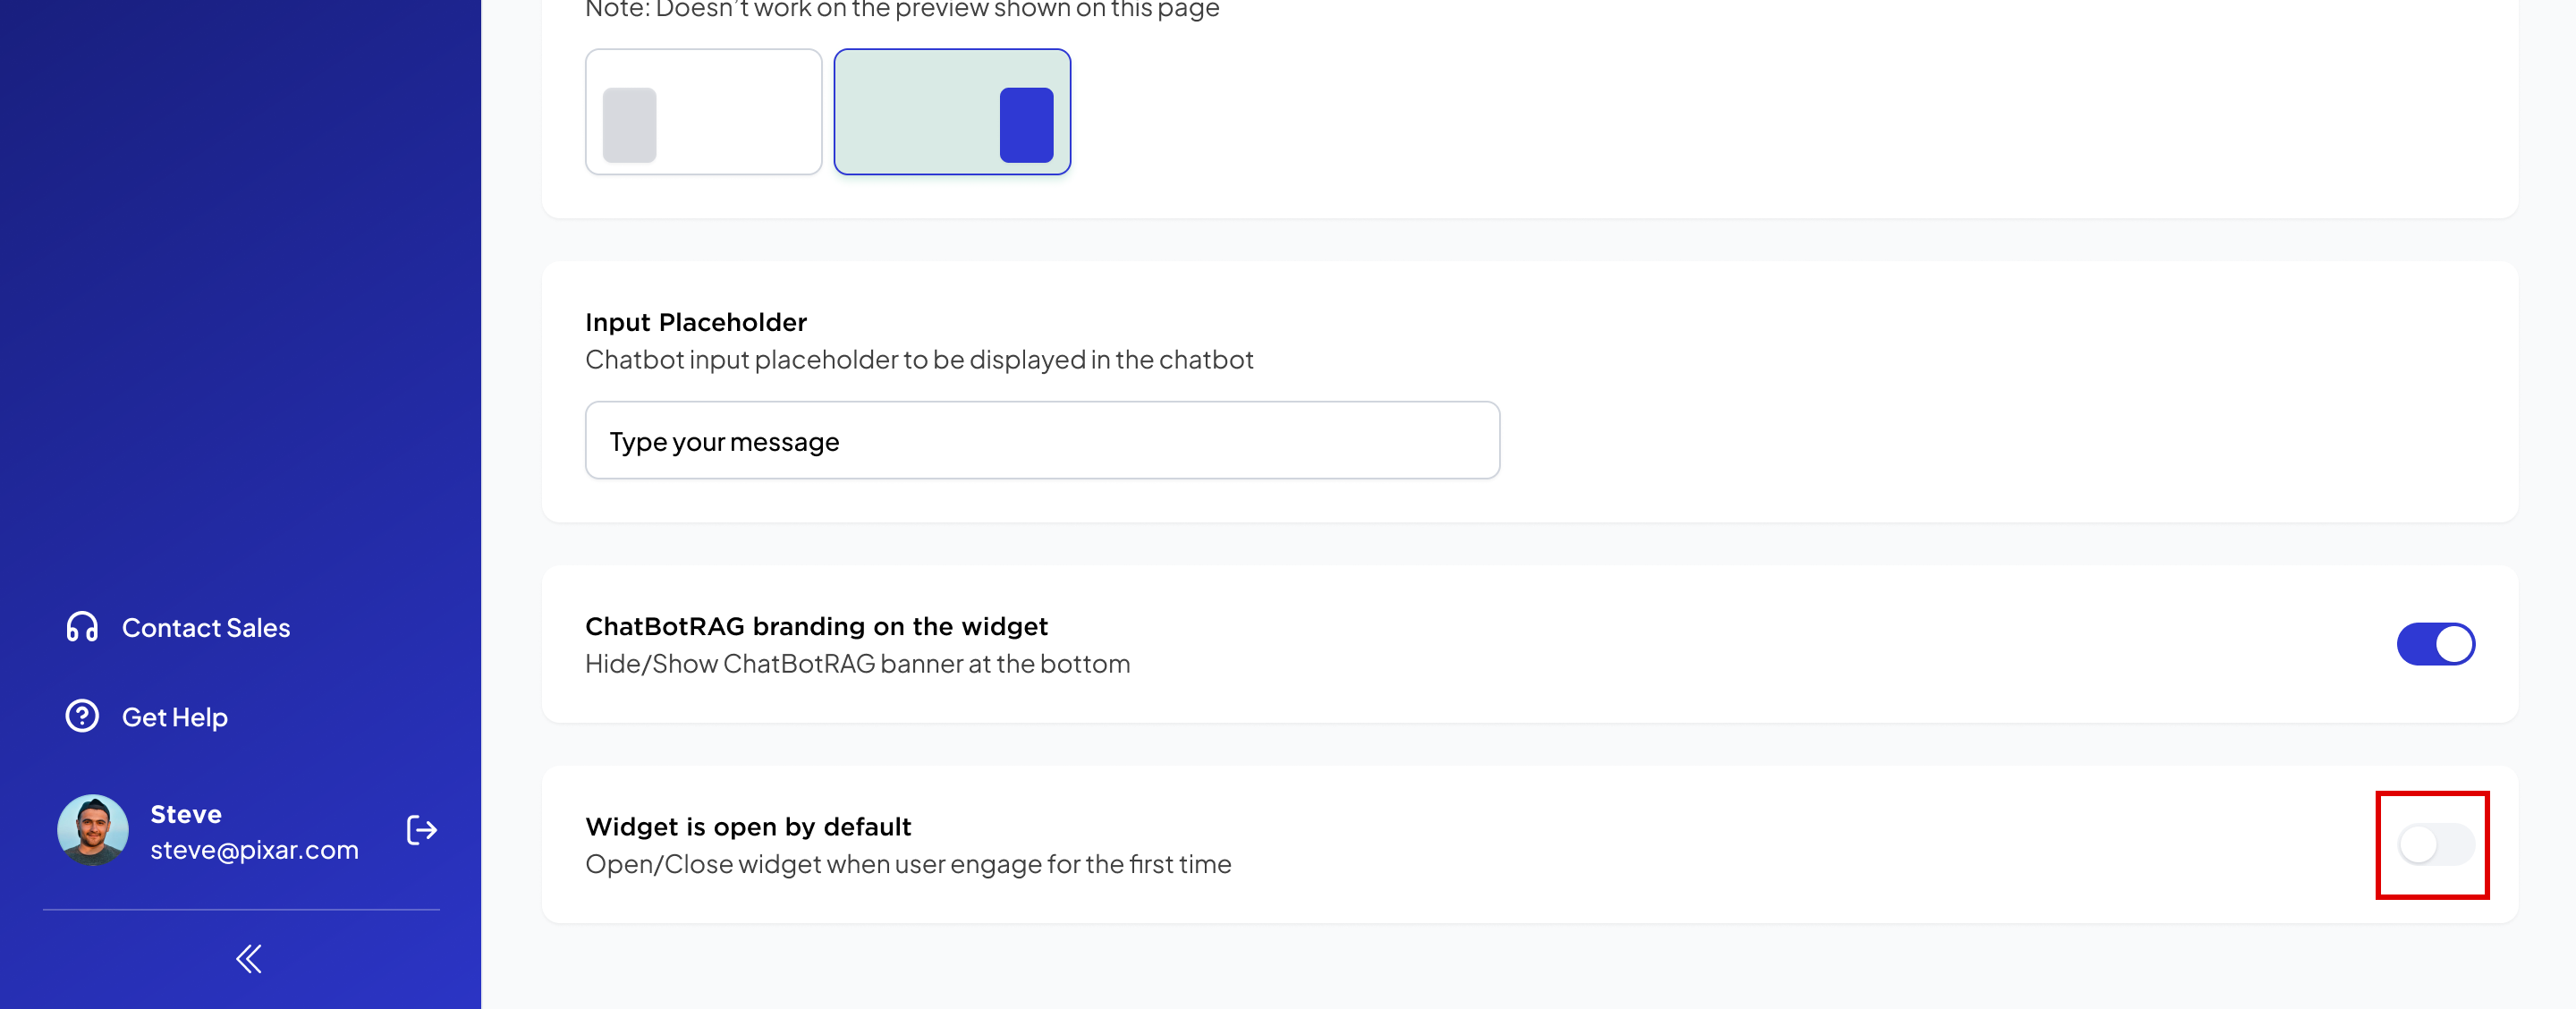
  10. Change the setting to open/close the widget by default. widget_open_close

Train your bot

Learn how to create your own chatbot and configure the basic settings required to use the bot. 

  1. Select Your Bot: Choose the bot for which you want to upload training sources.
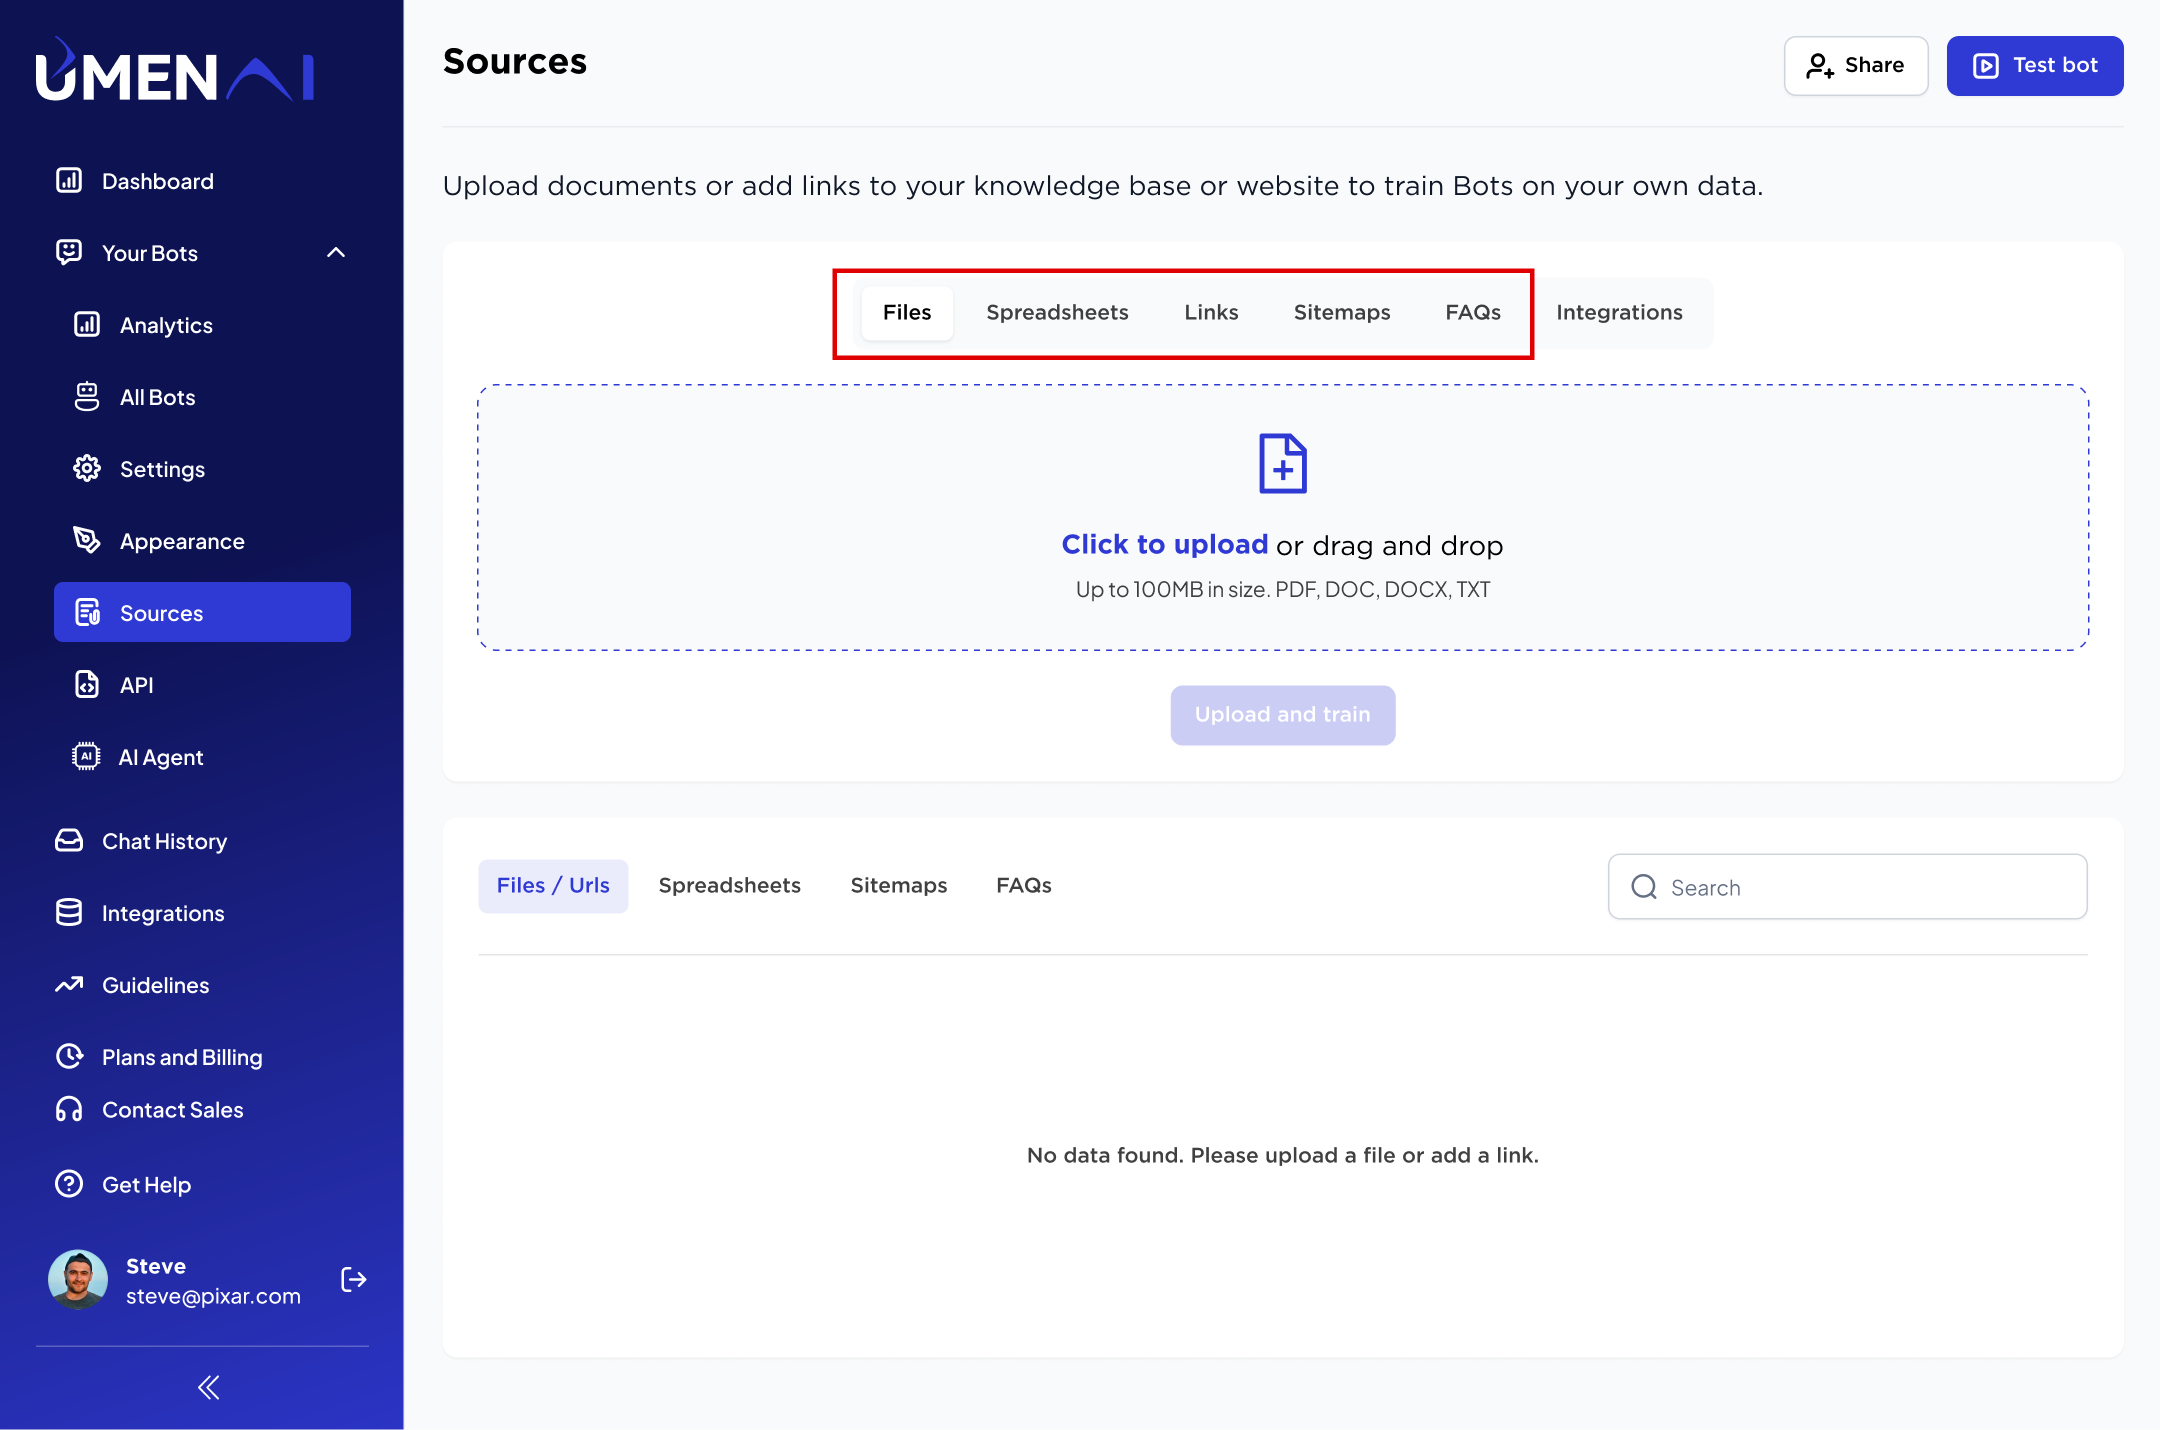
  2. Look for a menu or tab labeled ‘Source’. This section is where you can manage your bot’s training materials. menu
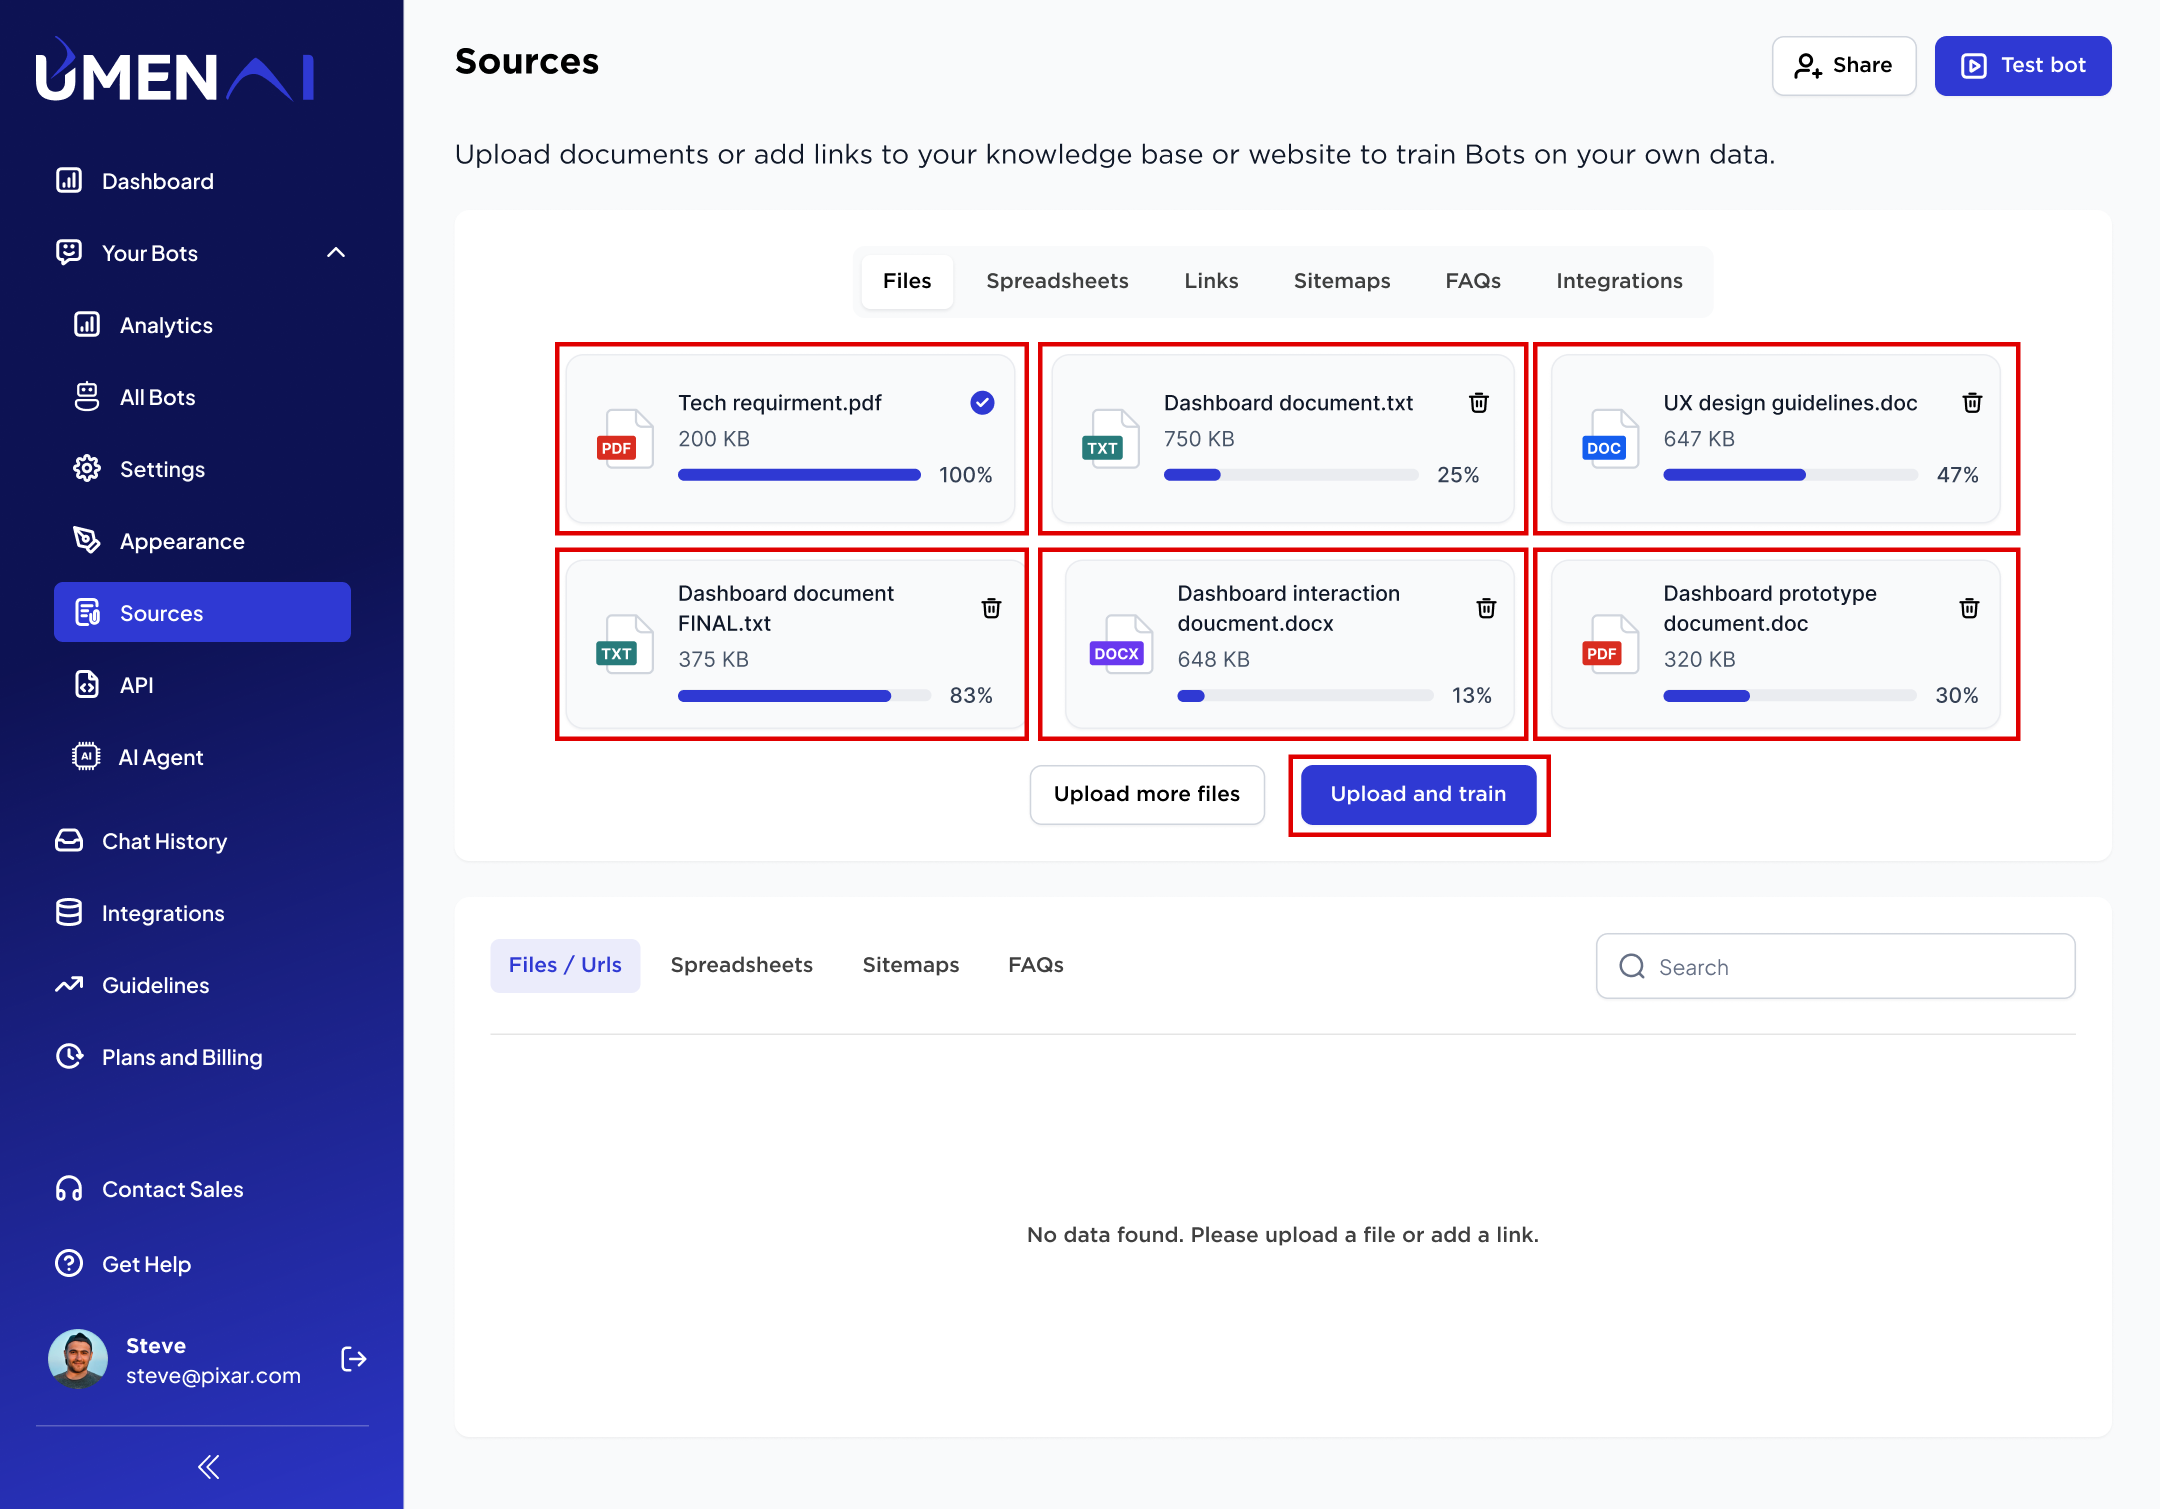
  3. Files: A file dialog will open. Select the file or files you want to upload. Common file types include text PDF, PPT, DOCX, TXT. file_upload
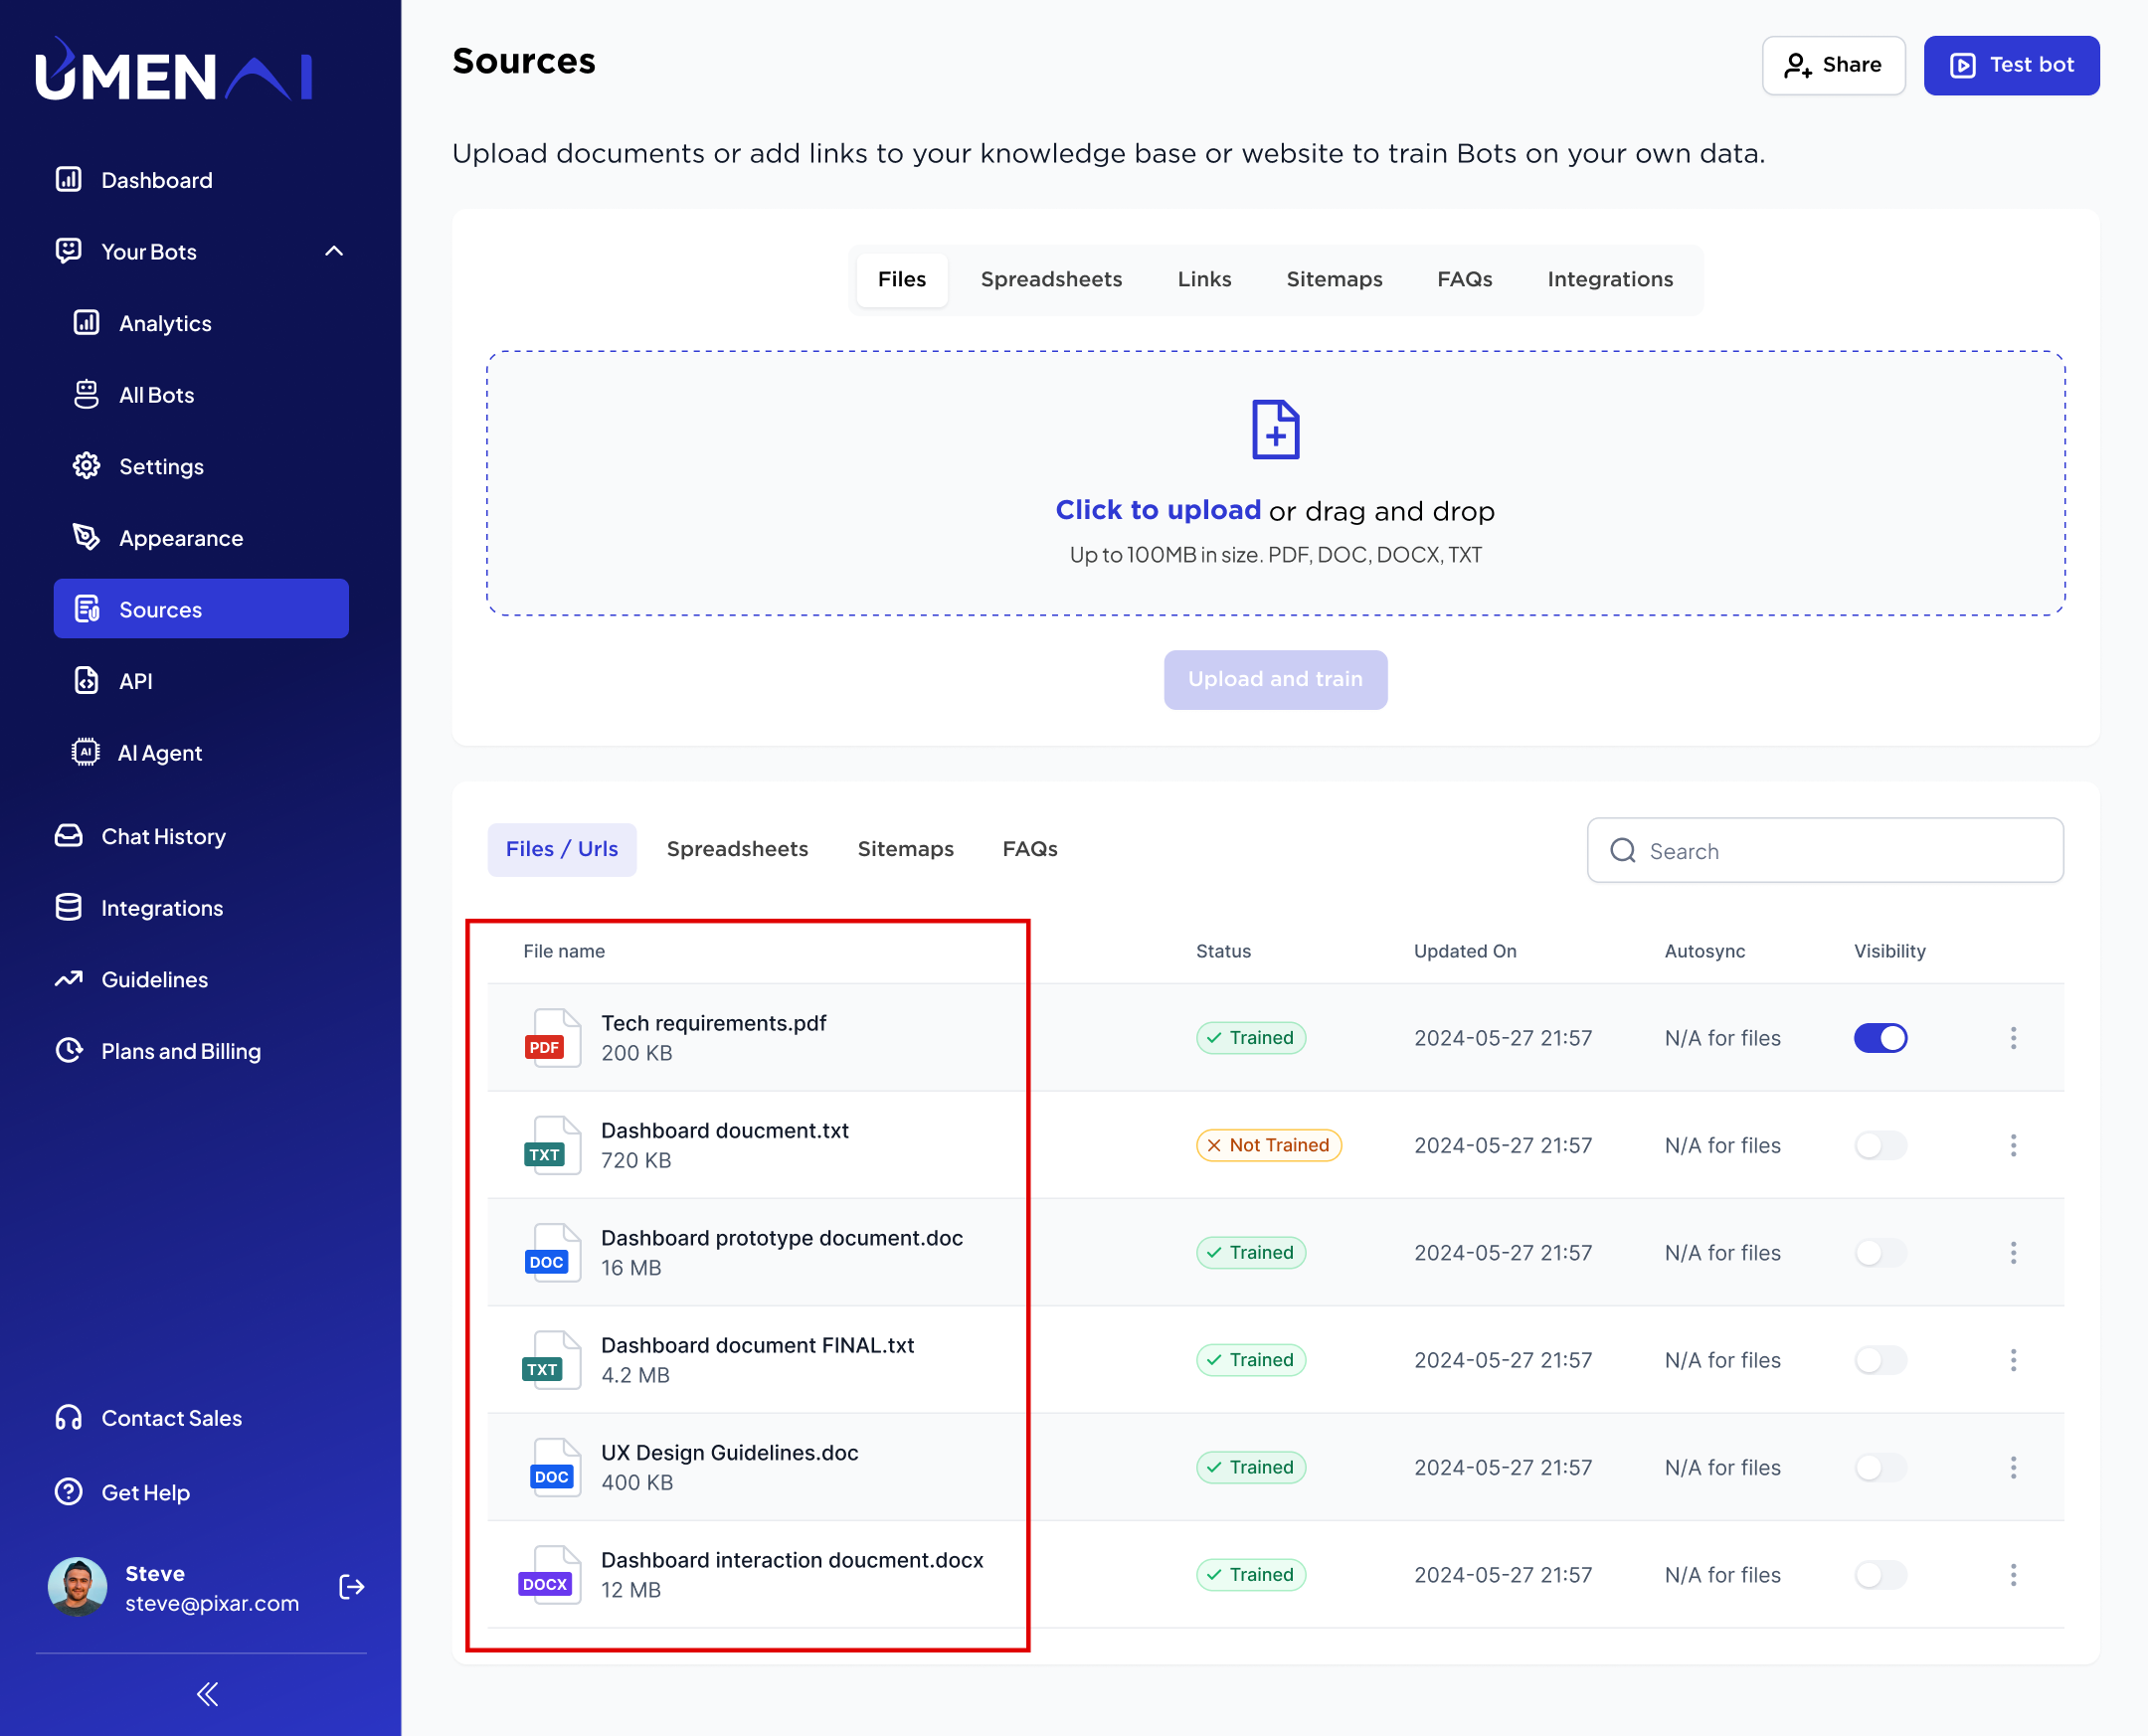
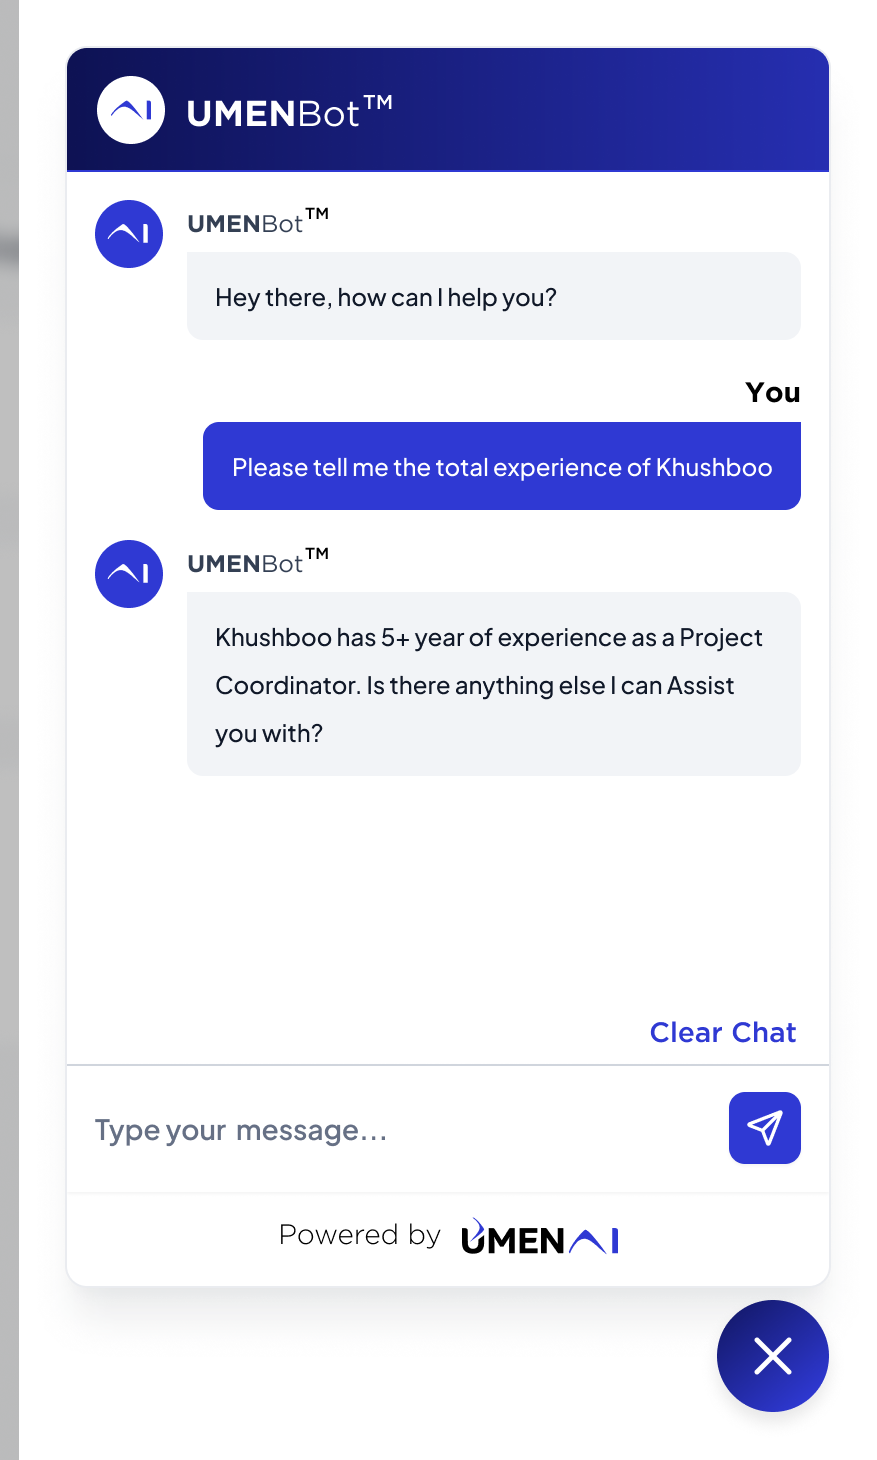
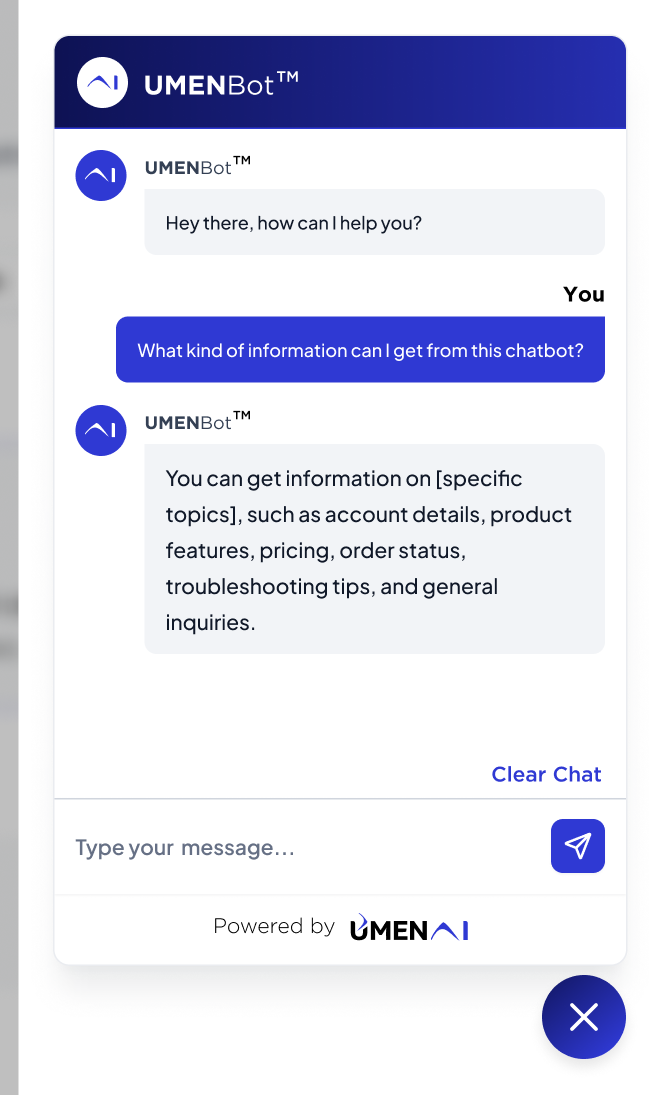
  4. Once all files are uploaded, conduct tests to ensure that the bot is responding correctly with the newly uploaded training sources. show_listing chatbot
  5. Make adjustments as needed based on test results.
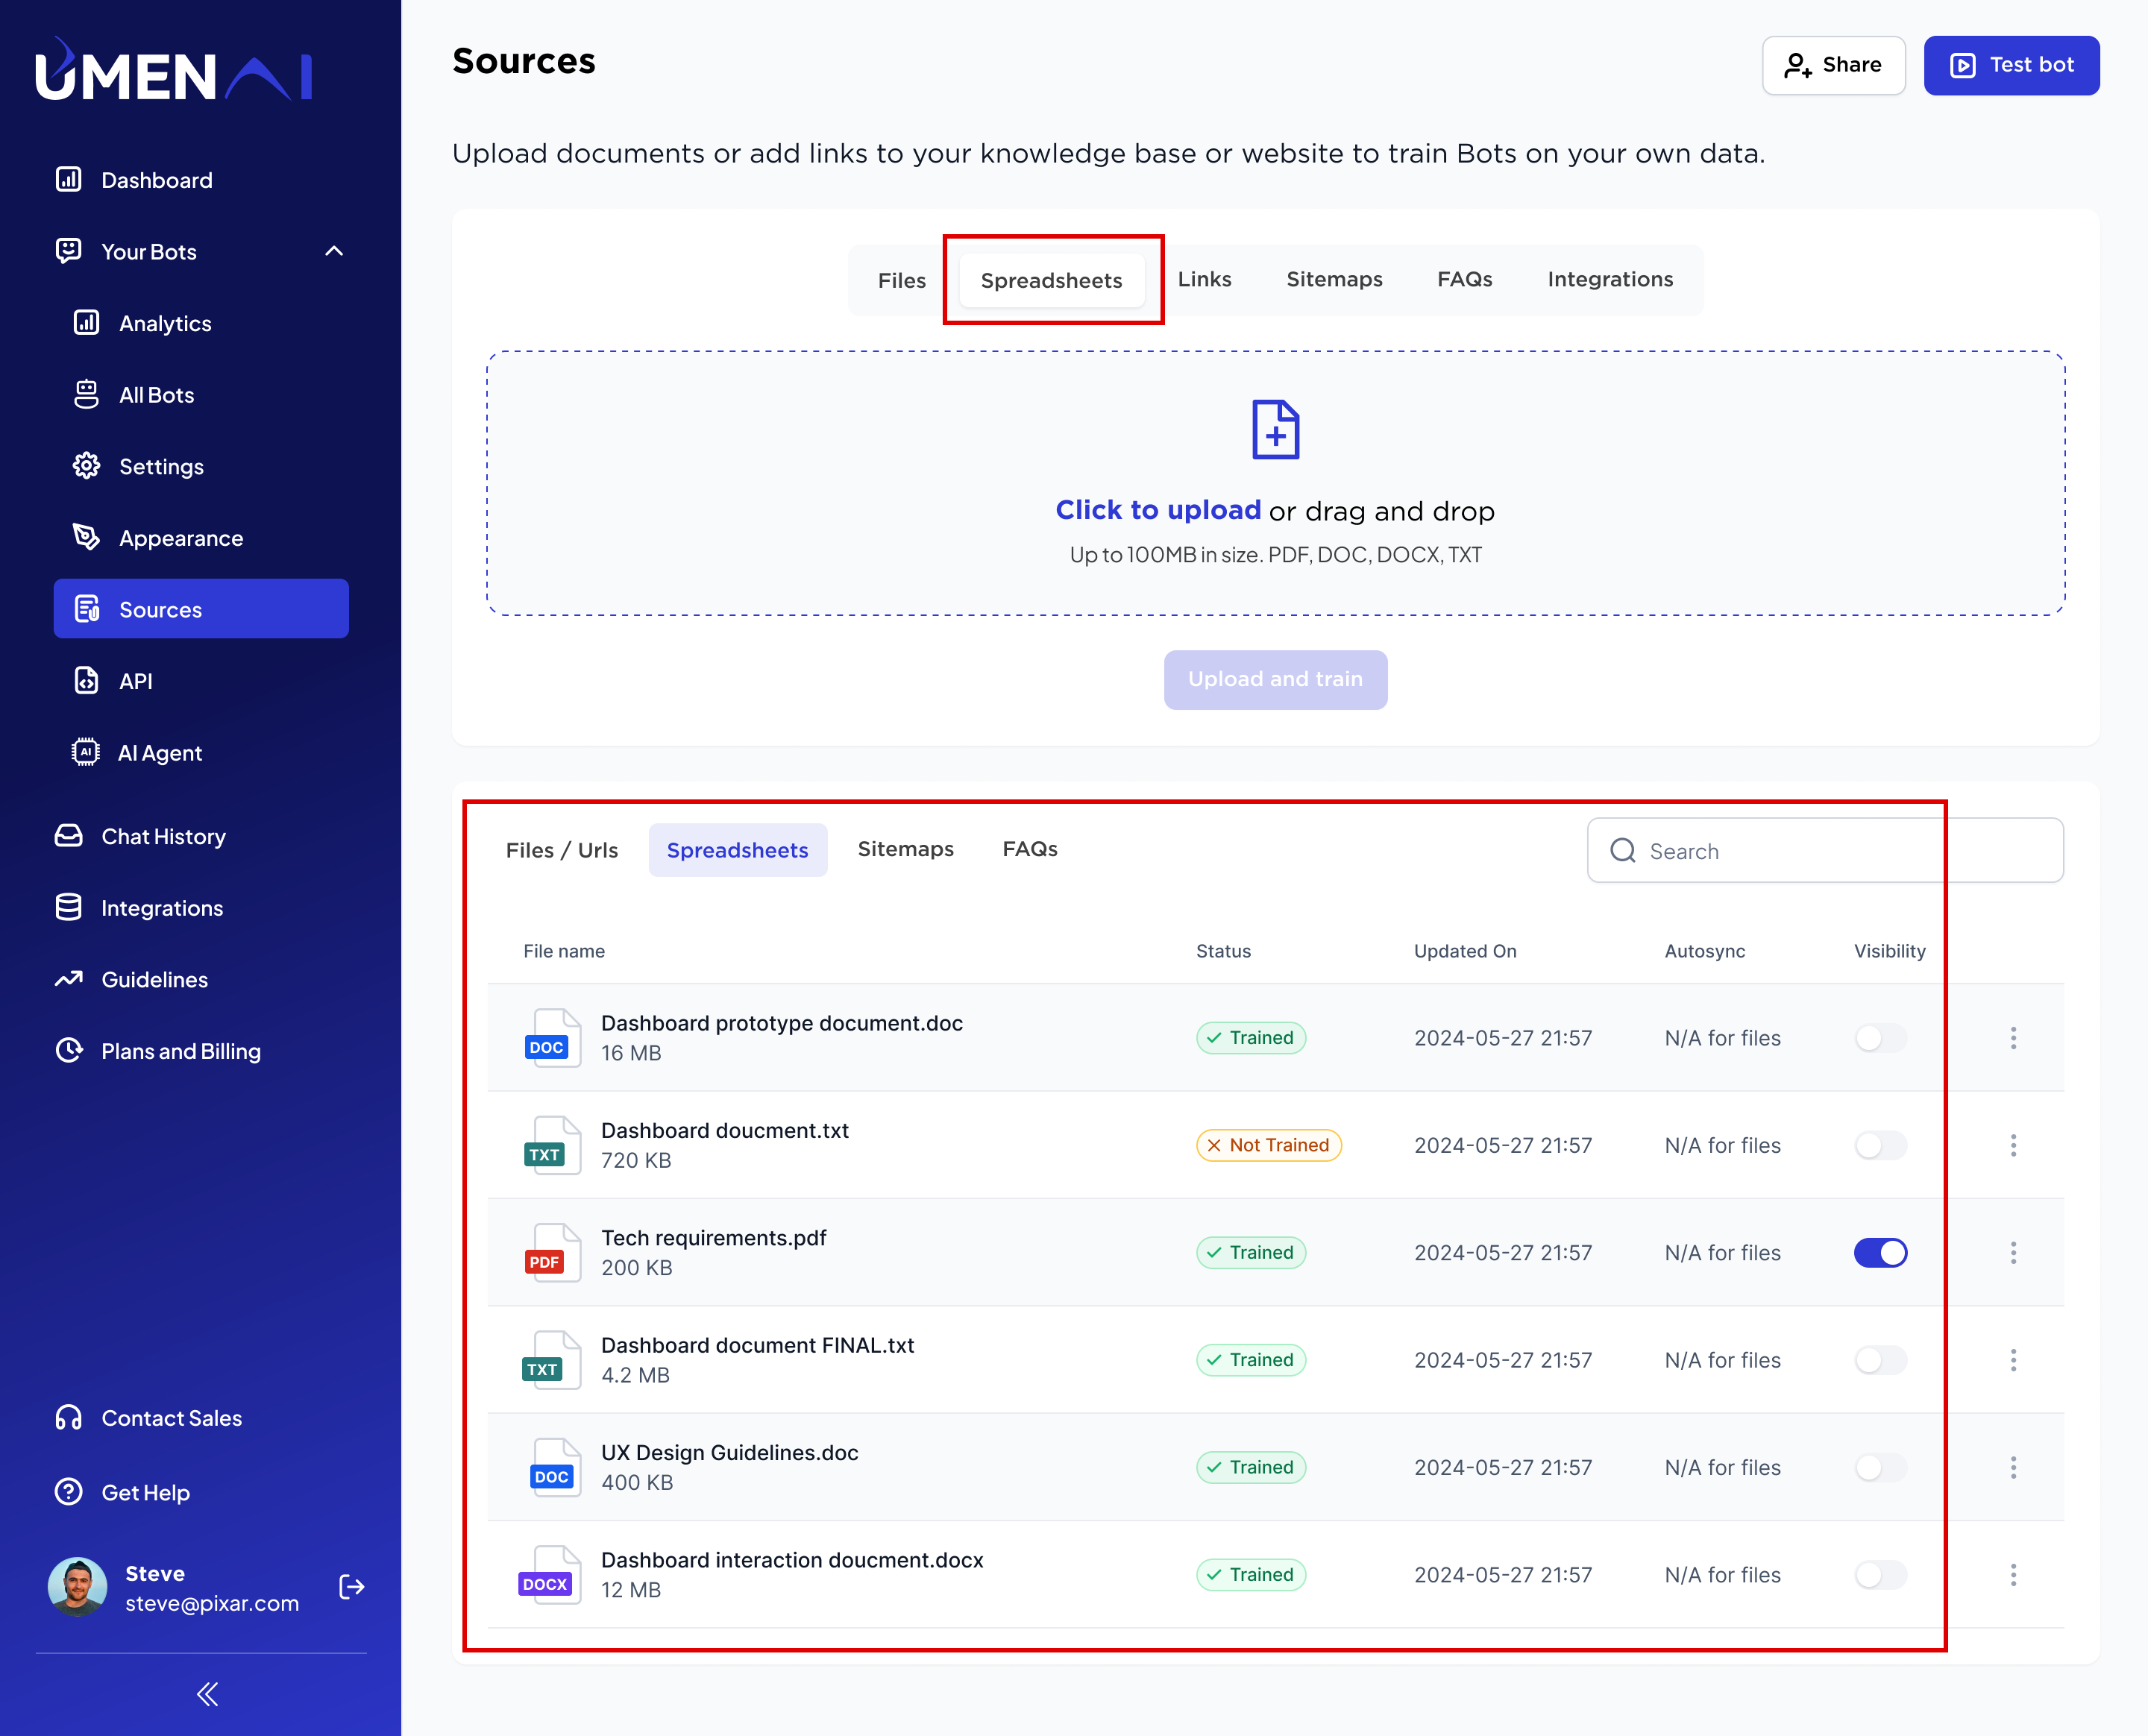
  6. Similarly, you can upload CSV and Excel under the spreadsheet section. show_Excel
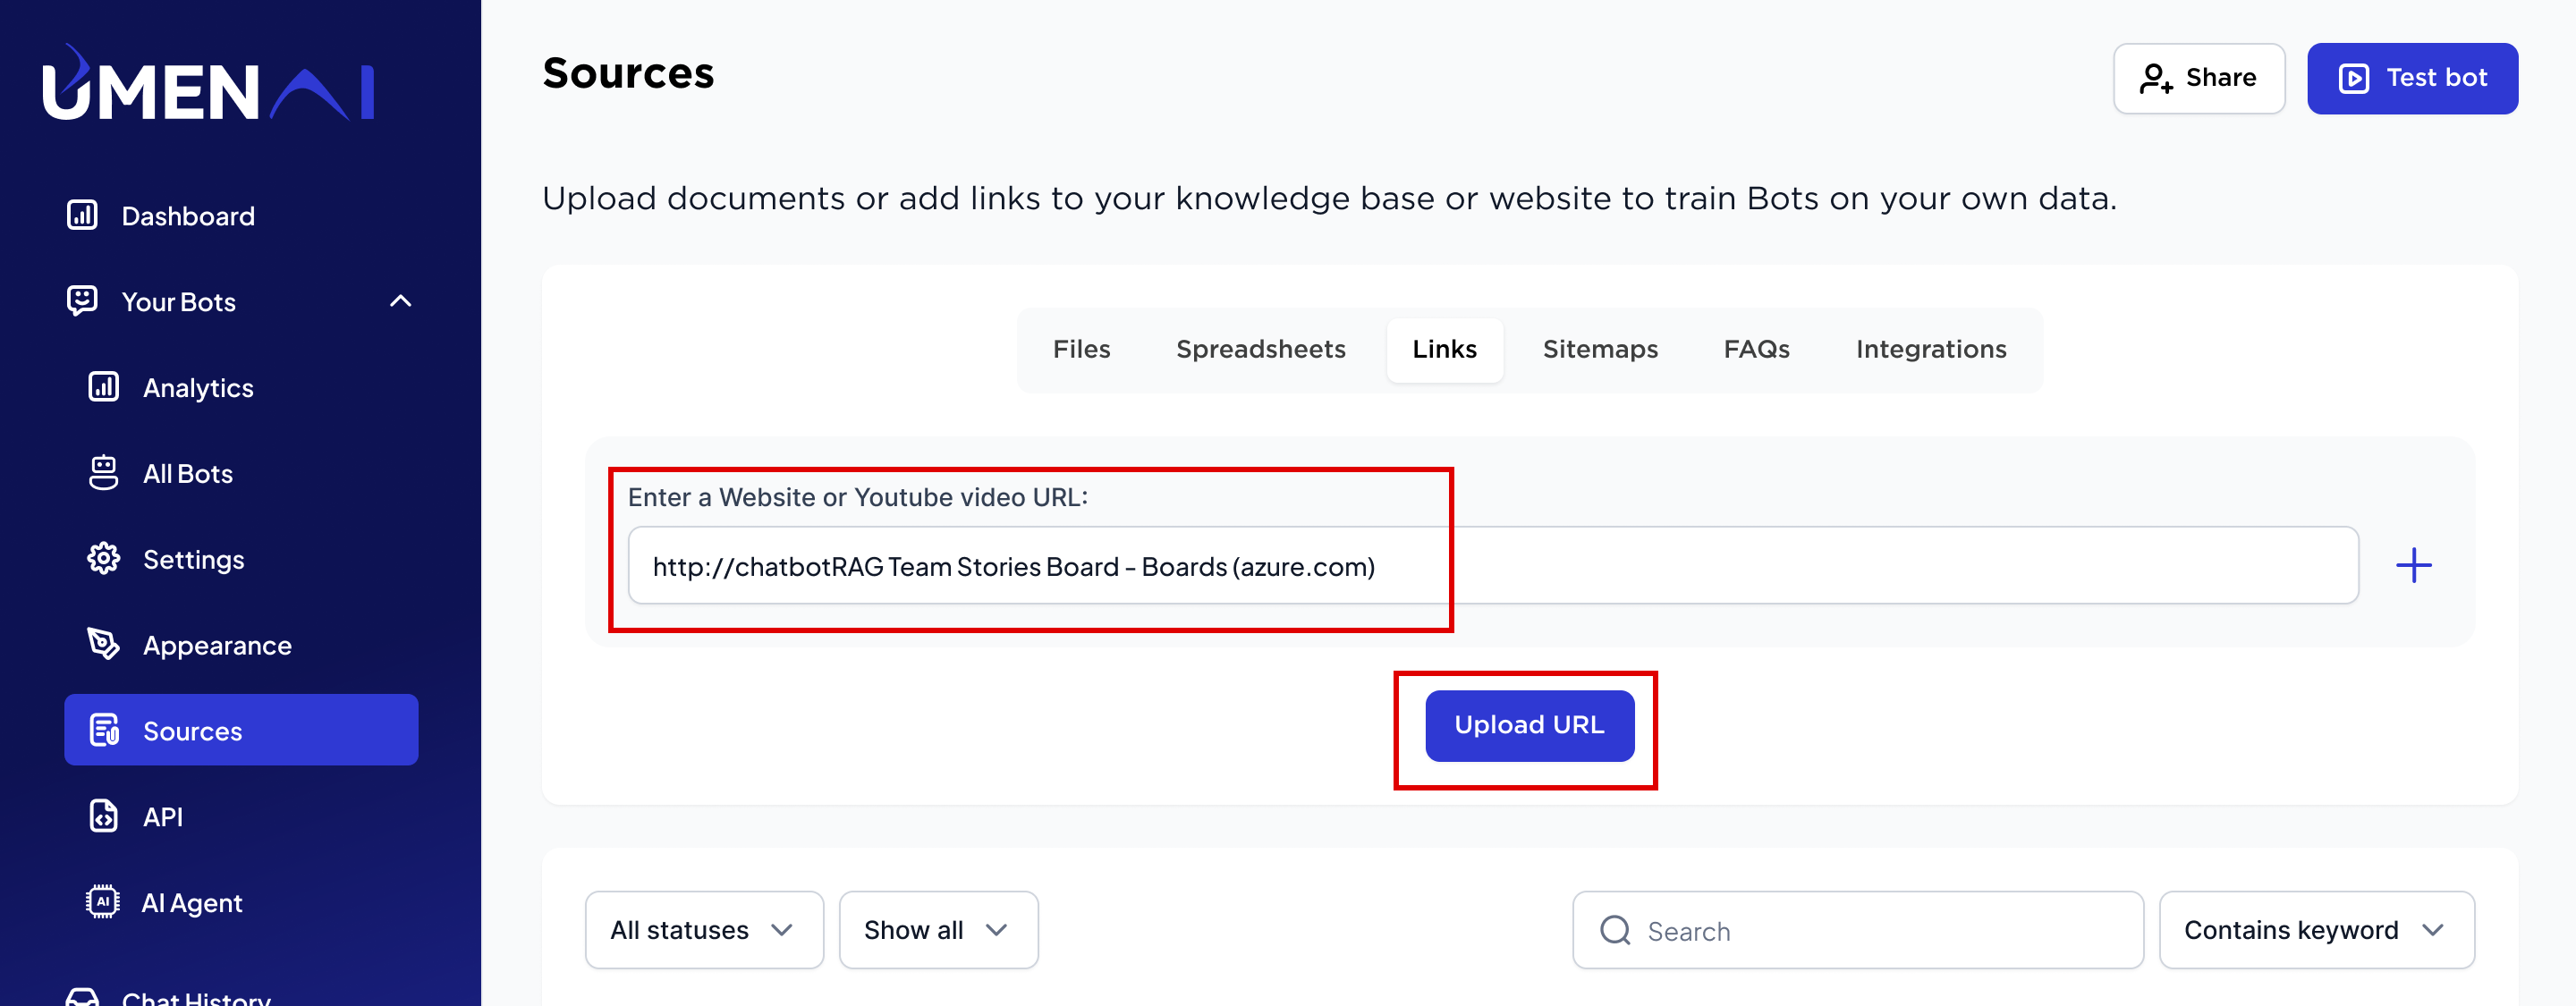
  7. Links: Enter the URL from which you want to scrape the data and then click on upload URL. url
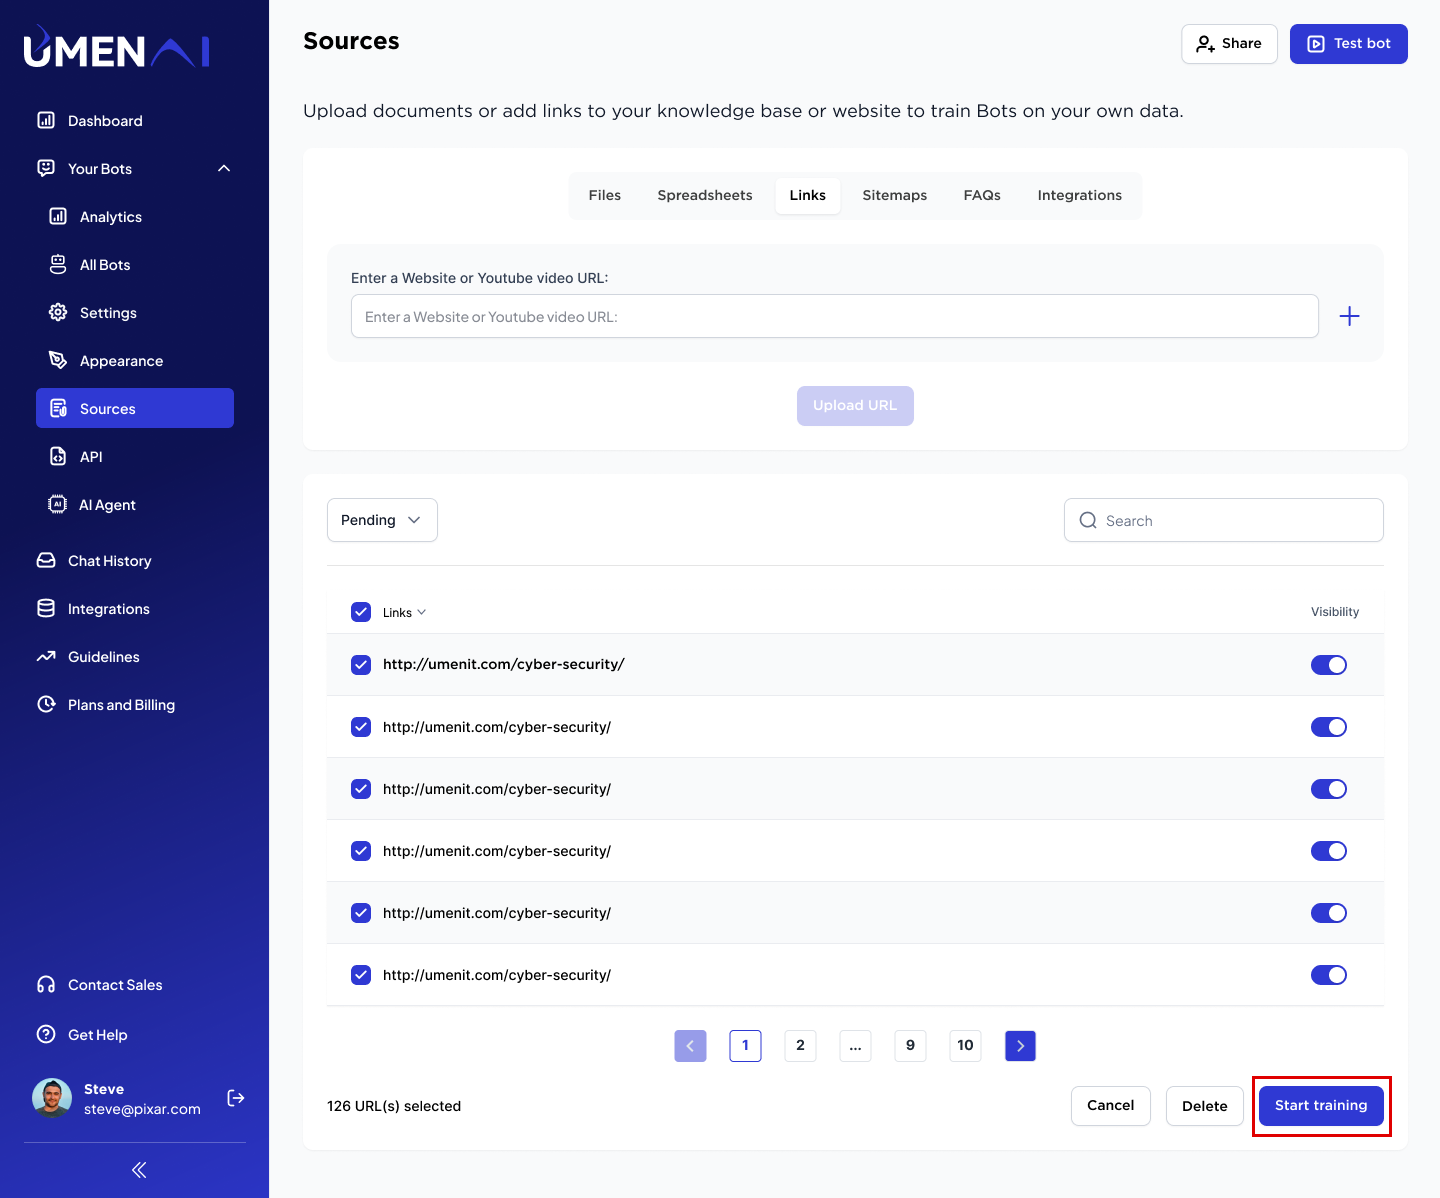
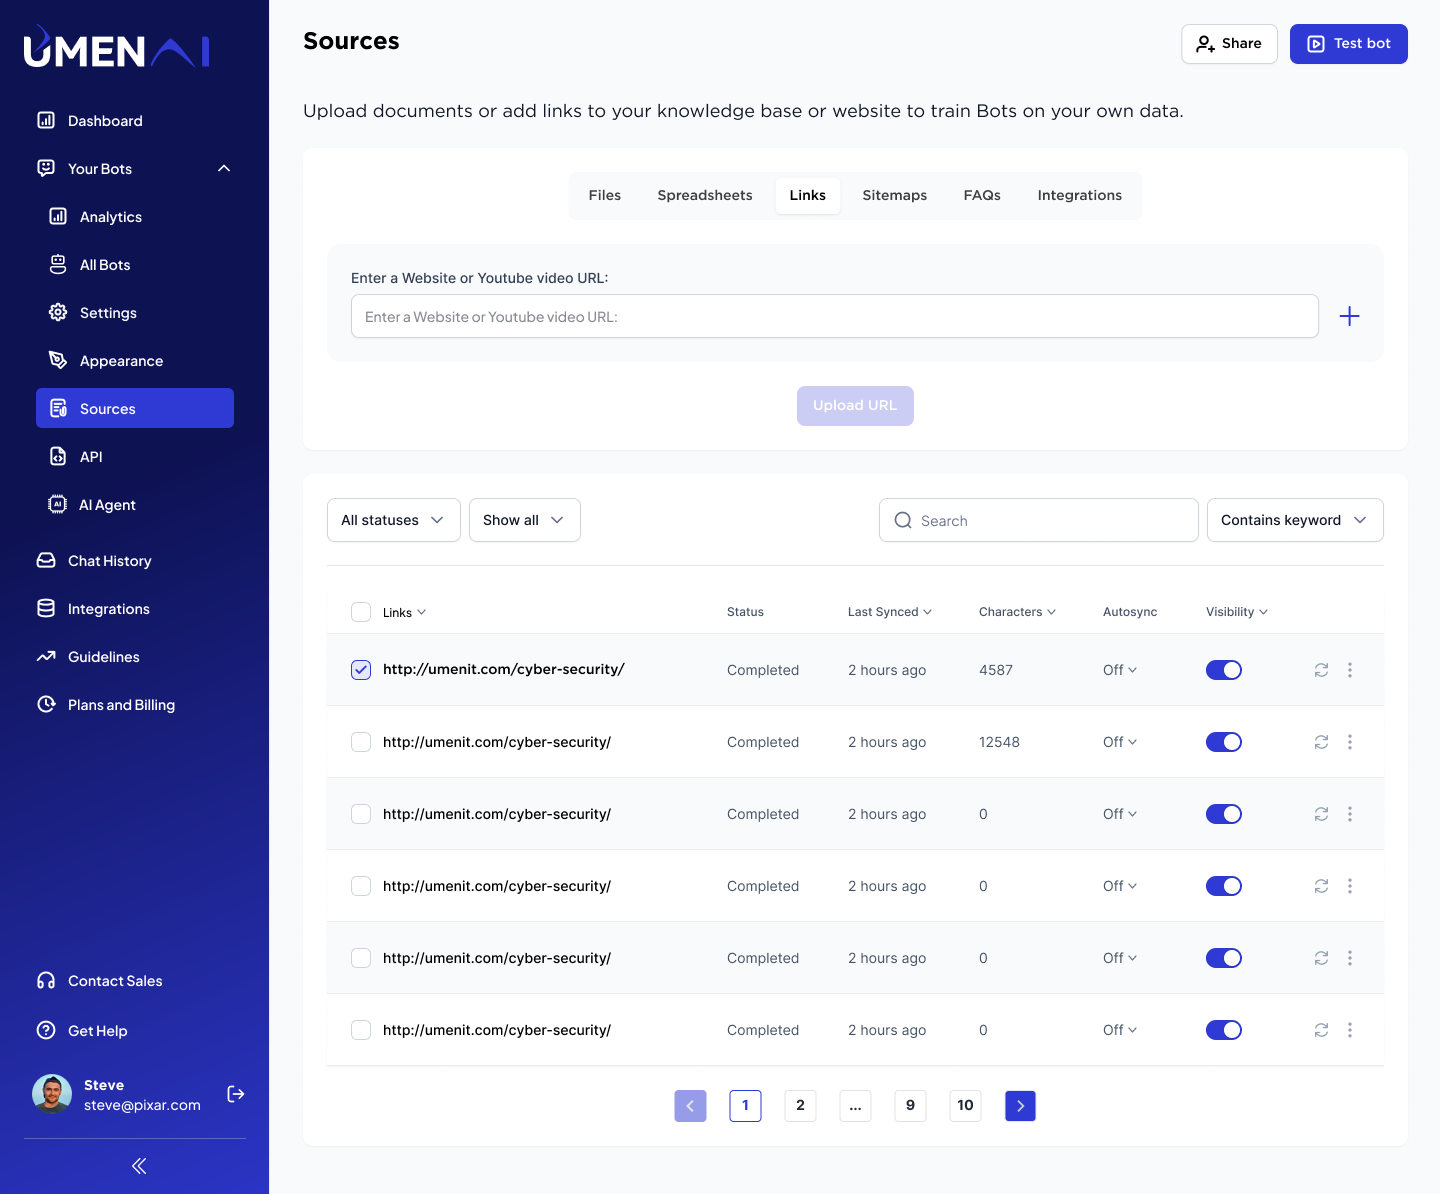
  8. Select the URL and click on “Start Training” button. start_training
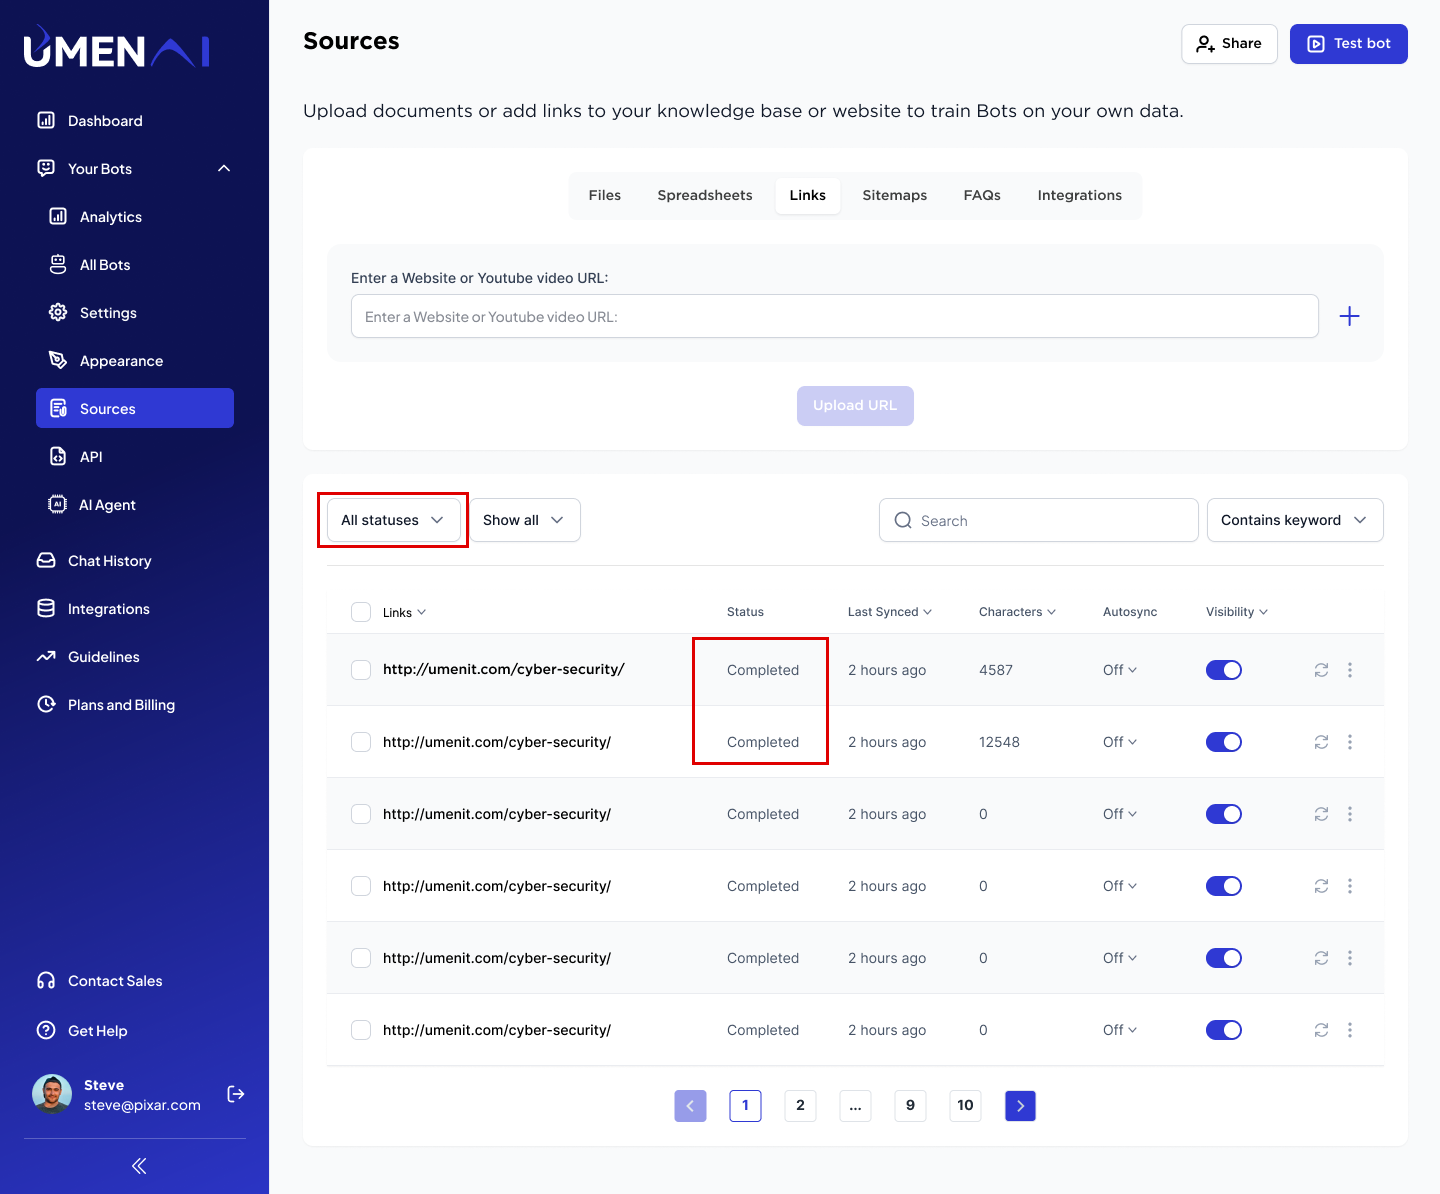
  9. Select “All Status” and check the status of all URLs. Wait until all the links show the status of “Completed.” status

    Once completed start testing your chatbot.

    listing chatbot
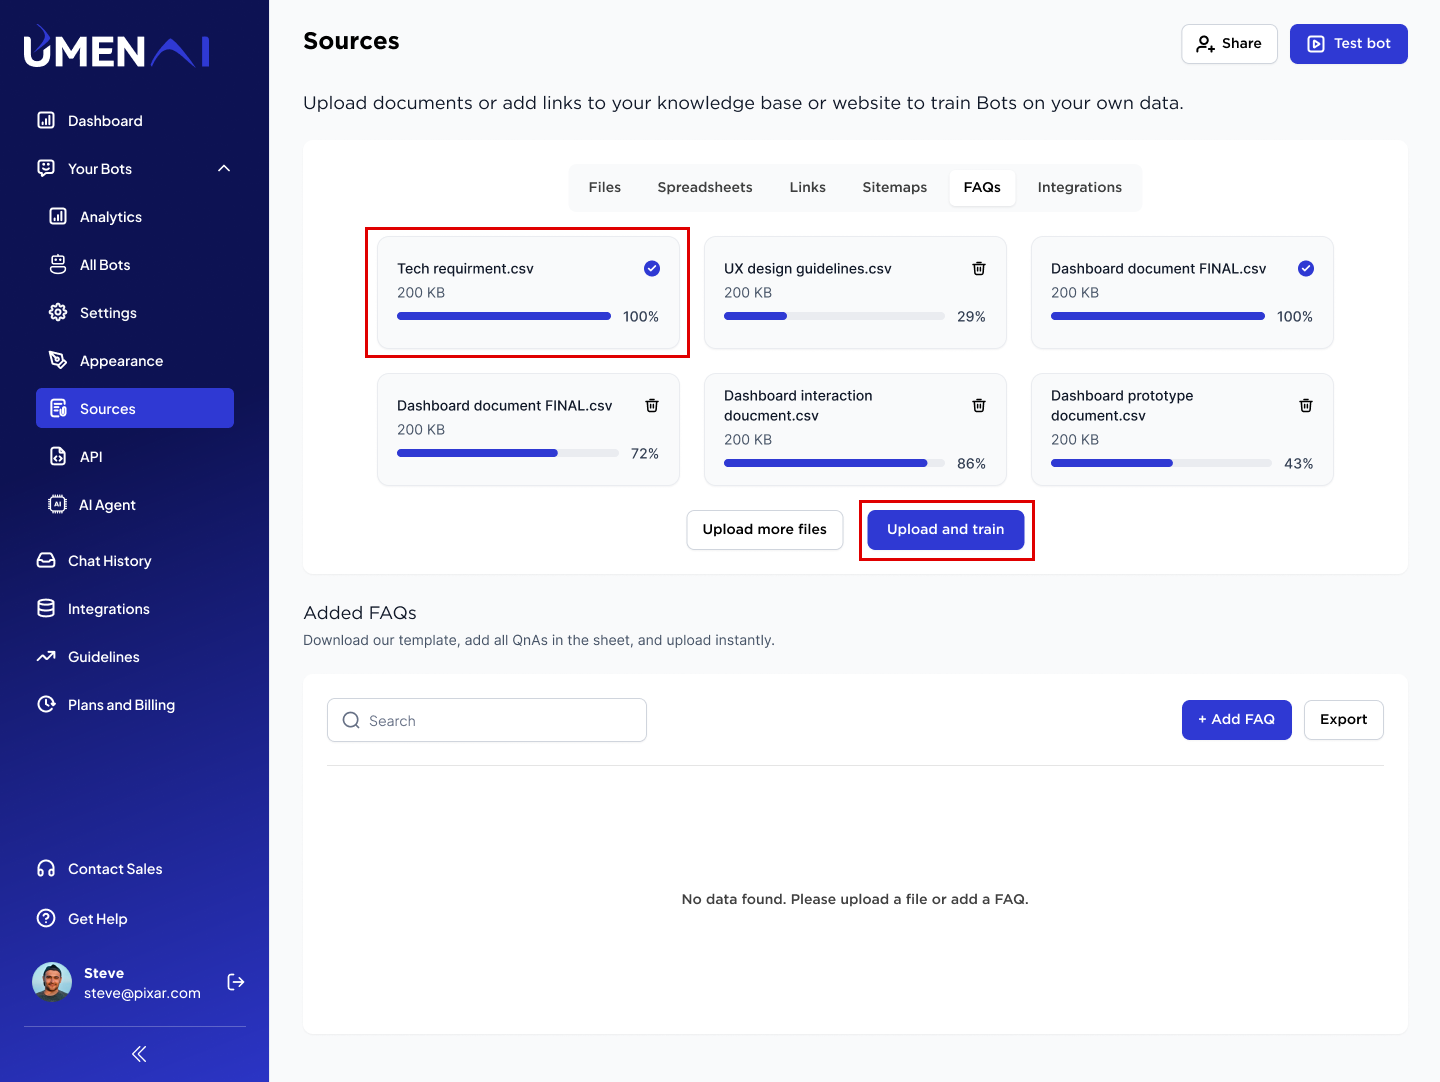
  10. FAQ: Download FAQ template start adding your data in the required format. Upload only csv or excel. download

    Upload file and click on upload and train

    source

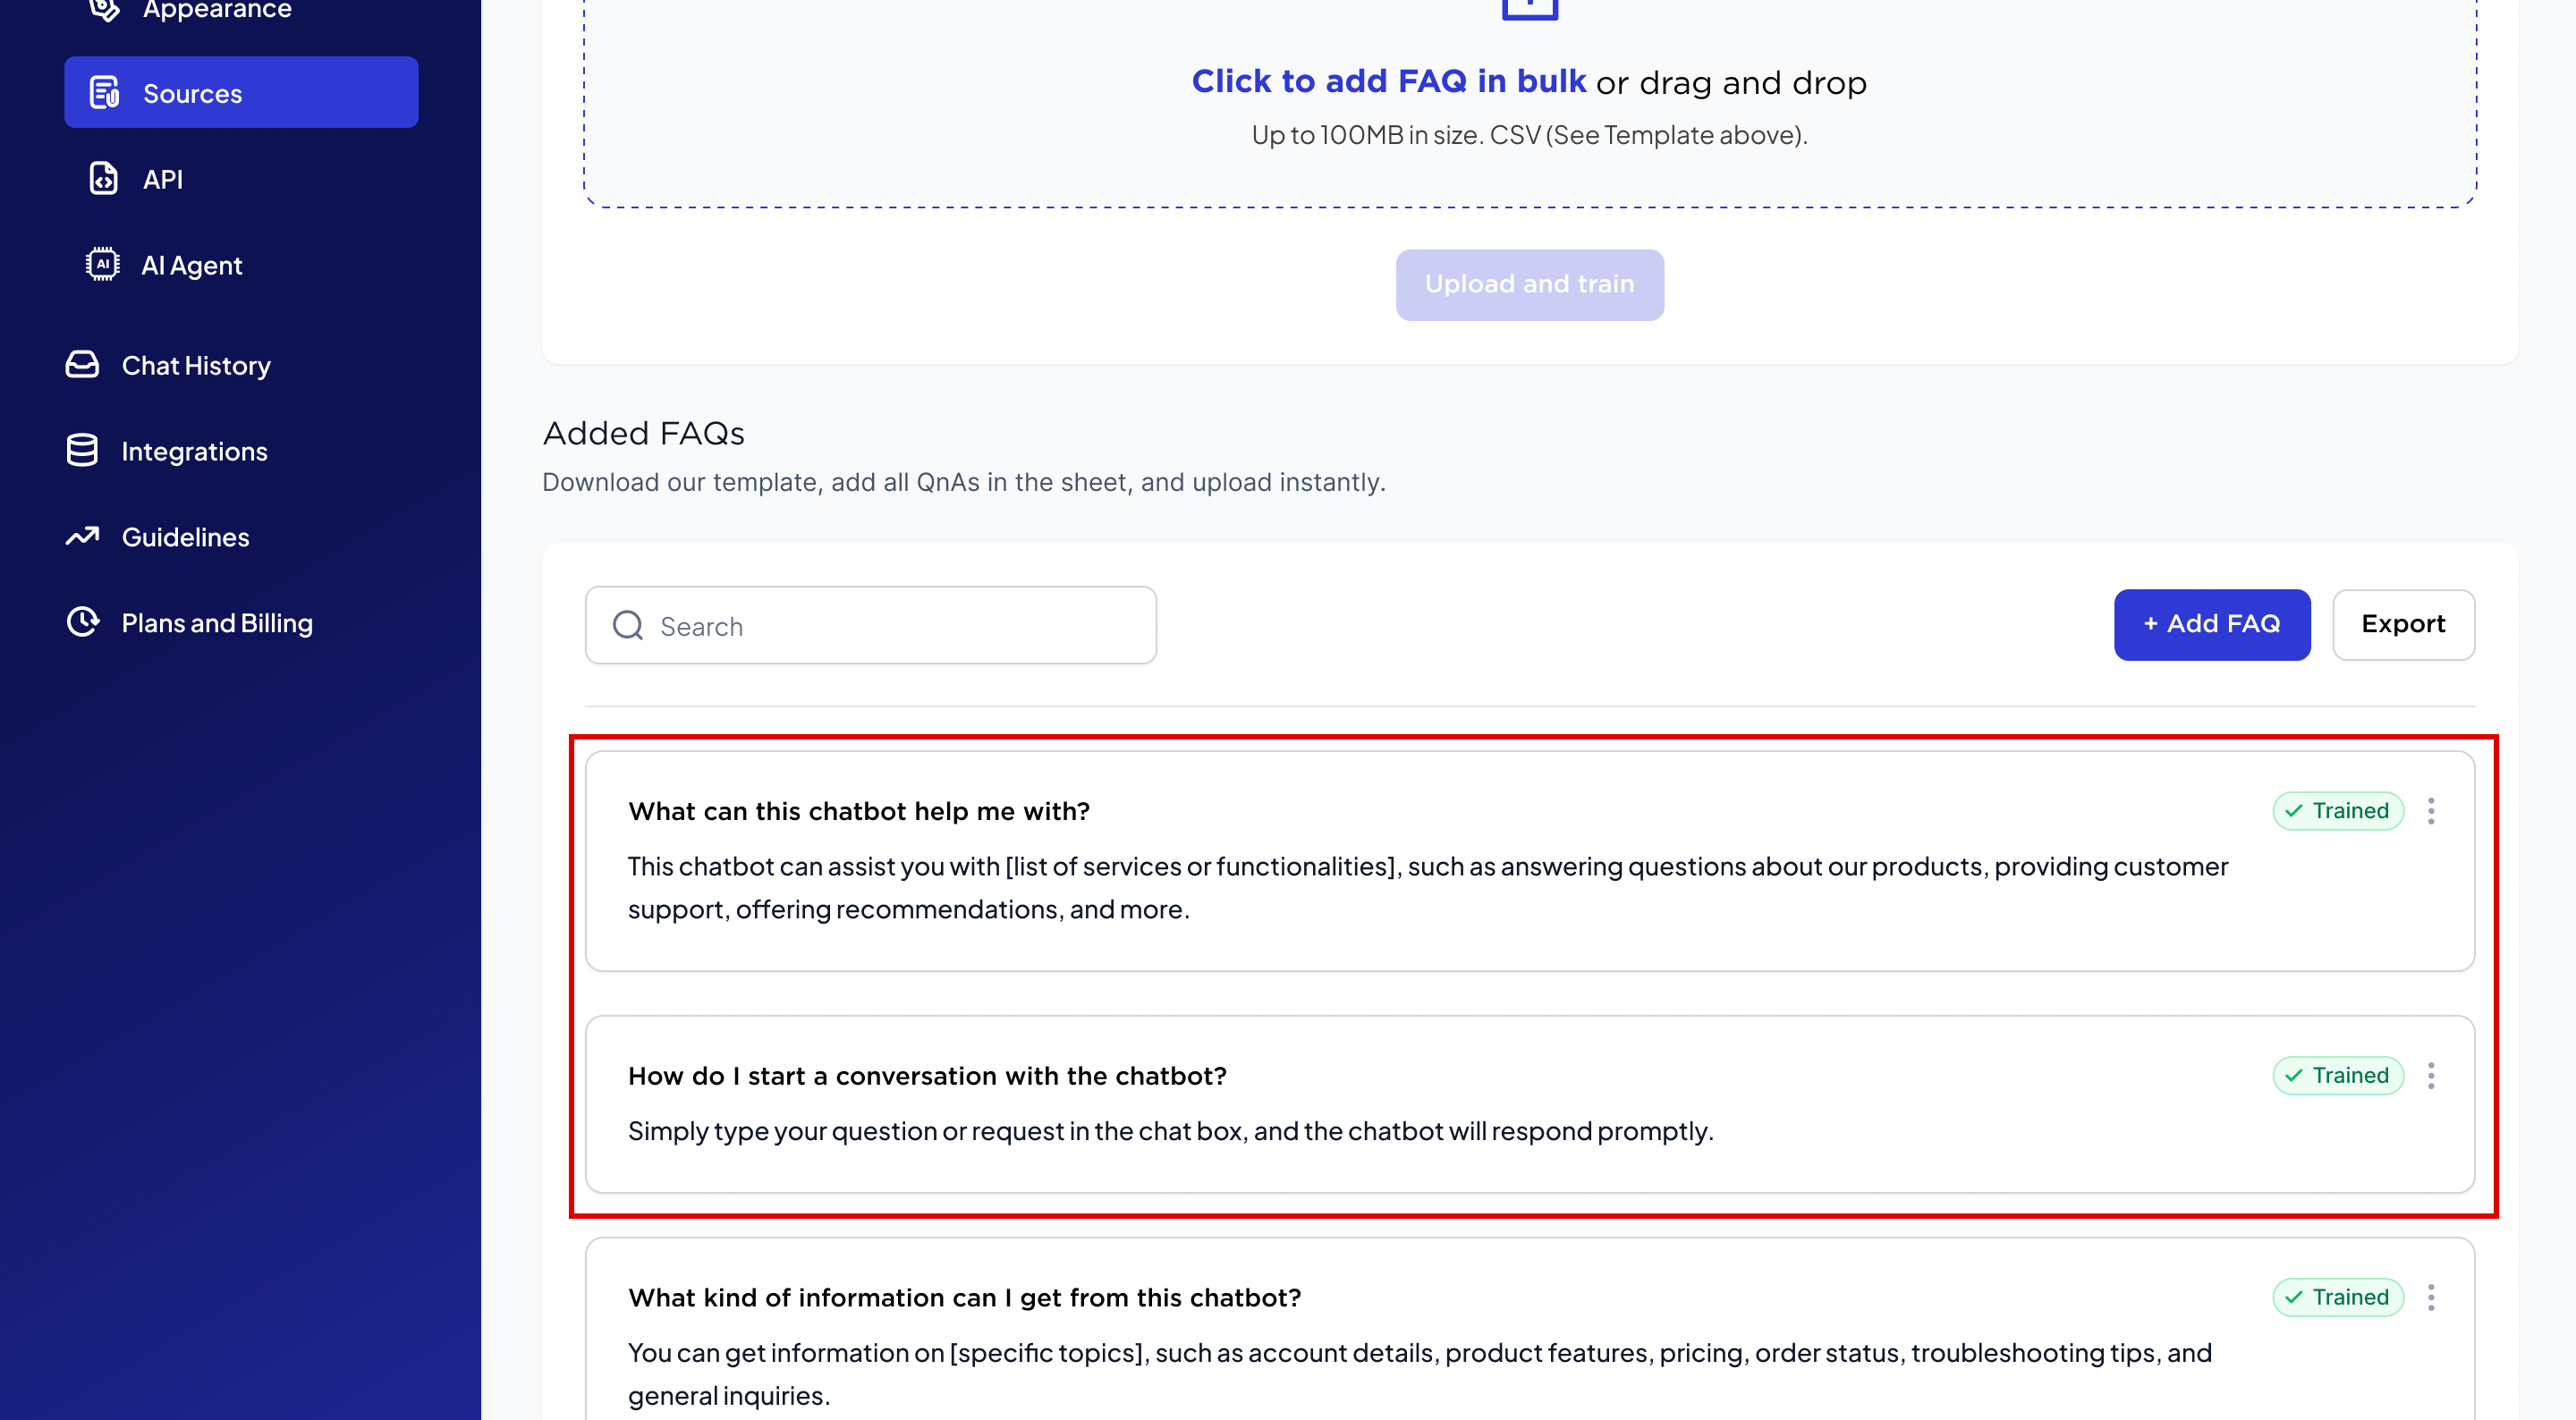
    Uploaded FAQ will be visible under FAQ section.

    faq

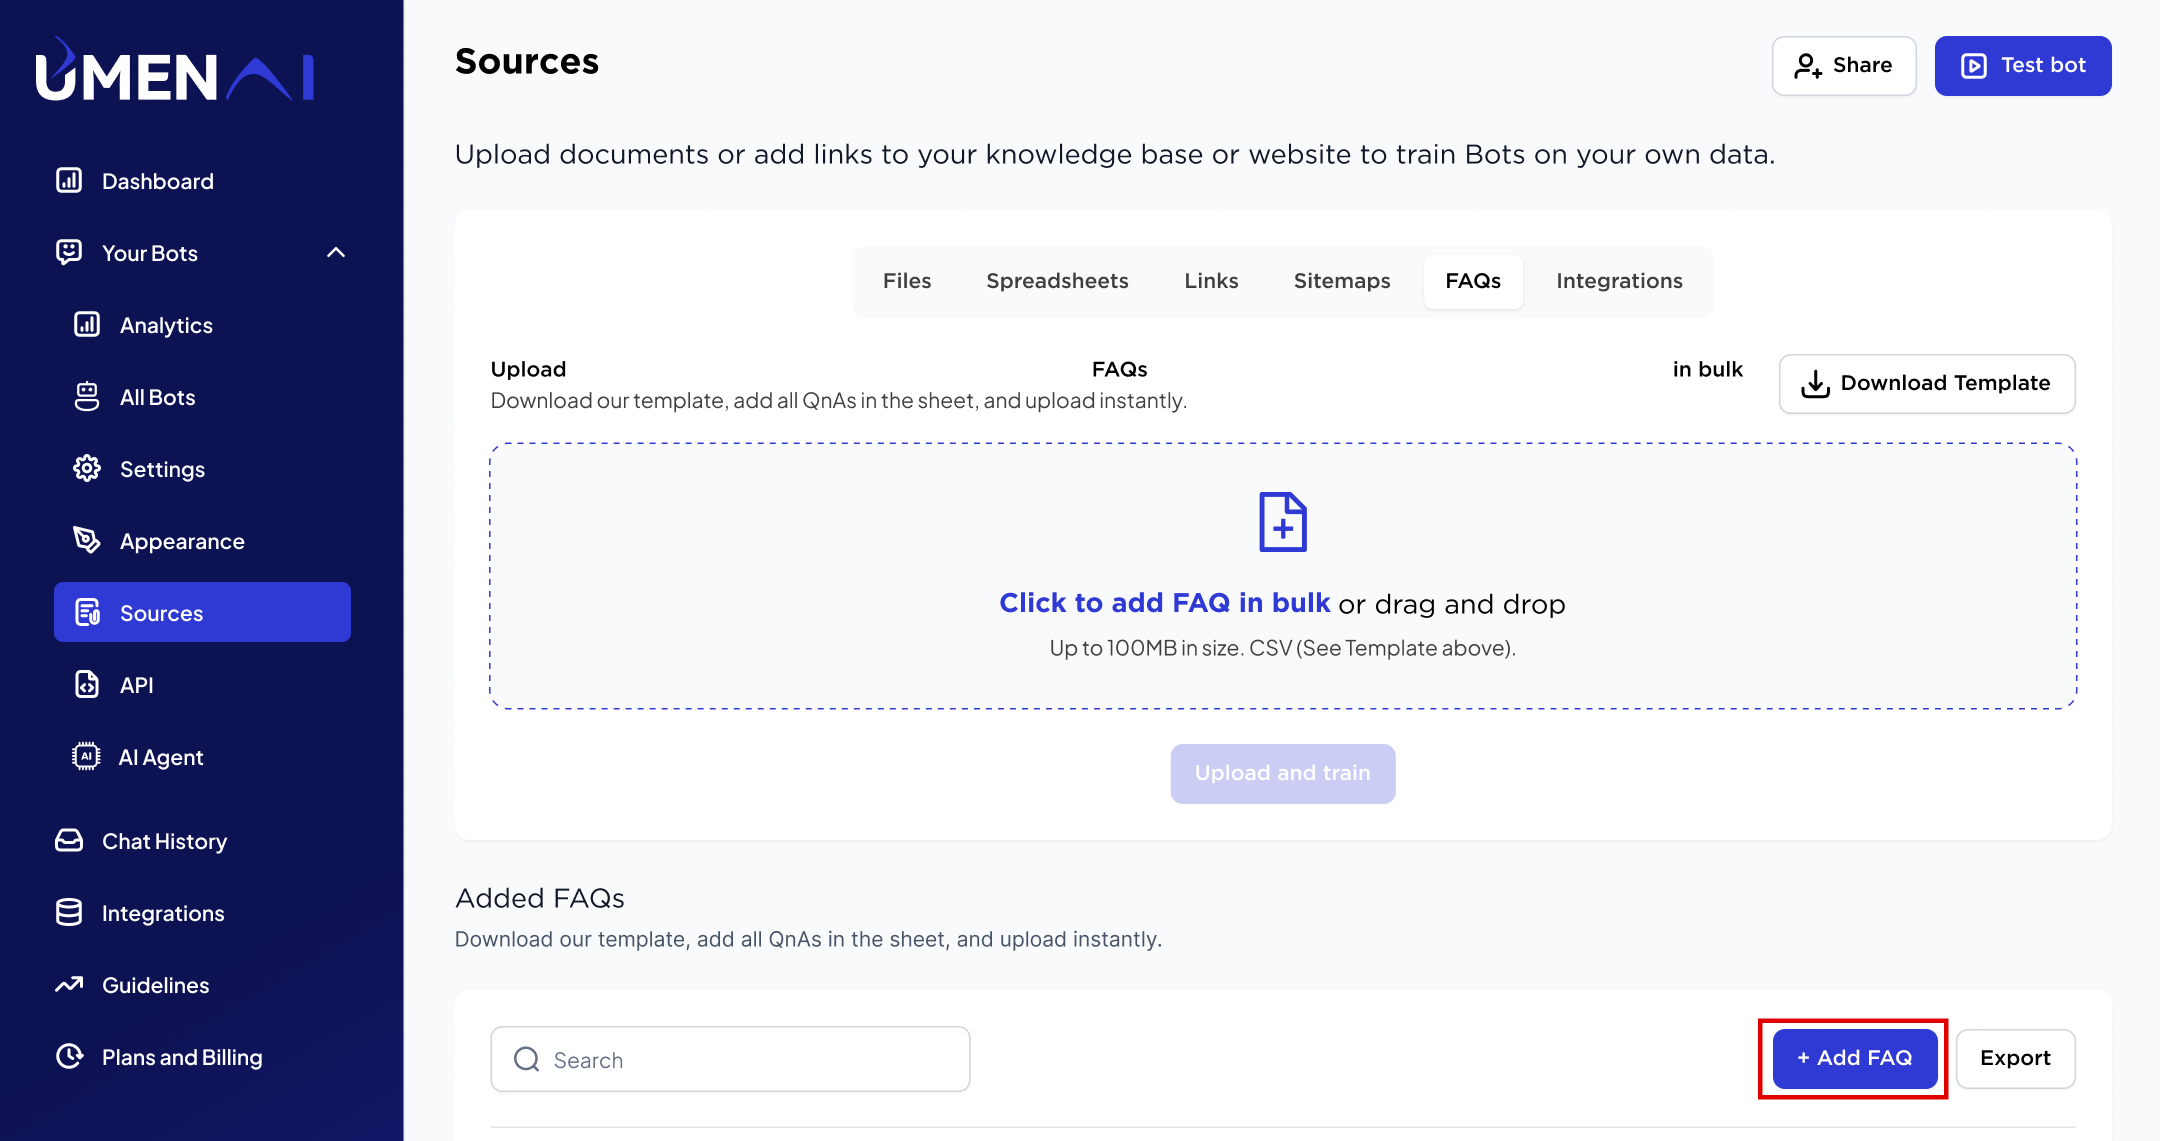
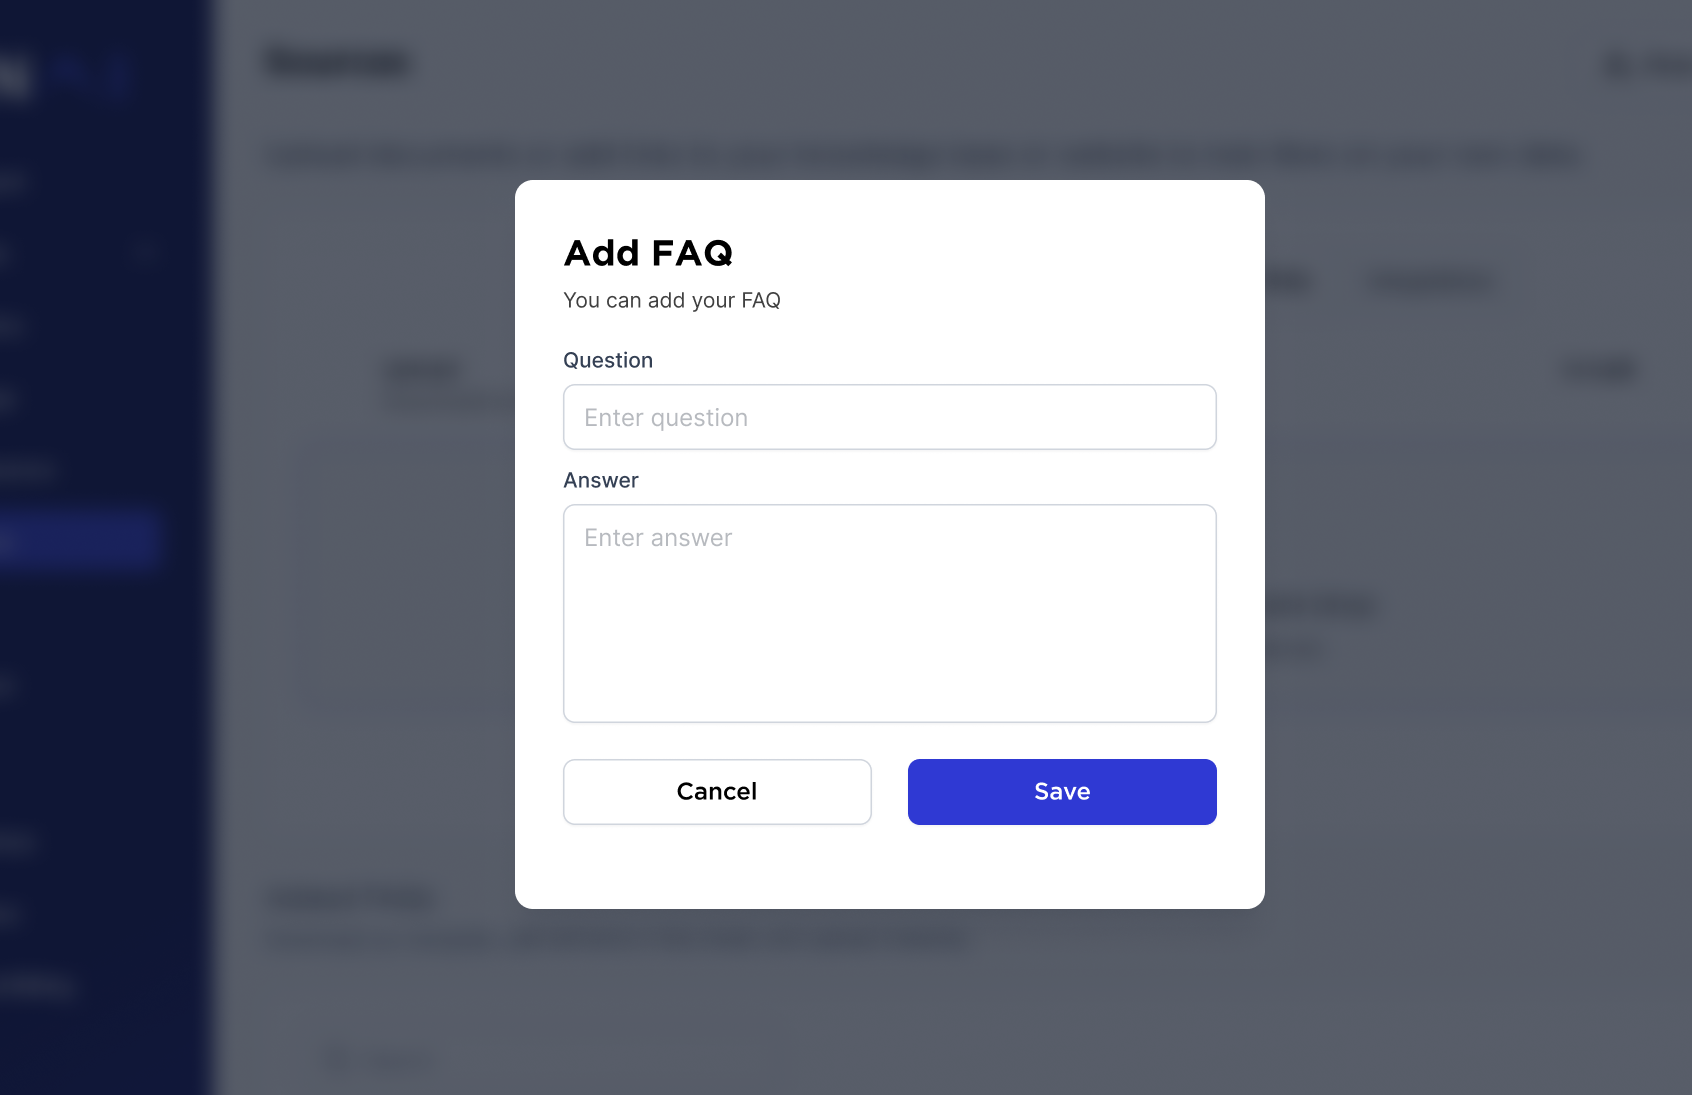
    Another way to add FAQs is by manually entering them using the “Add FAQ” button.

    add_faq new_faq

    Once uploaded all FAQ, Start testing with your bot.

Chat History

Learn how to setup your chatbot and configure the basic settings required to use the bot. 
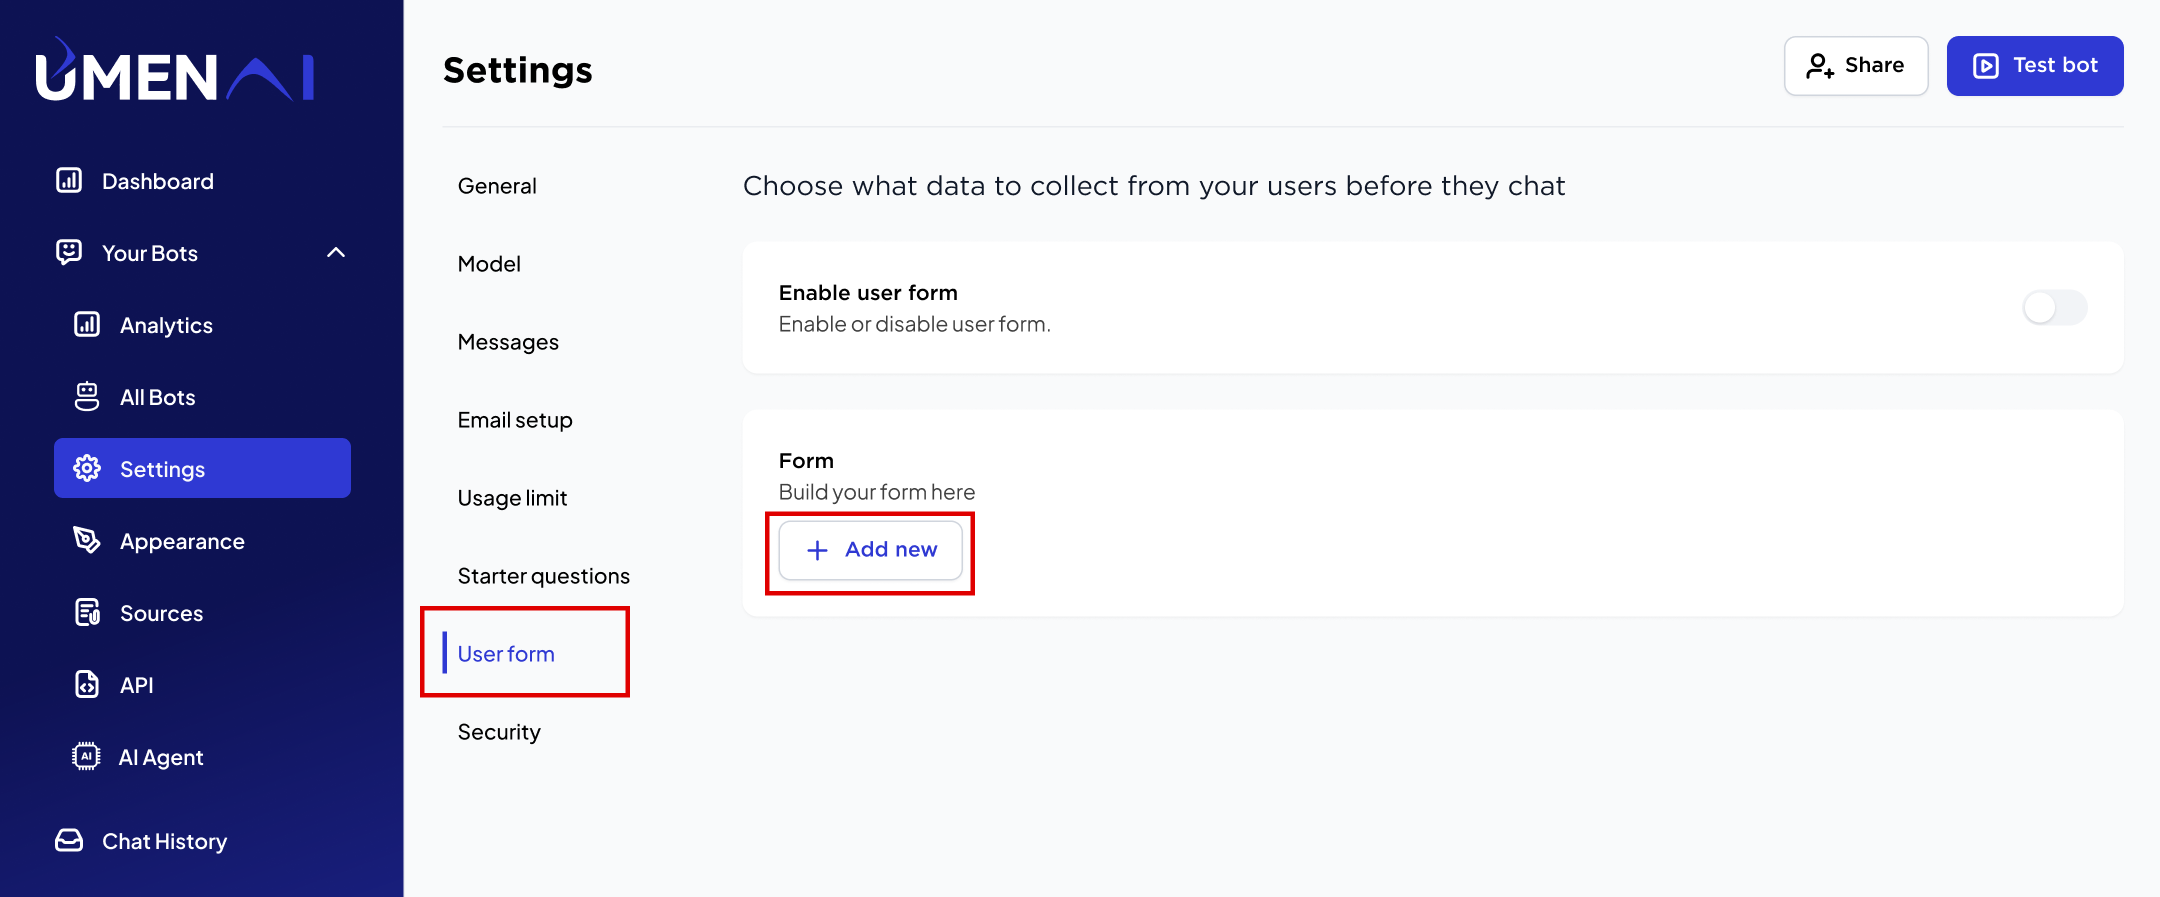
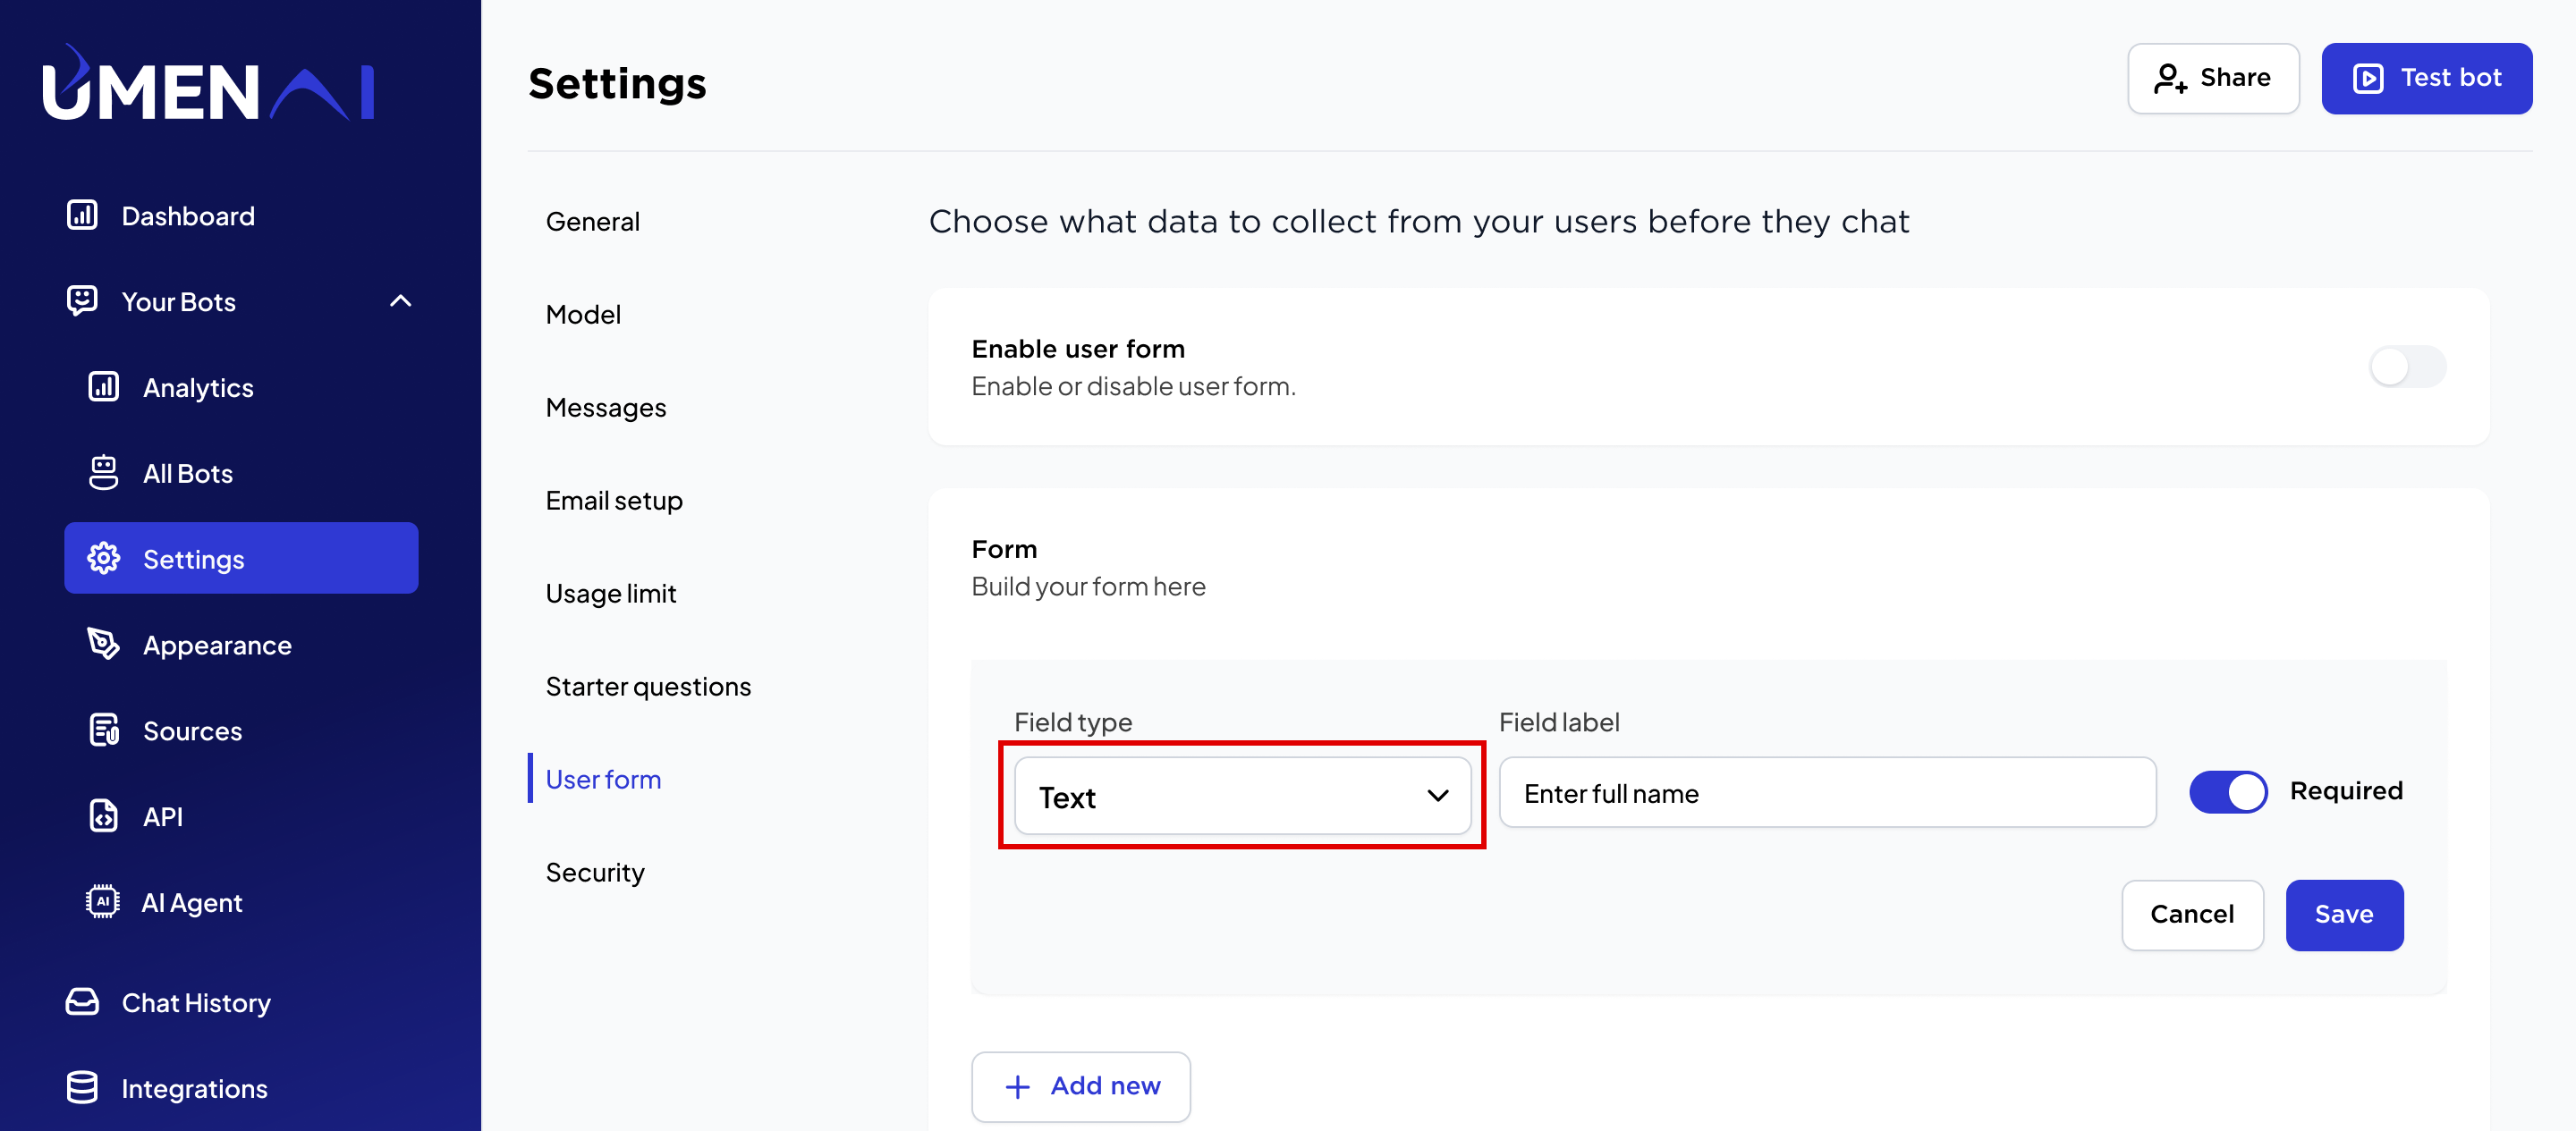
  1. Go to user form and start creating your form Click on Add new button add_new
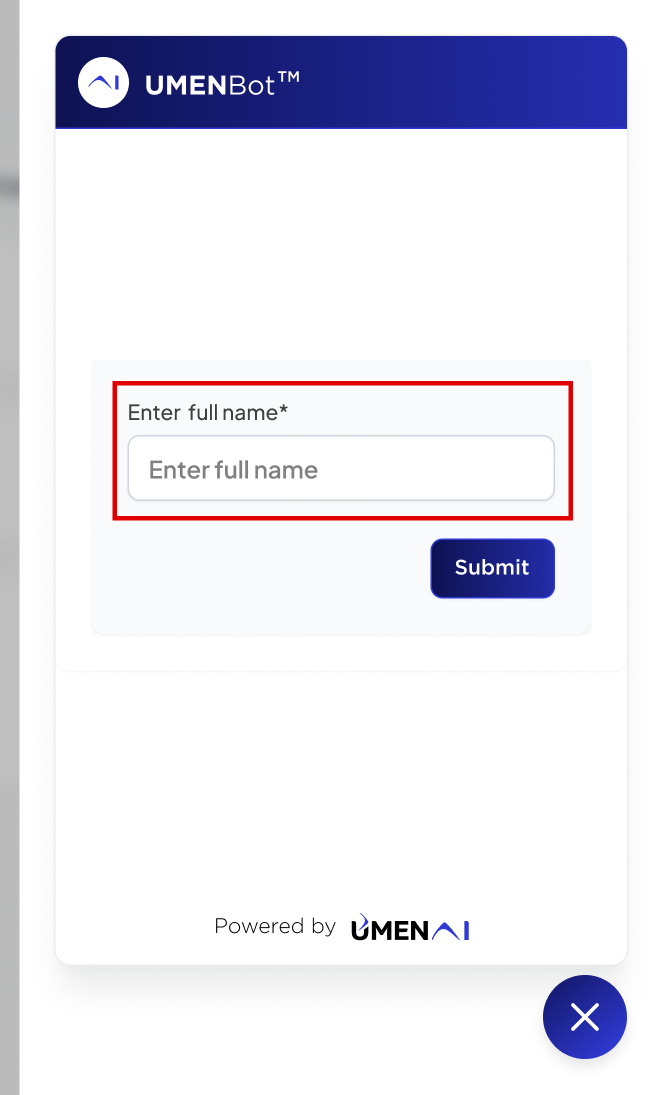
  2. Select field type and enter field label name such as field type as “Text” and field label as “Name” and then click on save. Enable/Disable the required toggle menu to make the field mandatory toggle_menu view_chatbot
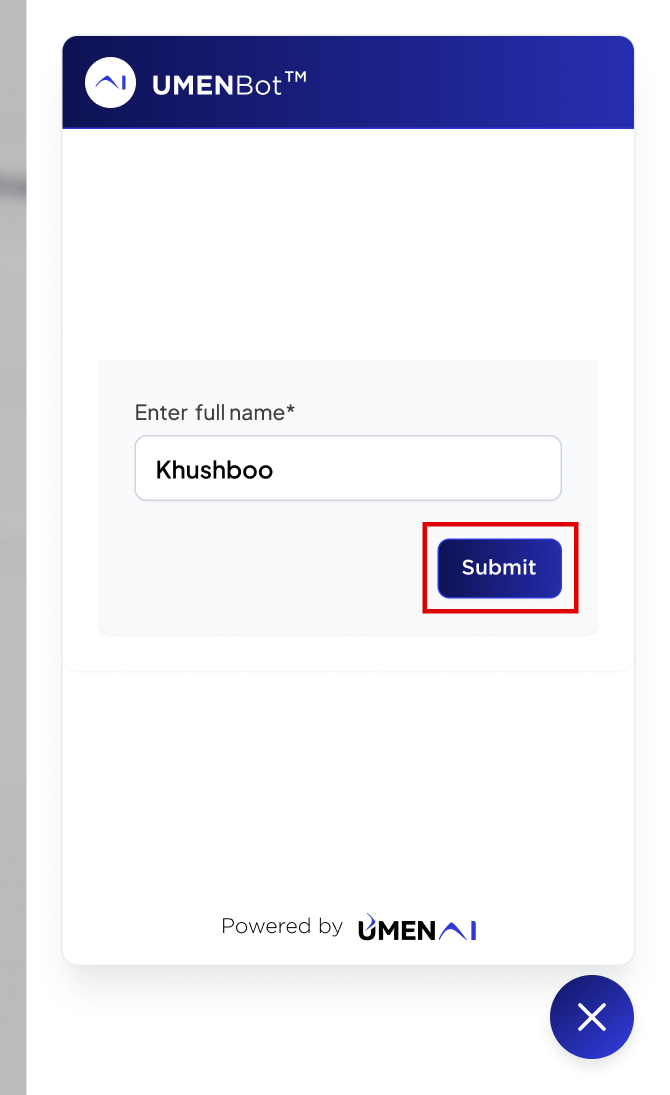
  3. Enter your name and start your conversation with the bot. submit

    You can view user form responses under ”chat history”.

Generate API Keys

Learn how to create your own chatbot and configure the basic settings required to use the bot. 
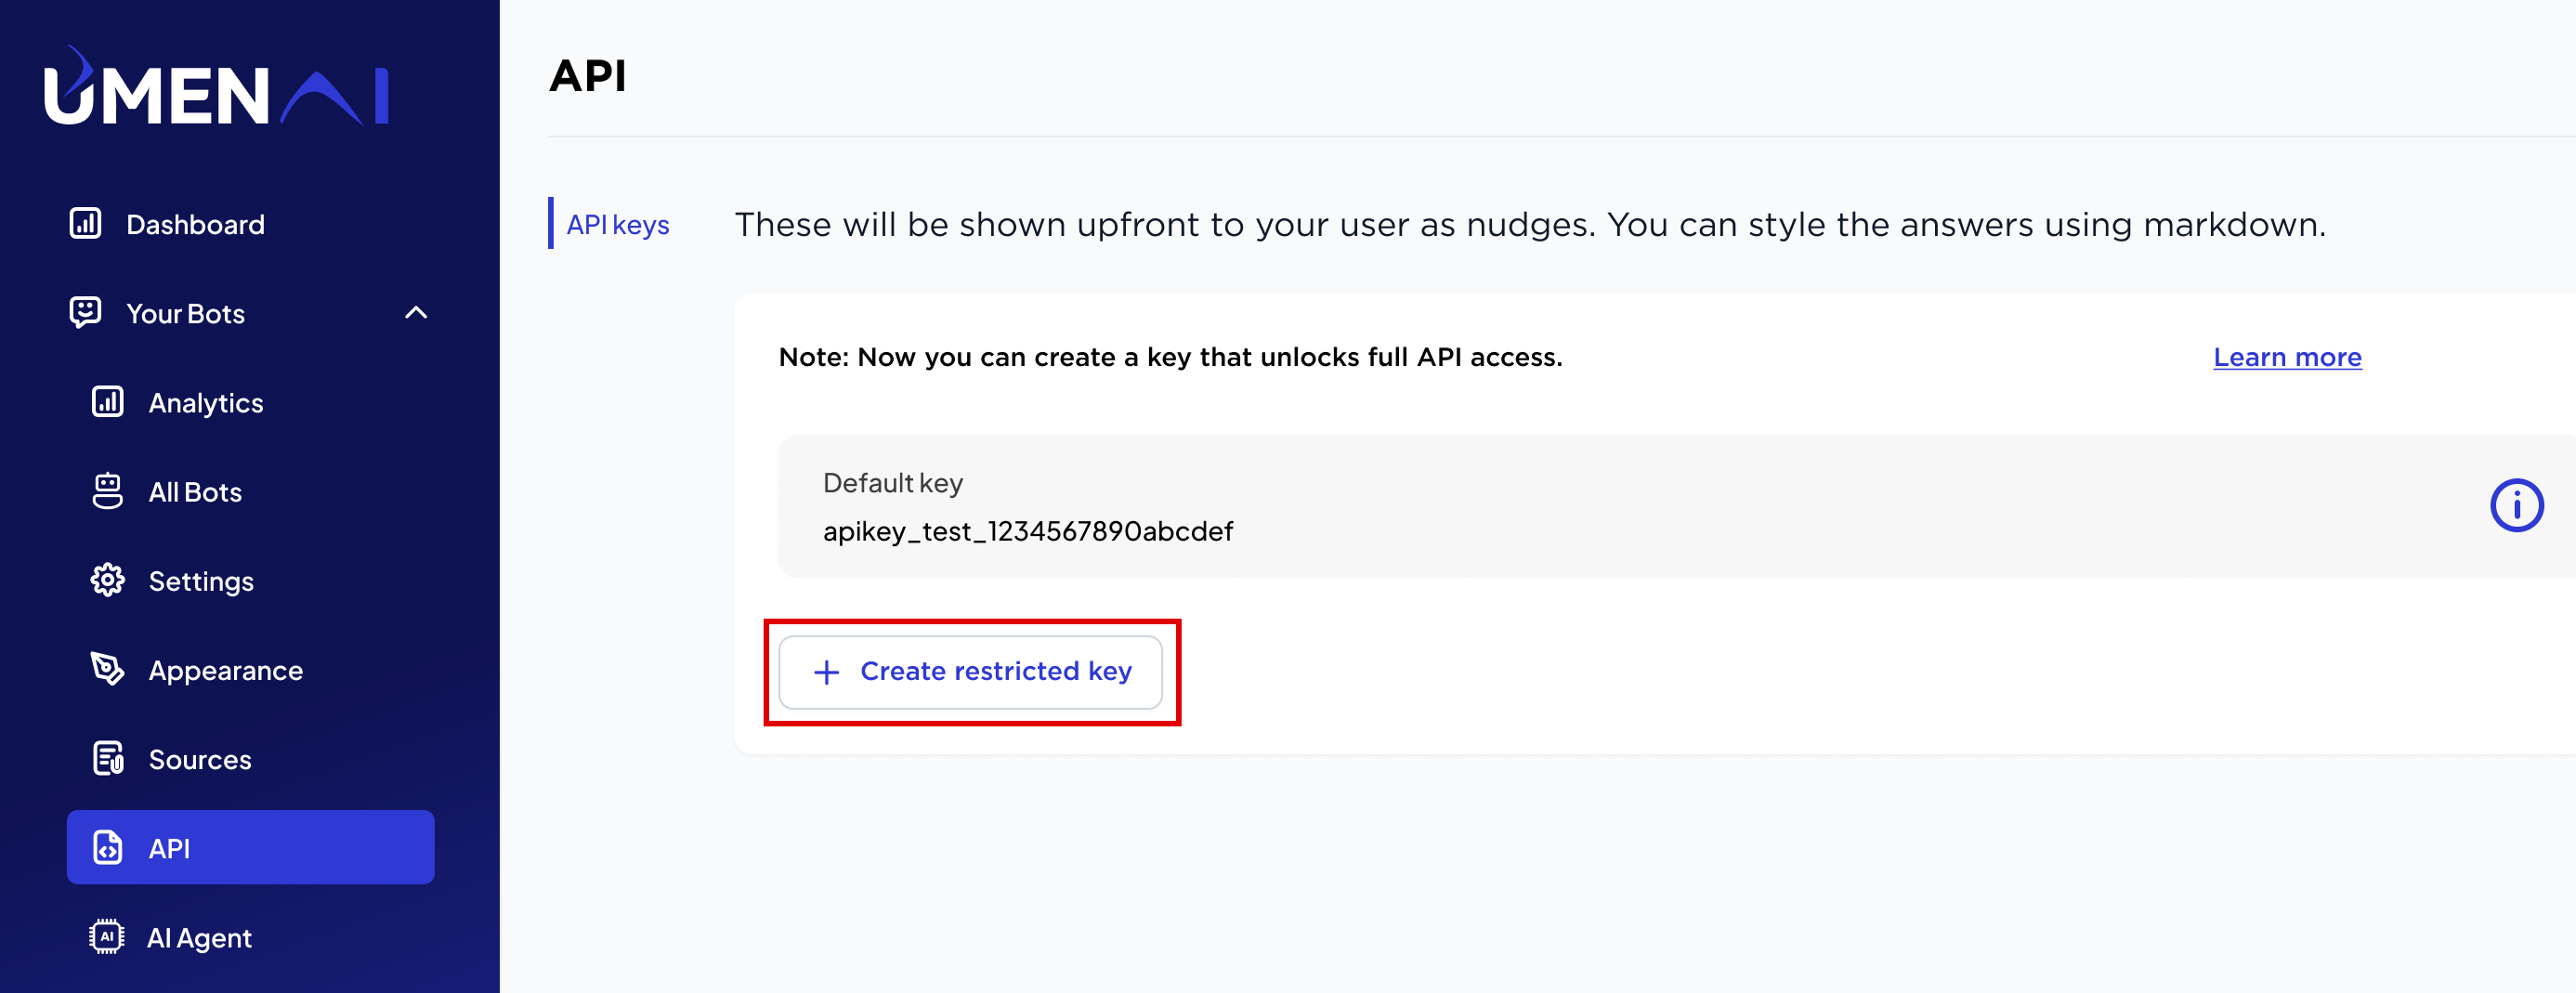
  1. Create your chatbot and open chatbot settings. Look for a menu or tab labeled ‘API’.
  2. Click on “Create restricted key” create_key
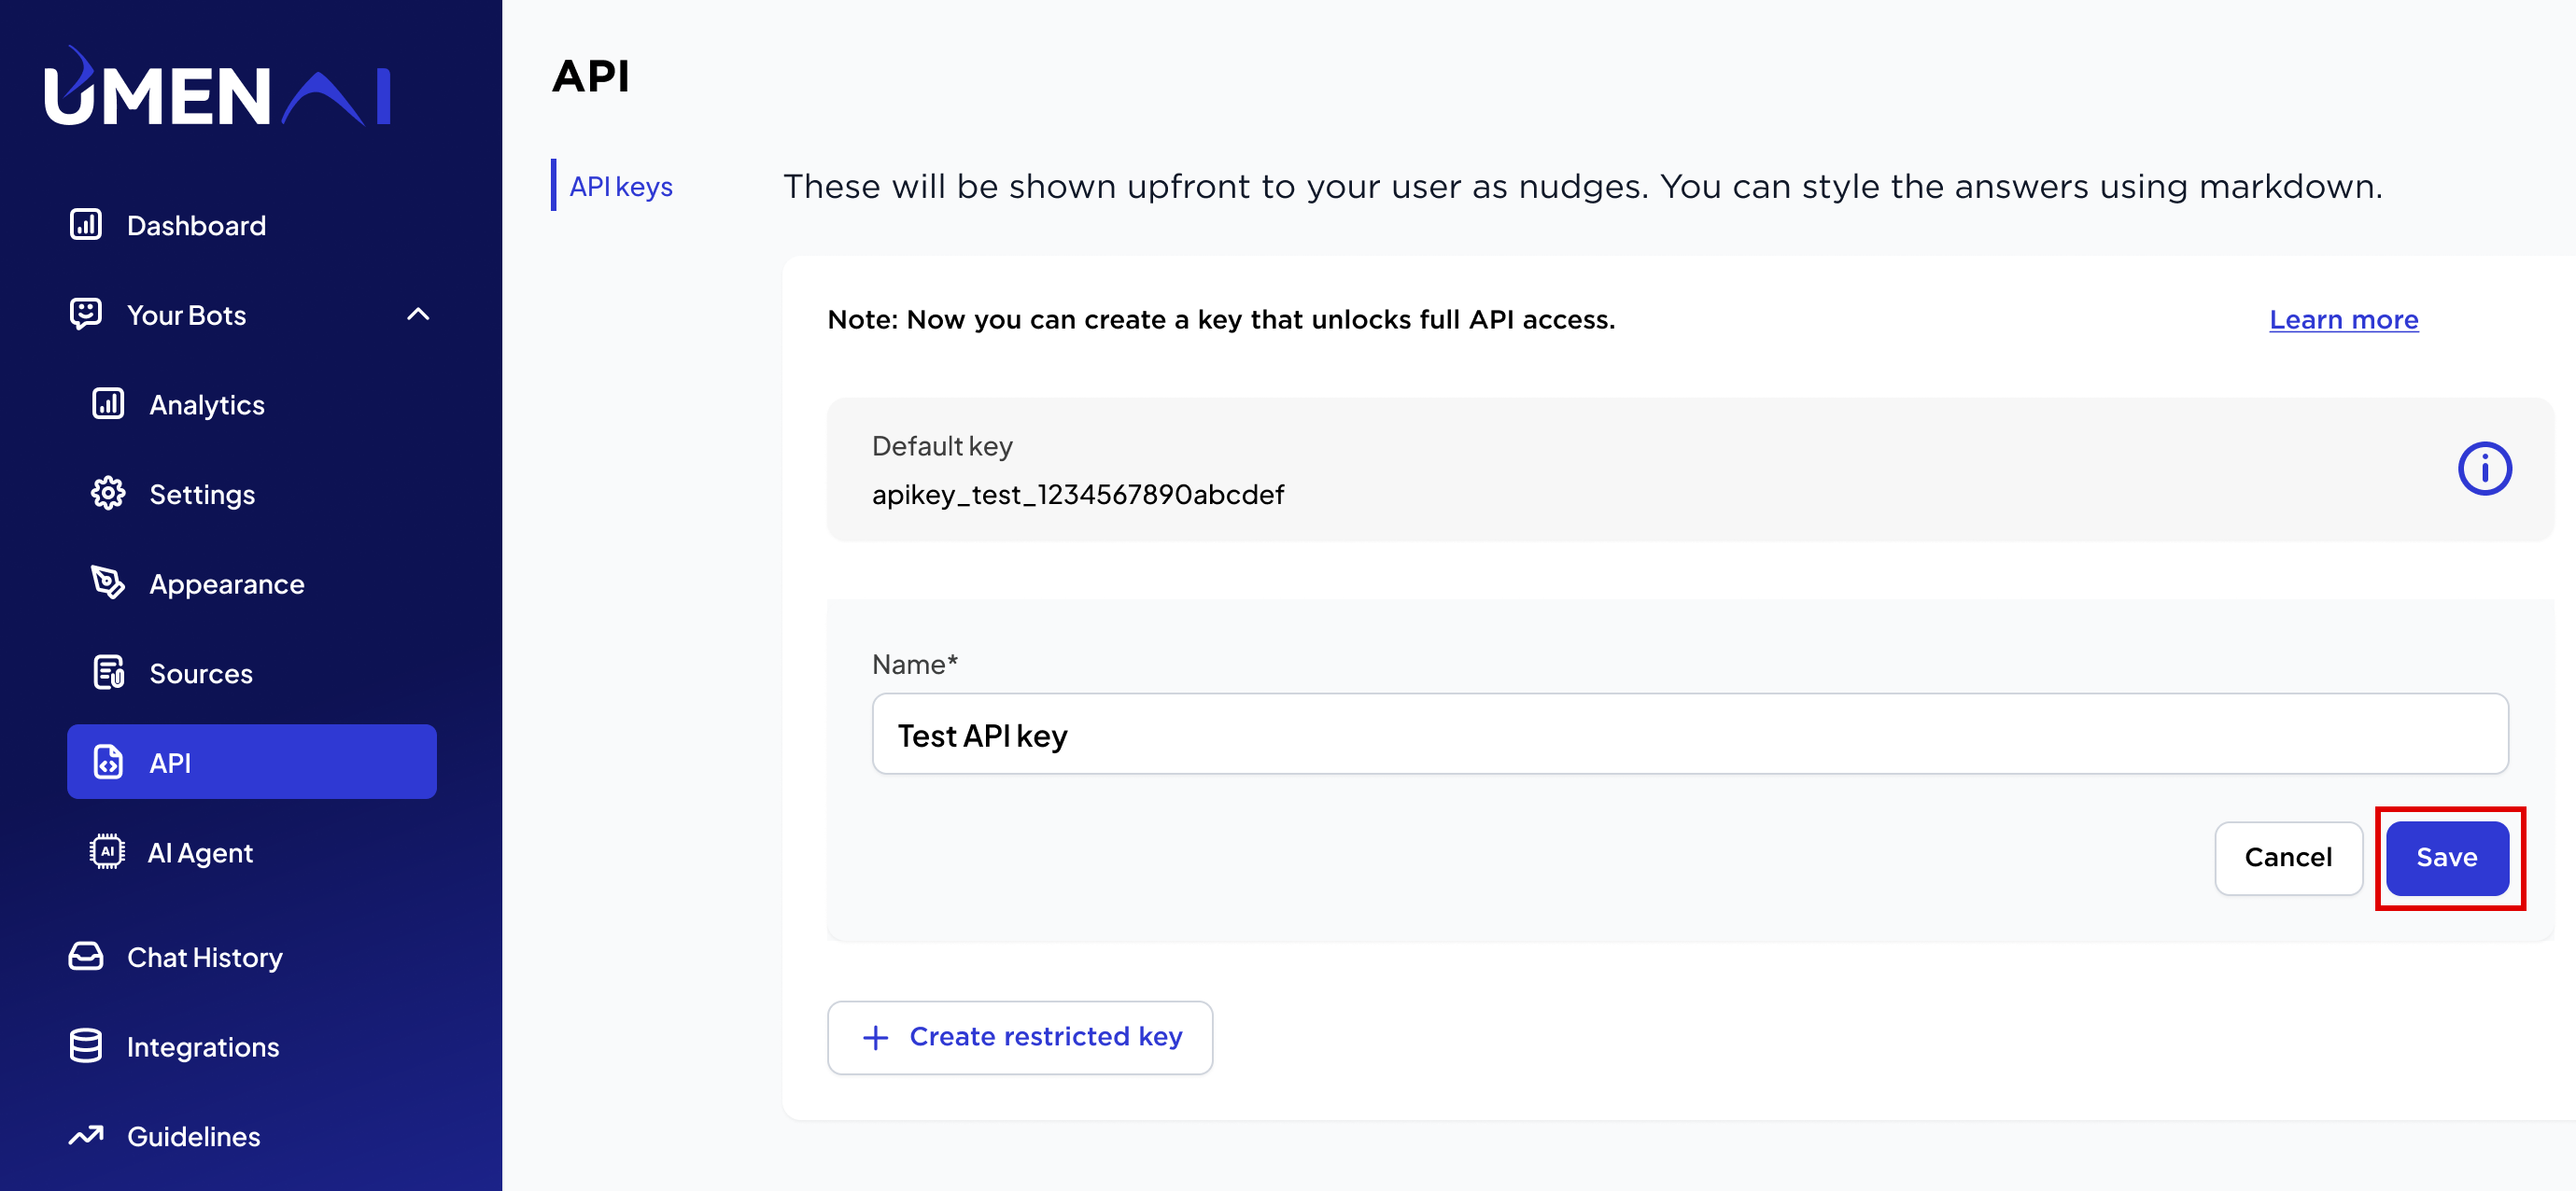
  3. Enter key name and click on save enter_key
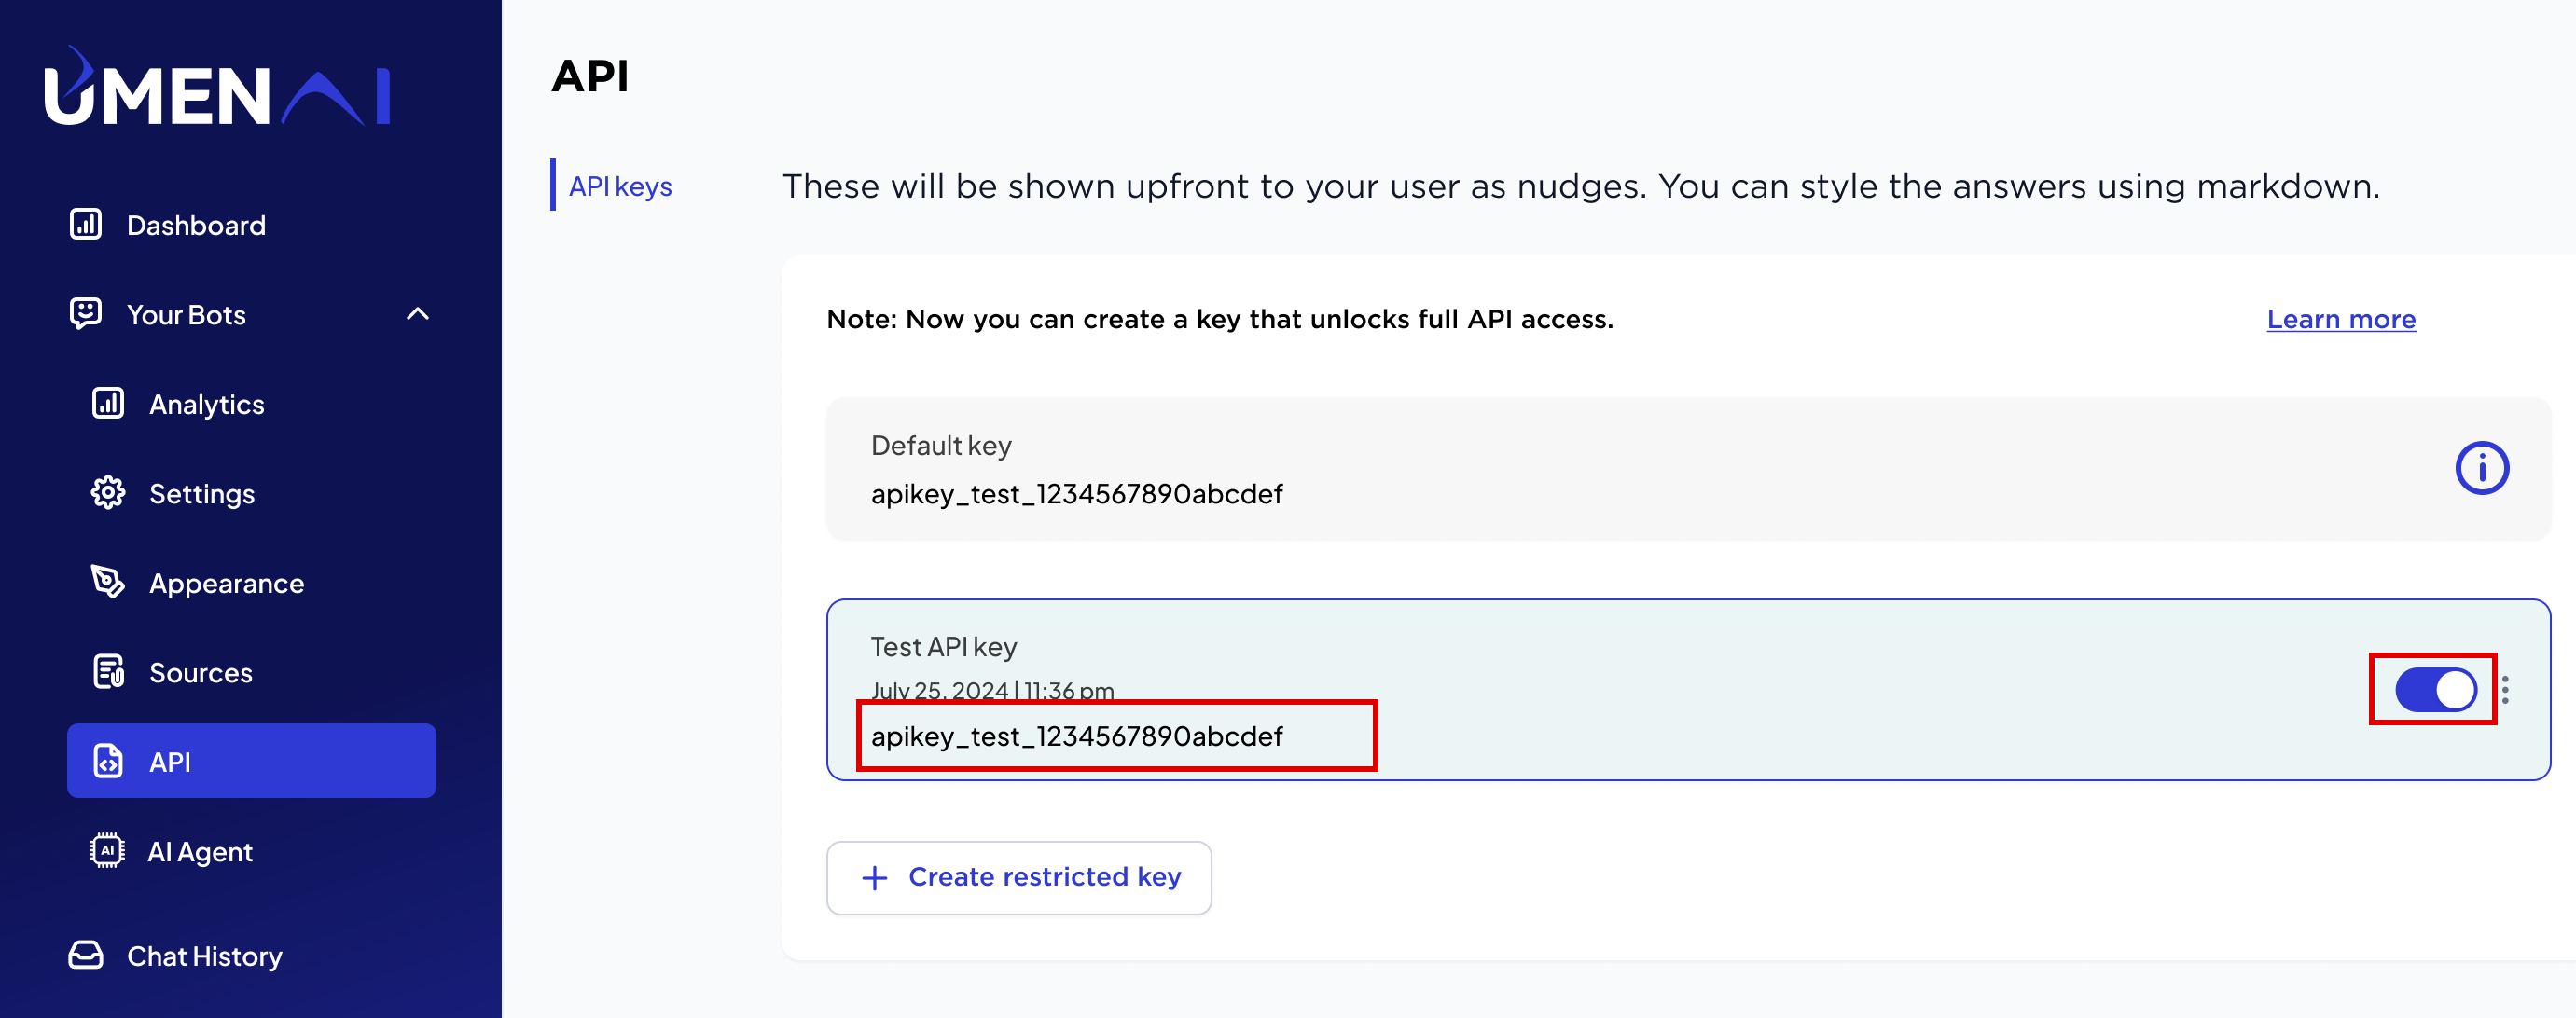
  4. An automatic key will be generated. Please copy and save the secret key in a safe place, as you will need to use this API key when integrating it with your website. copy_api

Integration

Learn how to setup your chatbot and configure the basic settings required to use the bot. 
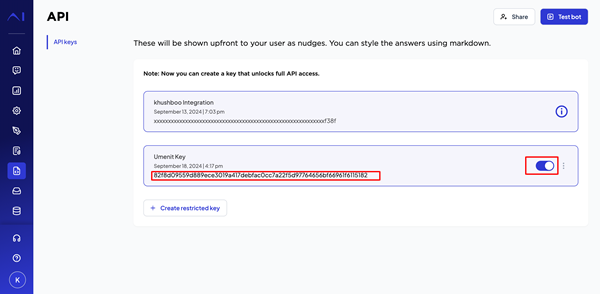
  1. First, generate your API key, Copy the generated key. copy_api
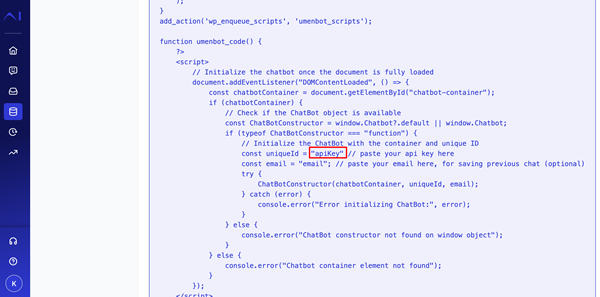
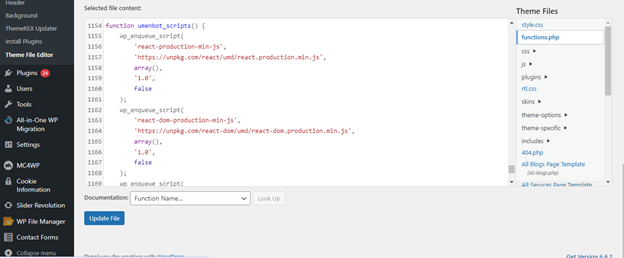
  2. Look for a menu or tab labeled ‘Integration’. Copy this WordPress code somewhere and paste your generated API key. wp wp_key
  3. Now open your WordPress code and go on appearance > Theme file editor > functions.php and past your copied code then click on update file. wp_past
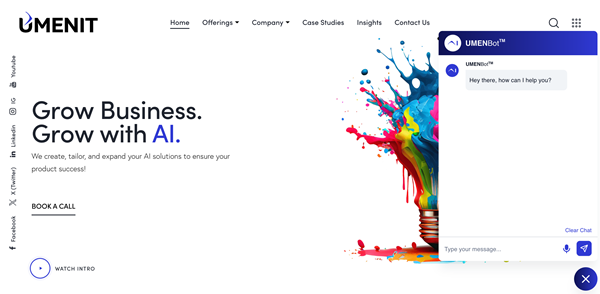
  4. The code integration is now completed and now you’re able to see these changes on your integrated site. integrated

Plan & Billing

Learn how to create your own chatbot and configure the basic settings required to use the bot. 
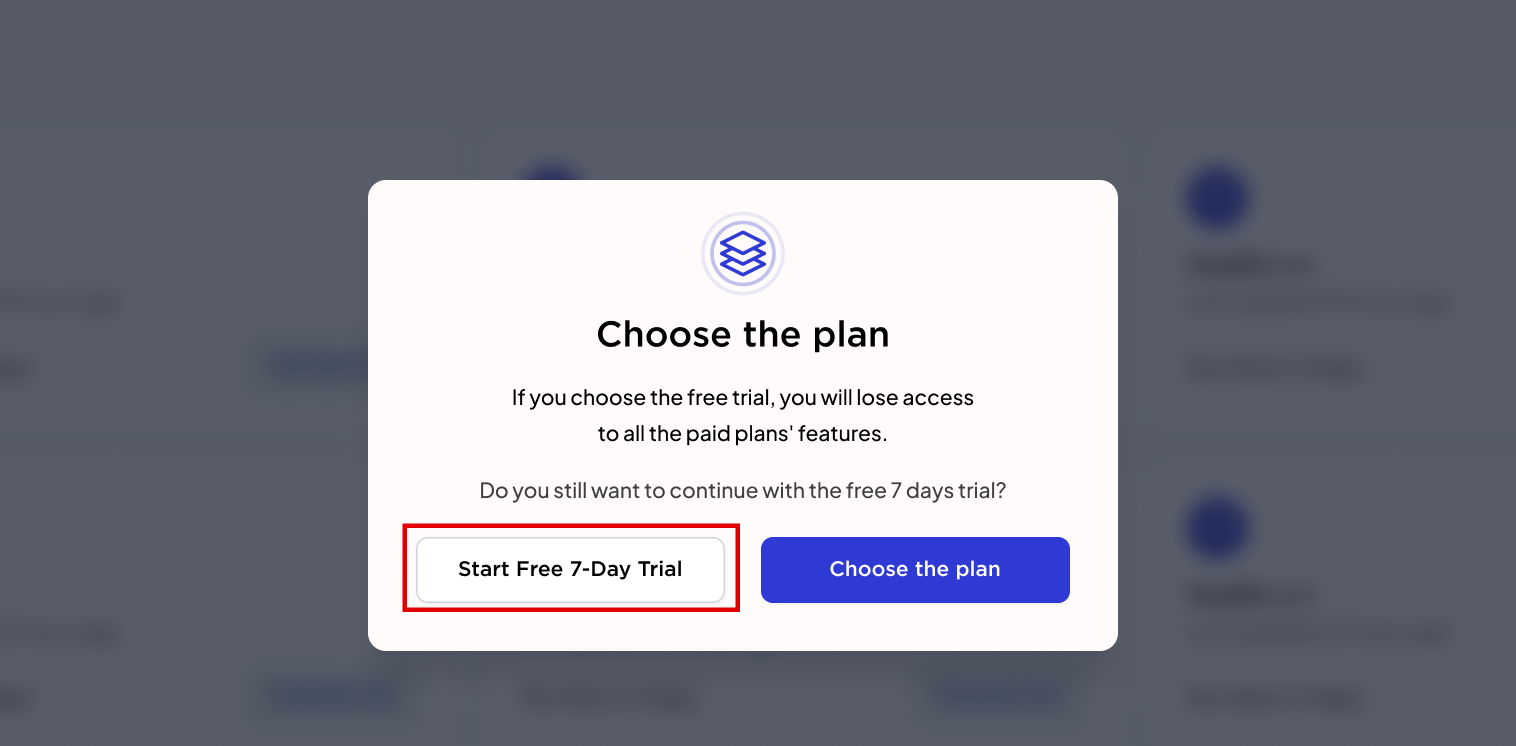
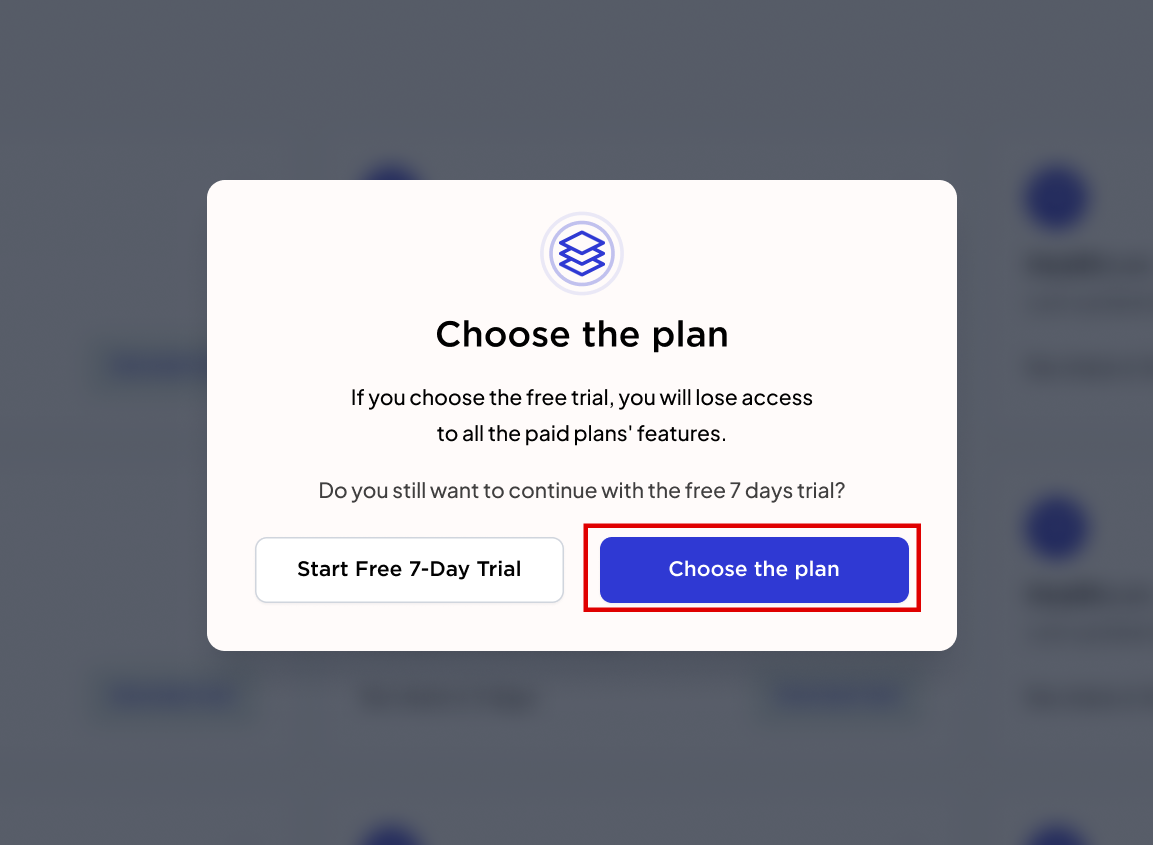
  1. Signup on https://agent.umenbot.io/ Once you log in, a pop-up will appear inviting you to start your 7-day free trial. Click the button, and your trial will begin—no credit or debit card details are required. choose plan select_bill
  1. You can purchase a plan directly without needing to select a free plan first. Simply click on “Choose Plan” once you’ve logged in. choose plan
  2. You can now choose any plan that suits your needs. Click the “Pay Now” button to purchase your selected plan. plan
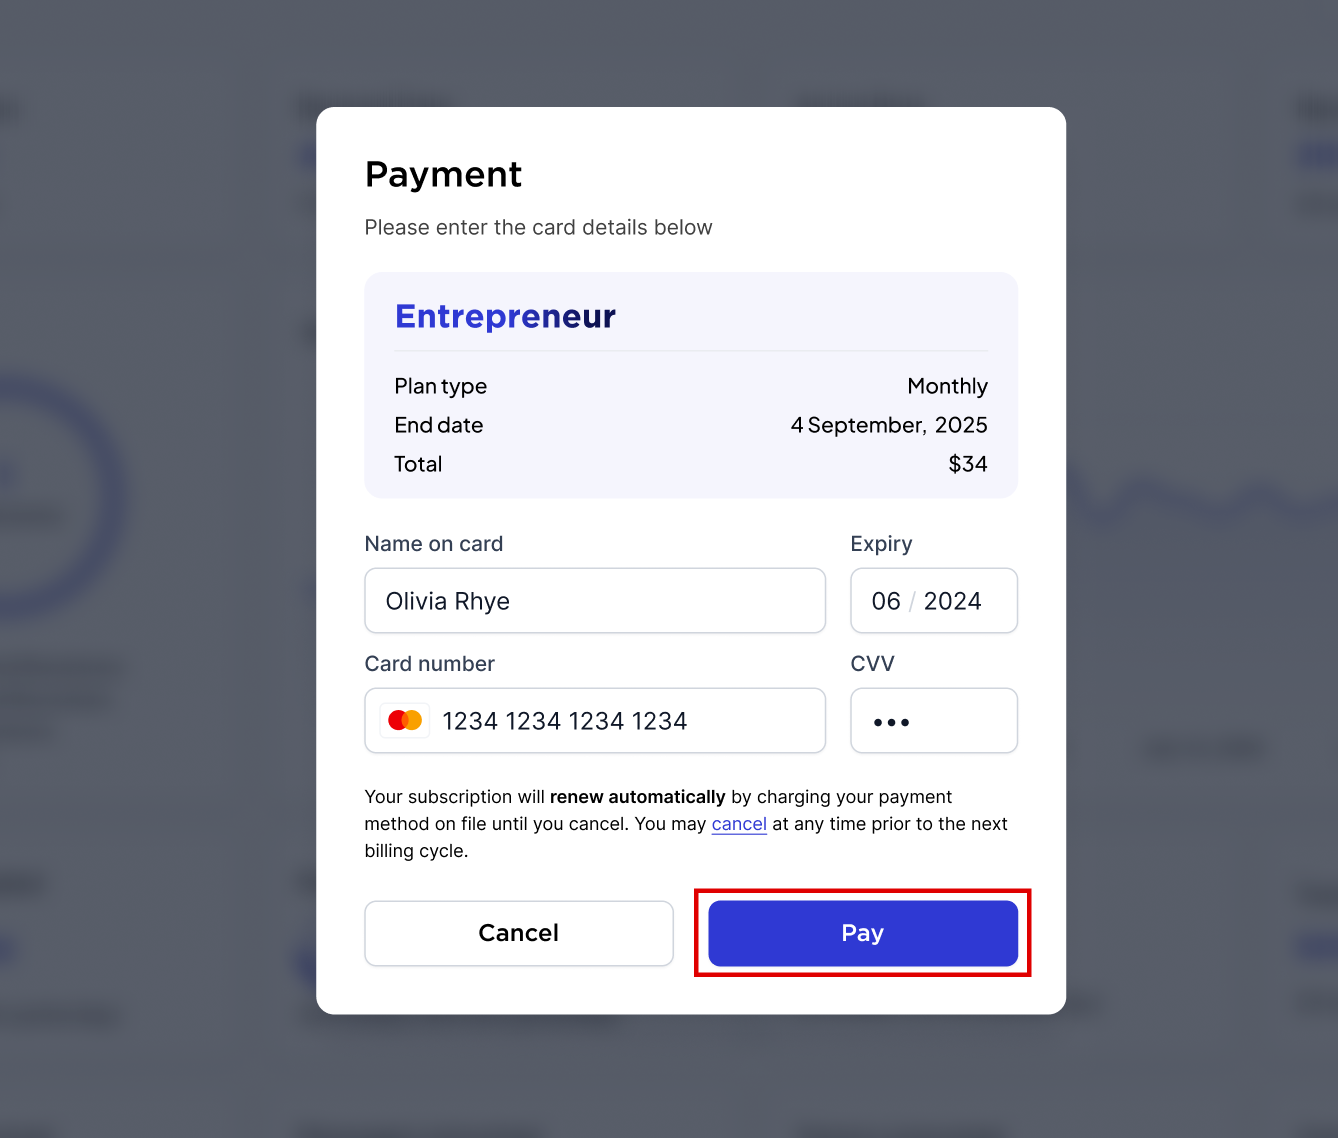
  3. Add your card details and click on the continue button. continue
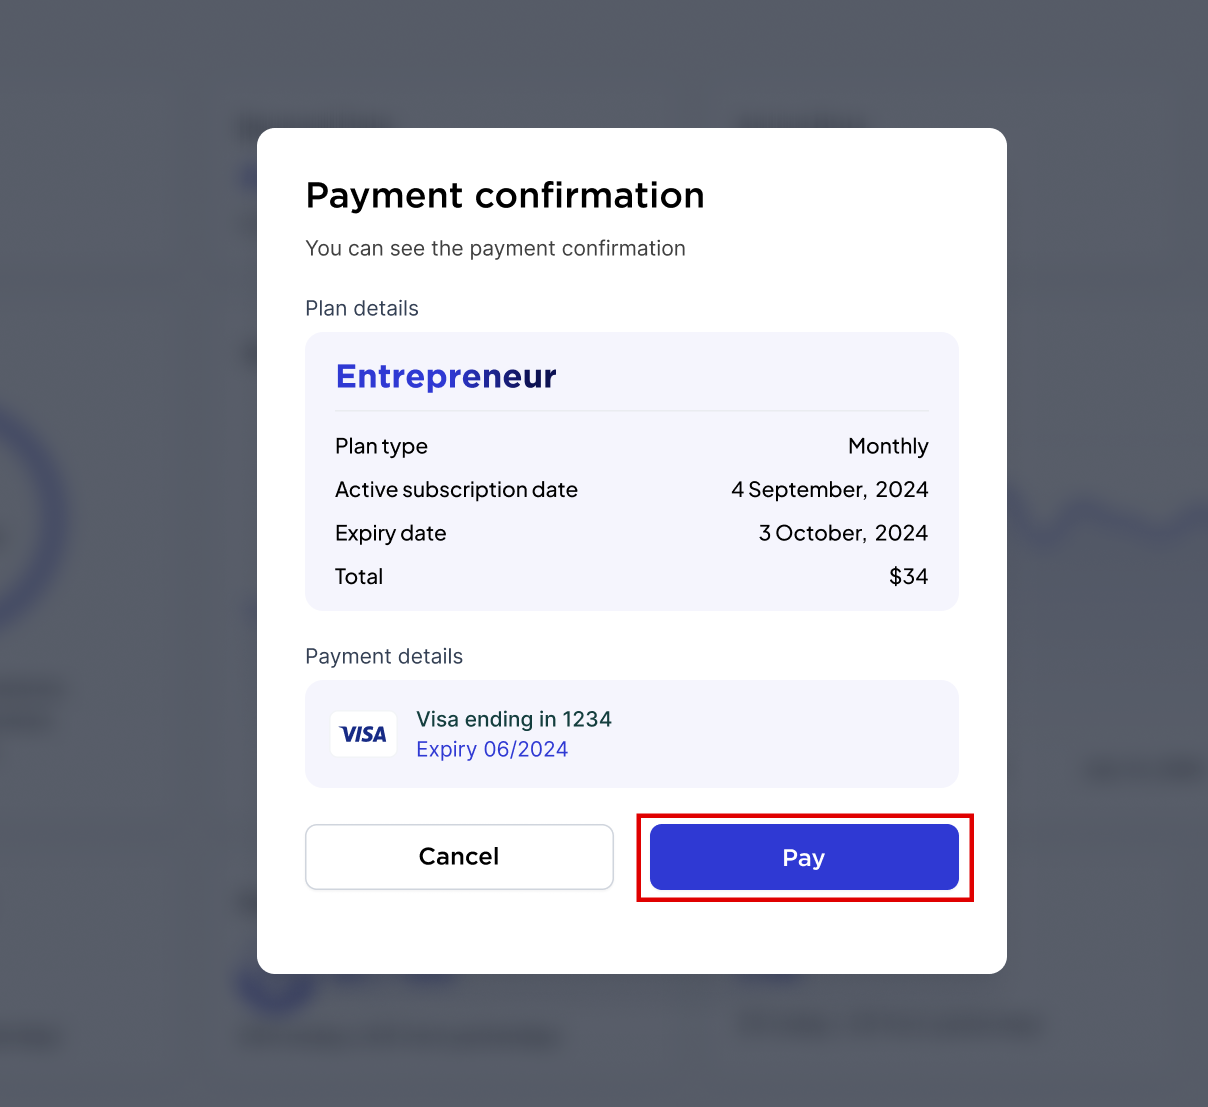
  4. The payment confirmation page will be displayed. Click the “Pay” button to confirm your payment. pay
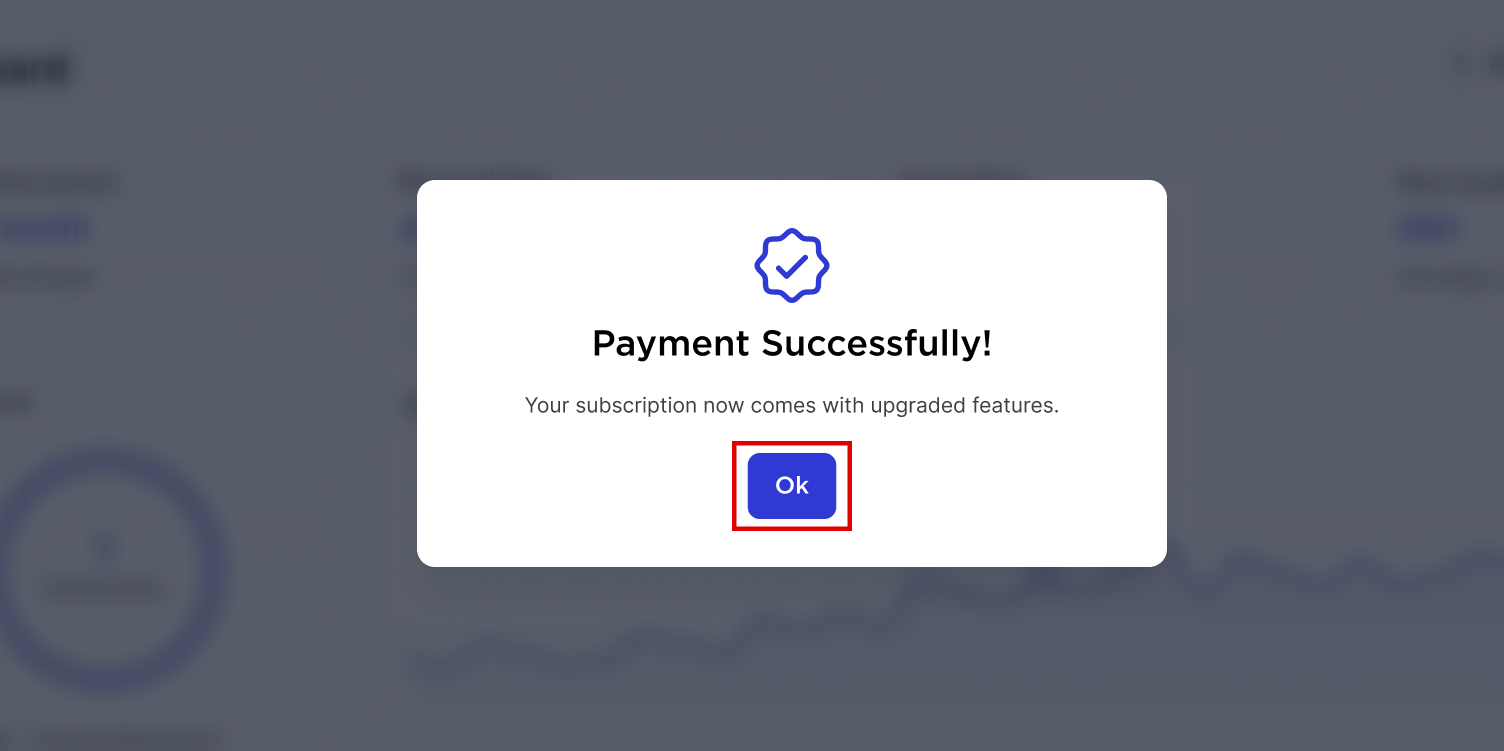
  5. After clicking the “Pay” button, your payment will be processed, and a success message will be displayed. Click “OK,” and you will have successfully purchased the plan. click_ok
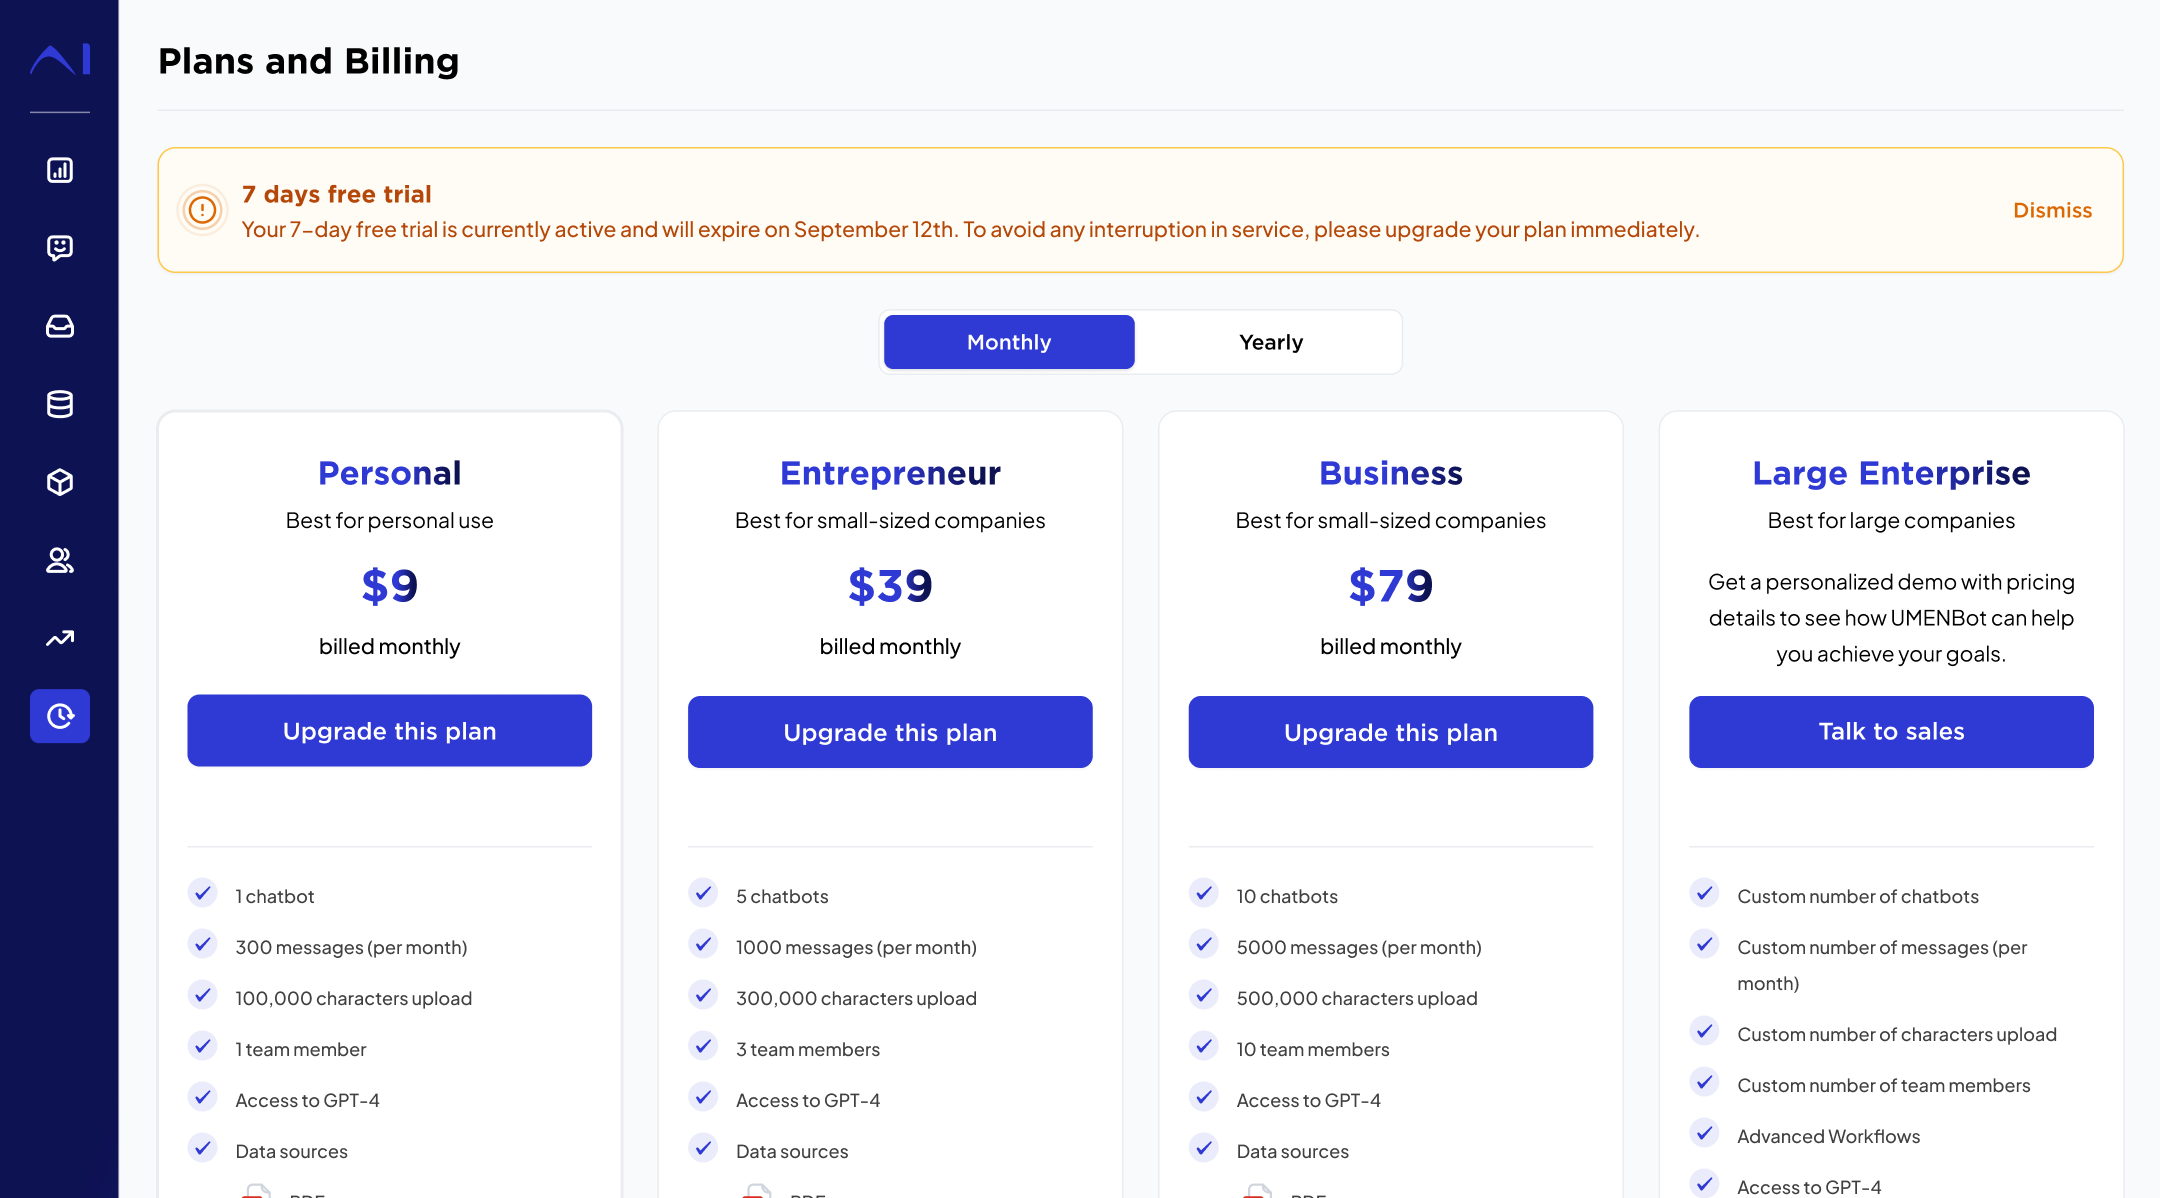
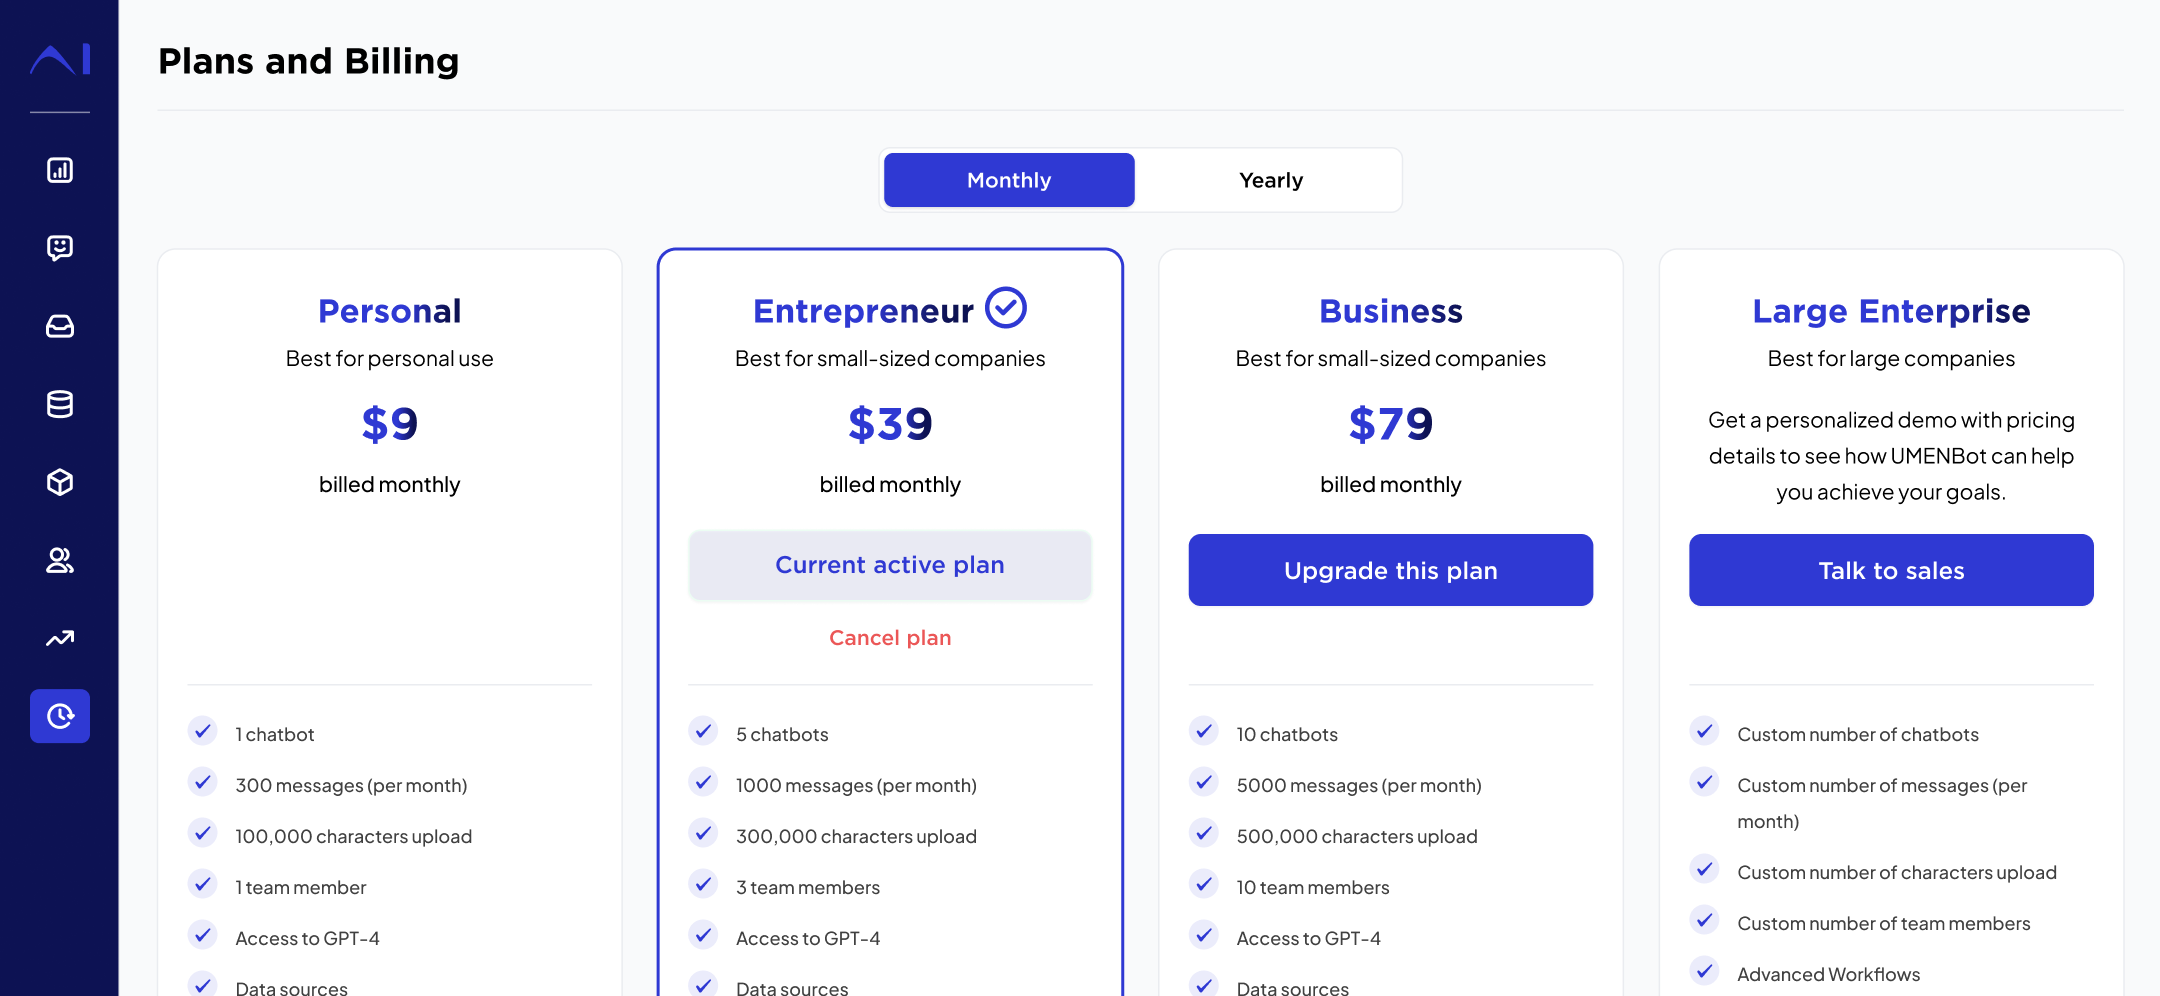
  1. Go on plan and billings and click on “upgrade this plan” button. upgrade_plan
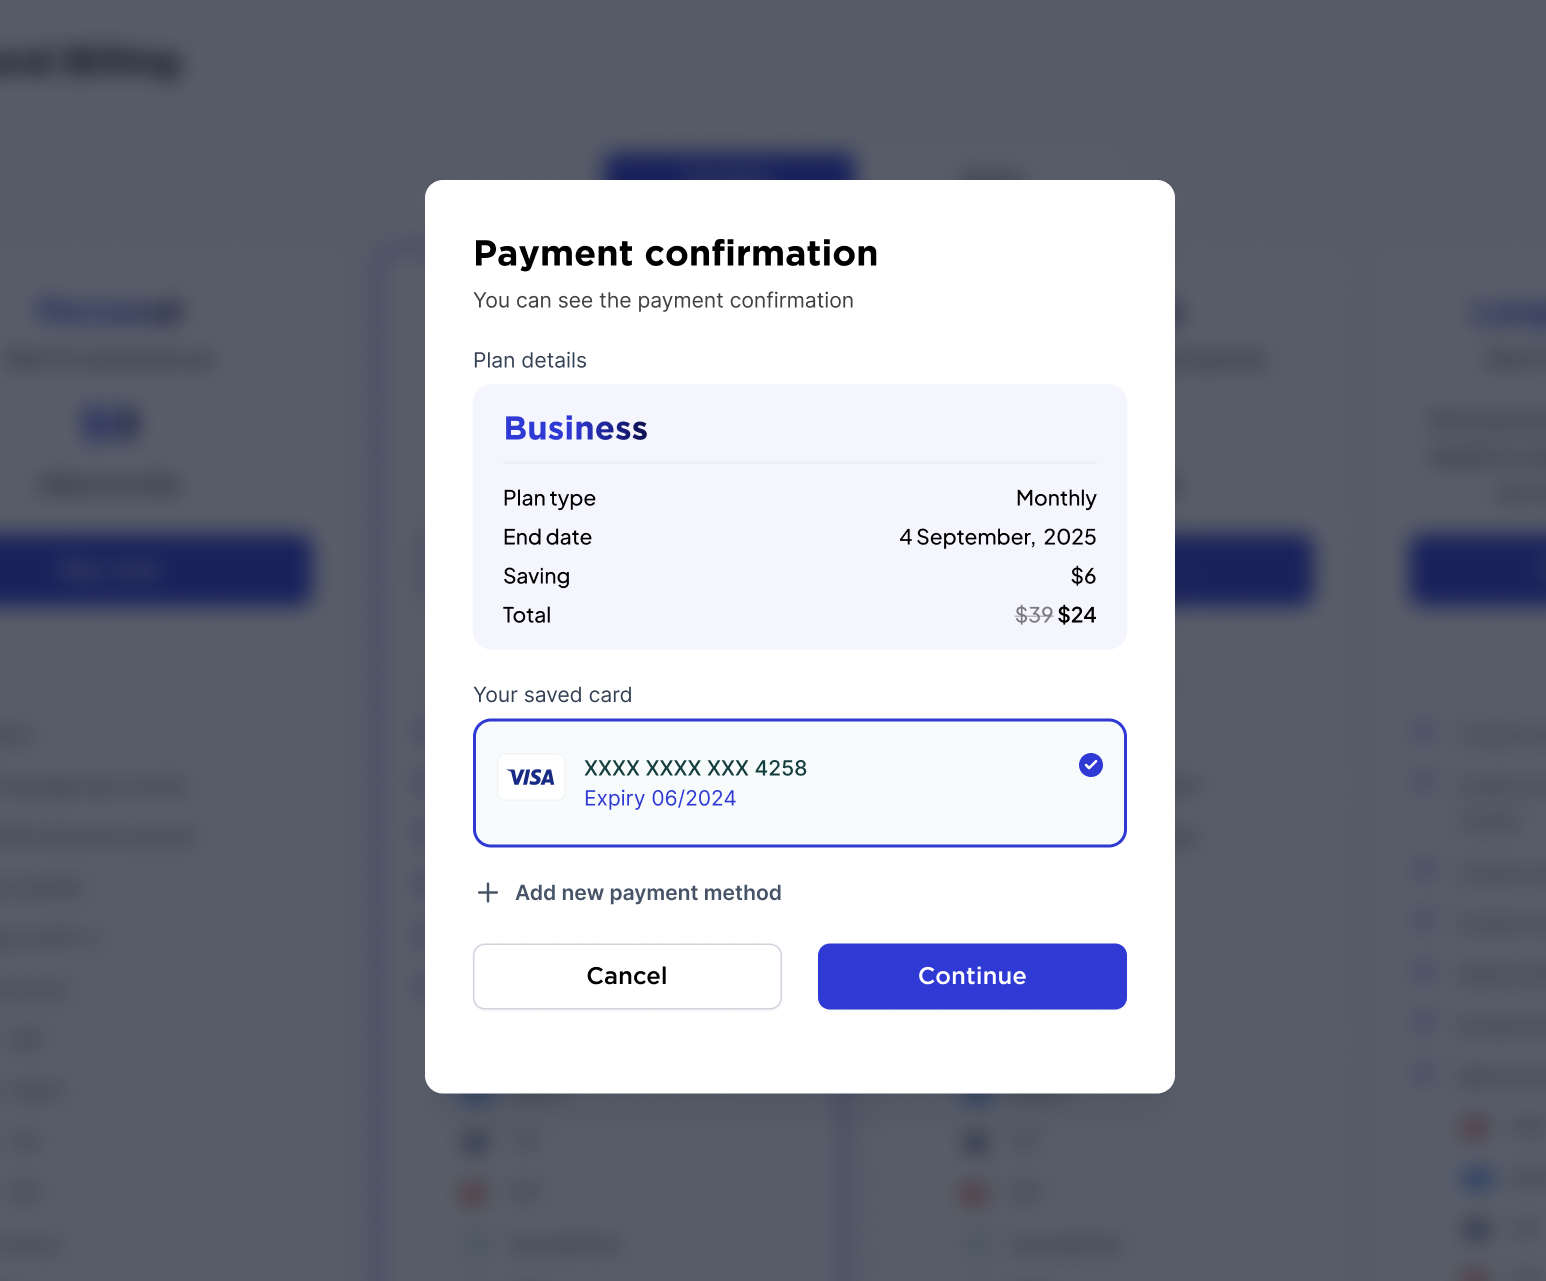
  2. It will automatically adjust the price based on the remaining days in the plan and calculate any additional amount to be paid. Select your card or add a new one, then click the “Continue” button. continue
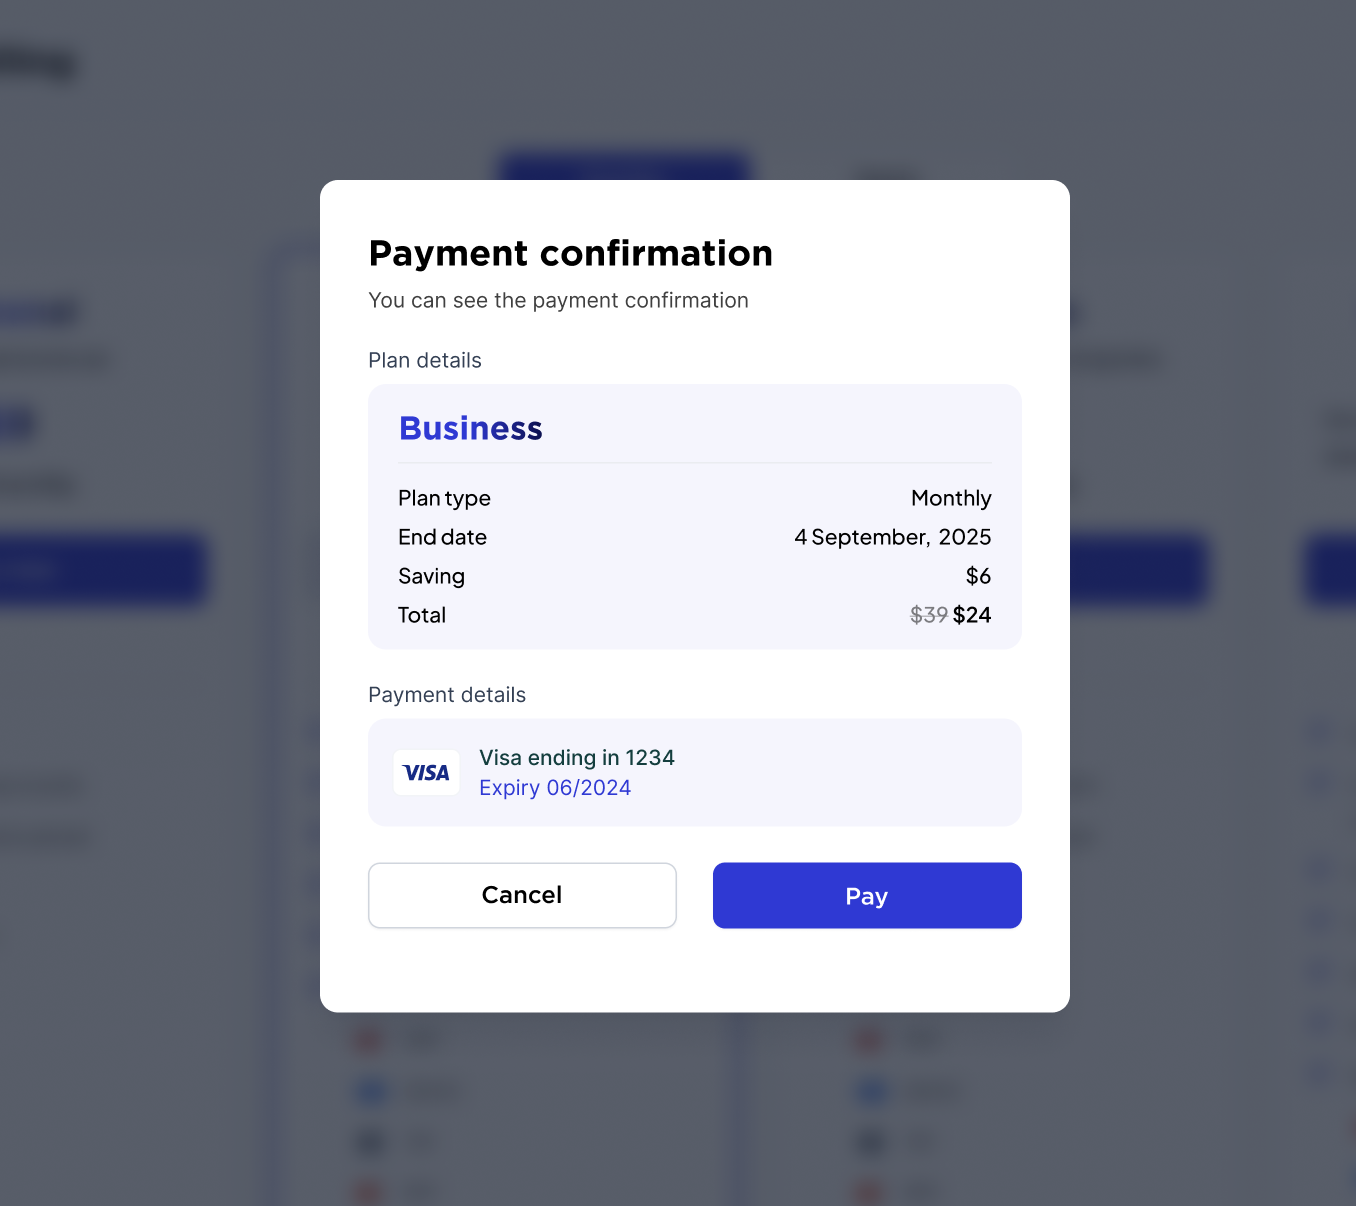
  3. Once you click the “Continue” button, a payment confirmation screen will be displayed. pay
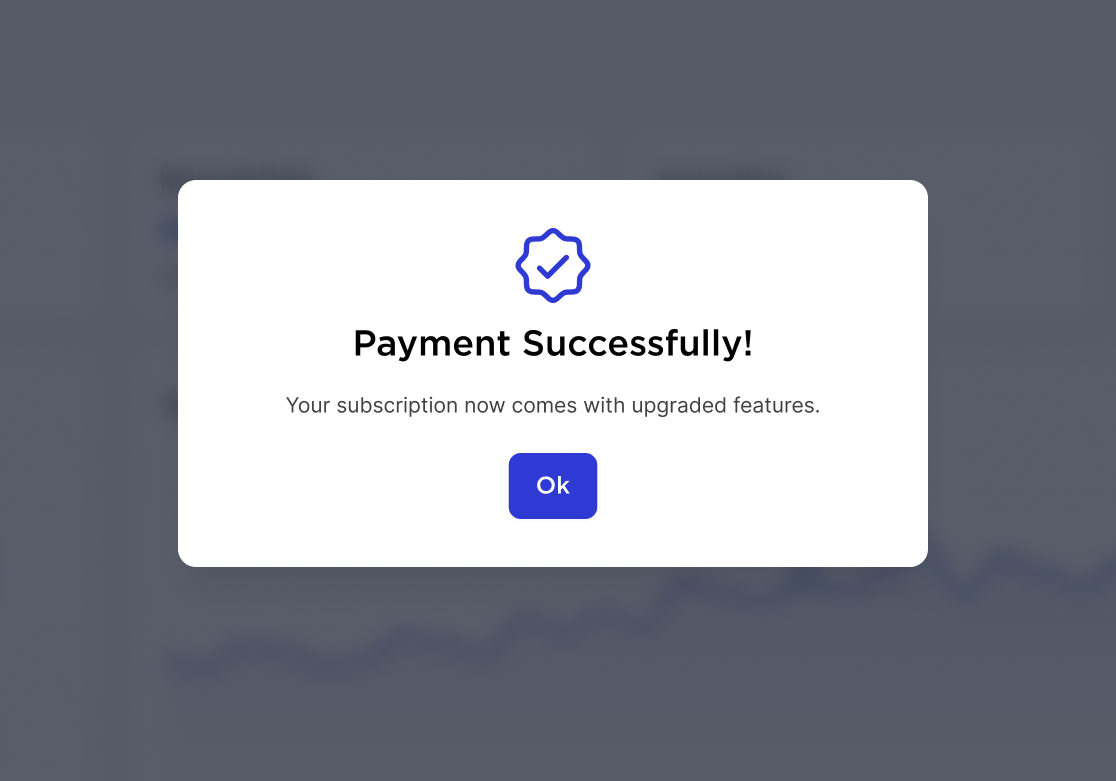
  4. Click on pay button to confirm your payment payment_successfull selected_plan